Who doesn’t love a great bagel?? The more important and often debated question is, what makes a great bagel? Some prefer the large, bread like bagels. Others, like my husband, prefer a bagel that has a nice crispness on the outside with a soft interior. This type is usually considered more of a NY style bagel. While I will take any bagel I can get my carbaholic fingers on, my husband on the other hand is a bagel snob. He is from NY and his uncle has been running his own bagel shops for years. Need I say more?
Well, I had been wanting to take a stab at homemade bagels for a while. I did a pretty good job with the Challah bread last year, so it was time to take on a new challenge. Of course I was really hoping to make a bagel my other half would be proud of. After looking over a number of recipes and knowing my reputation was on the line with my husband, I decided to go with the source that usually never disappoints, Cook’s Illustrated.
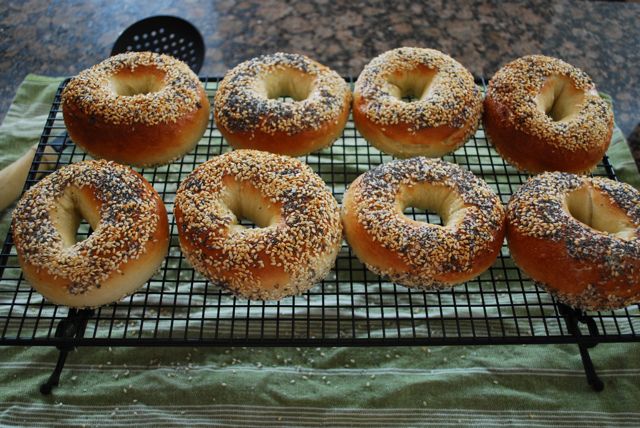
So the verdict? The bagel snob gave me a thumbs up!! Woo-hoo. He was actually down right impressed. He never expected to come downstairs and see bagels that looked as if I bought them from the local bagel shop. Of course my bagels don’t compare to those you will find in good old NYC, but I think I made the hubby proud.


Plain Bagels
Courtesy of Cook’s Illustrated
4 cups (22 ounces) high-gluten flour (I used bread flour)
2 tsp. salt
1 tbs. barley malt syrup (I used honey)
1 1/2 tsp. instant yeast
1 1/4 cups water (at 80 degrees)
Cornmeal for dusting the baking sheet (I used flour)
Mix the flour, salt, and honey (or barley malt) in the bowl of a stand mixer fitted with the dough hook. Add the yeast and water; mix at the lowest speed until the dough looks scrappy, like shreds just beginning to come together, about 4 minutes. increase the speed to medium-low; continue mixing until the dough is cohesive, smooth, and stiff, 8 to 10 minutes.
Turn the dough onto a work surface; divide it into 8 portions, about 4 ounces each. Roll the pieces into smooth balls and cover with a towel or plastic wrap to rest for 5 minutes.
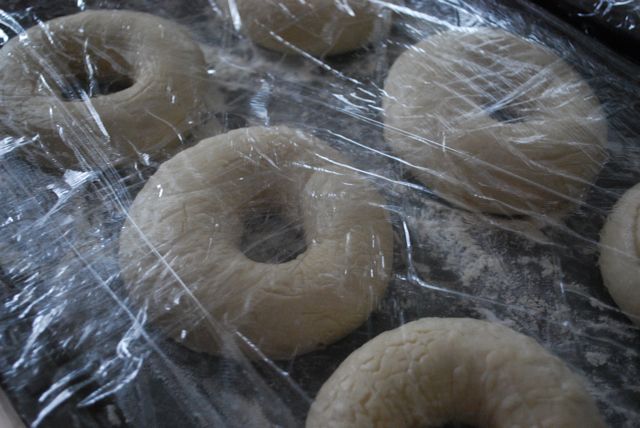
Form each dough ball into a rope 11 inches long by rolling it under your outstretched palms (I found that dampening my hands made it easier to roll out). Do not taper the ends of the rope. Shape the rope into a circle, overlapping the ends of the rope about 1 1/2 inches. Pinch the overlapped area firmly together, dampening it slightly if the ends won’t stick. Place the ring of dough around your hand at the base of your fingers and, with the overlap under your palm, roll the dough ring several times, applying firm pressure to seal the seam. The dough ring should be roughly the same thickness all the way around. Dust a large baking sheet with cornmeal (or flour), place the dough rings on the sheet, cover lightly with plastic wrap, and refrigerate overnight ( 12 to 18 hours).
About 20 minutes before baking, remove the dough rings from the refrigerator. Adjust an oven rack to the middle position and heat the oven to 450 degrees. Pour the water into a large stockpot to a depth of 3 inches and bring the water to a rapid boil.
Working 4 at a time (or however many will fit in your pot), drop the dough rings into the boiling water, stirring and submerging them with a Chinese skimmer or slotted spoon, until very slightly puffed, 30 to 35 seconds (I let mine go for about a minute). Remove the dough rings from the water and transfer them to a wire rack, bottom-side down, to drain.
Transfer the boiled rings rough-side down to a baking sheet lined with parchment paper. Bake until deep golden brown and crisp, about 14 minutes. Use tongs to transfer to a wire rack to cool. Serve warm or at room temperature.
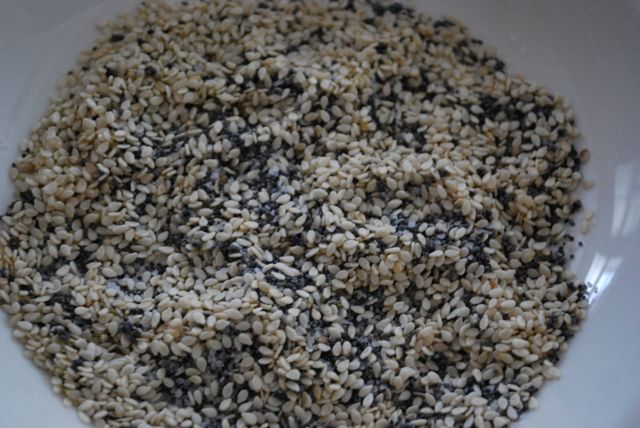
If you want to add toppings to your bagels, as I did, dunk the dough rings into your choice toppings while they are still wet and sticky (after you have removed them from the boiling water and allowed for draining).
Tips:
*I found that using my oven on convection helped make the bagels brown more evenly.
*I found that I preferred how they baked on parchment paper rather than on my silicone mats.
*This is more of an FYI, but these bagels also tend to hold a lot of moisture, so if you have leftovers and store them in a plastic bag they will most likely get a little moist from condensation. The second time I made these I even tried letting them sit out for quite a while before storing them and they still drew out condensation. It’s not the end of the world though.
*This recipe does give your mixer quite a workout, so keep an eye on it and make sure it doesn’t overheat.
Yields 8 bagels
Approximate Nutrition Facts (according to sparkrecipe.com)
Serving Size: 1 bagel
Calories: 234.6
Total Fat: 0.1 g
Cholesterol: 0 mg
Sodium: 582.6 mg
Carbohydrates: 47 g
Dietary Fiber: 2.5 g
Protein: 8.9 g