Cheesecake + Cookies= A Great Light Bite

I mentioned in my last post that I had made goodies for a barbeque we attended. I also mentioned that when I bake for gatherings I like to try and make an array of things in hopes of pleasing everyone’s palates. For that same barbeque I decided to make some Cheesecake Thumbprint Cookies in addition to the Oatmeal Fudge Bars. About a year ago I purchased Martha Stewart’s Baking Handbook. I am usually not a huge fan of hers, but this book seemed like it had a great variety of baked goods as well as some wonderful information on techniques, equipment, etc. So far it has been a great purchase and hasn’t steered me wrong.

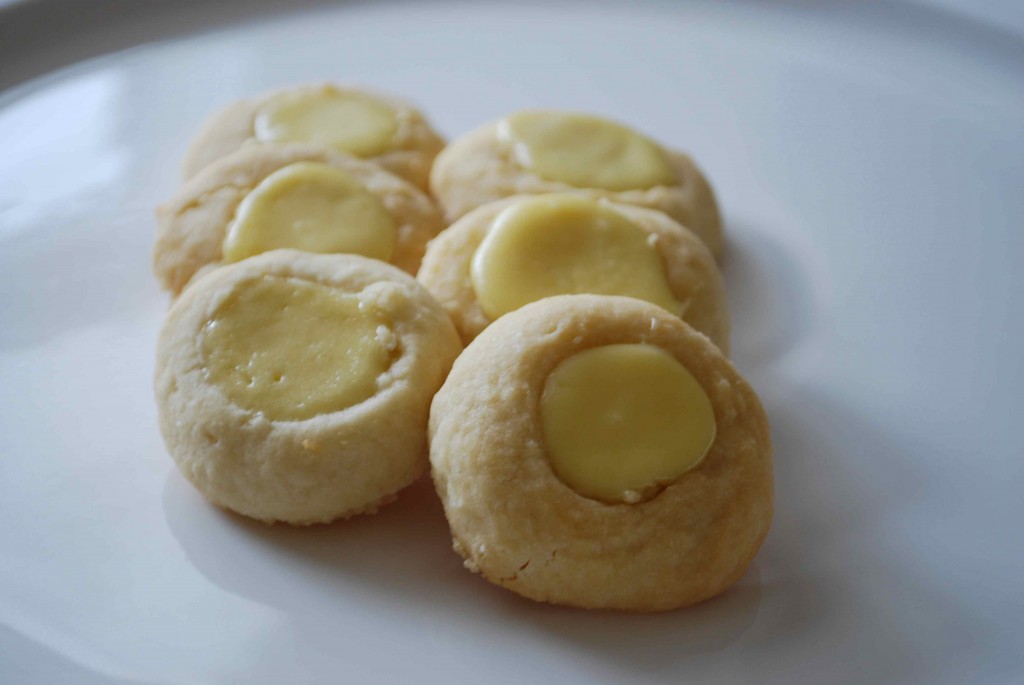
The Cheesecake Thumbprint Cookie recipe sounded like a winner, oh and a winner it was! Everyone raved over them, especially my grandmother. It is a fairly simple recipe and it is a treat that is easy for transport. The cookies are light and have the perfect amount of sweetness. This would be a wonderful recipe if you are looking for something that isn’t incredibly rich and decadent.
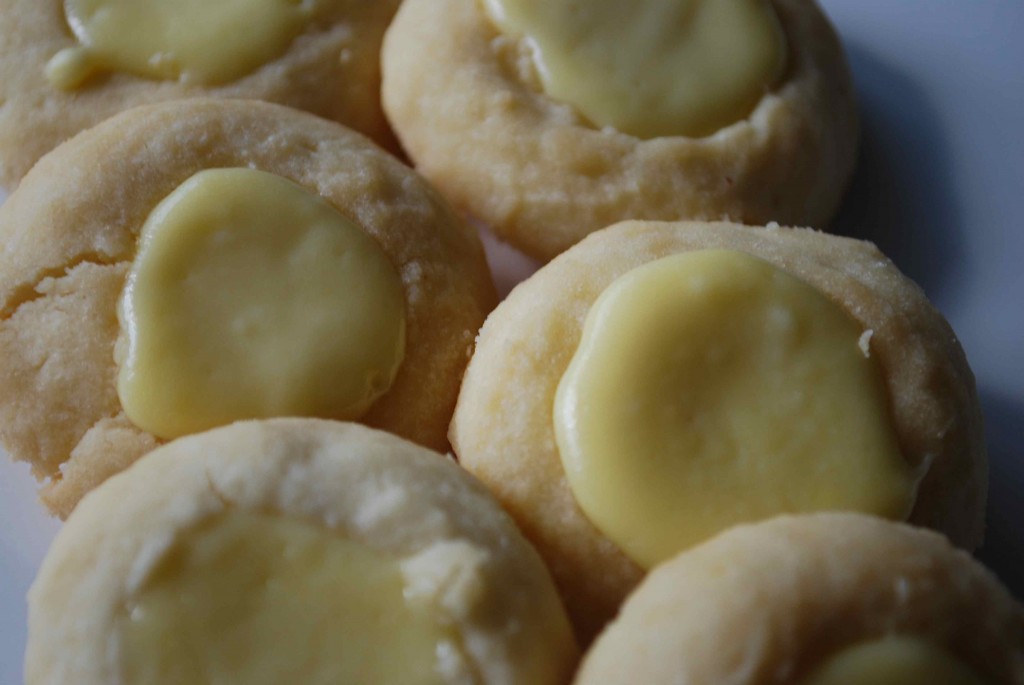
cheesecake cookies 2

cheesecake cookies

Cheesecake Thumbprints

Courtesy of Martha Stewart’s Baking Handbook

4 oz. cream cheese, room temperature
½ cup granulated sugar
¼ tsp. salt, plus a pinch
2 large egg yolks
1½ tsp. sour cream
1/8 tsp. vanilla extract
2 sticks unsalted butter, room temperature
2 cups all purpose flour

In a bowl of an electric mixer fitted with the paddle attachment, beat cream cheese on medium speed until light and fluffy, about 3 minutes, scraping down the sides of the bowl as needed. Add ¼ cup sugar and a pinch of salt, and beat until smooth, about 3 minutes. Add 1 egg yolk, sour cream, and vanilla; beat until smooth. Transfer to a small bowl, and refrigerate for about 30 minutes.

Preheat the oven to 350 degrees F, with racks in the upper and lower thirds. Line two large baking sheets with parchment paper; set aside. In the bowl of an electric mixer fitted with the paddle attachment, beat the butter and remaining ¼ cup sugar on medium speed until well combined, 1 to 2 minutes, scraping down the sides of the bowl as needed. Add remaining ¼ teaspoon salt and egg yolk; beat to combine. With mixer on low speed, gradually add the flour, mixing until just combined.

Shape level tablespoons of dough into balls, and place on prepared baking sheets about 1 inch apart. Using the lightly floured end of a thick wooden spoon handle (or your thumb), make an indentation in the center of each ball.

Bake 10 minutes; remove from oven and make indentations again. Rotate sheets, return to oven, and bake until edges of cookies begin to turn golden, 7 to 9 minutes more. Transfer cookies to a wire rack to cool completely.

Using a small teaspoon, fill the center of each cookie with about 1 teaspoon cream cheese filling, mounding it slightly. Return cookies to the oven, and bake until the filling is firm, 7 to 8 minutes. Transfer cookies to a wire rack to cool completely. Refrigerate in an airtight container, layered between waxed or parchment paper, at least 4 hours before serving (cookies can be refrigerated overnight).

Note: This recipe makes about 30 cookies. These cookies are best eaten after they have been refrigerated overnight. Allow them to sit at room temperature for twenty minutes before serving.
A Grandma Approved Treat

When we go to family gatherings I always try to bring a sweet treat. I love to bake but I don’t do as much as I would like because it is just Greg and I. So I jump at any opportunity I can find to make some yummy baked goods.

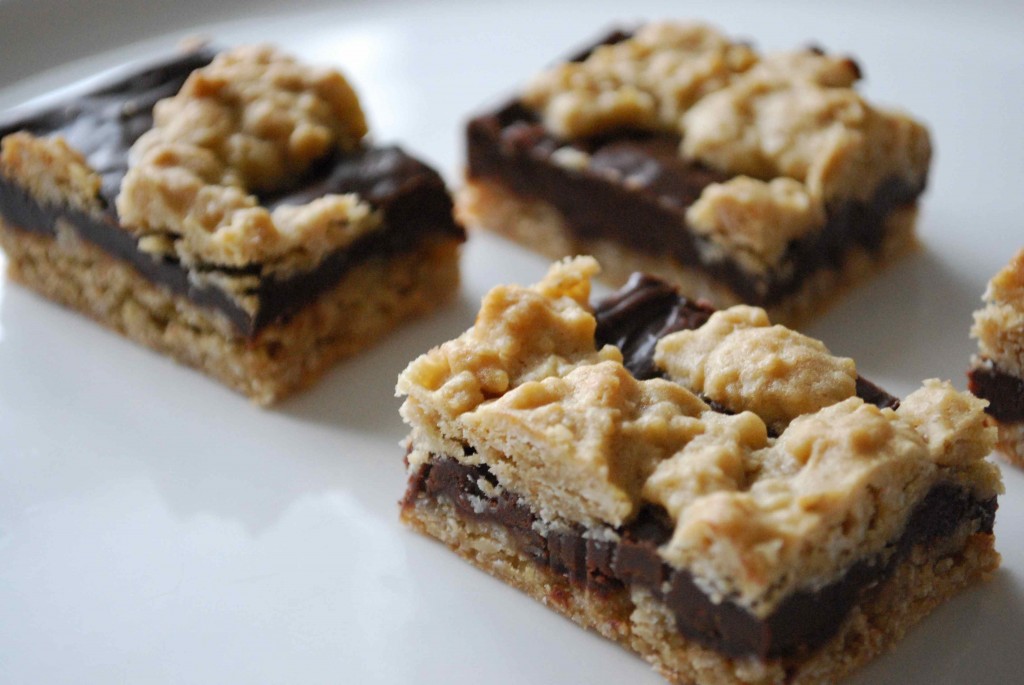
I always try to make an array of things that I know most people will like. Not only that, but if it is a casual gathering I also try and make something that is simple to grab and munch on at each guest’s leisure. While searching for a new recipe for one of the many gatherings we attended this summer, I found a delicious recipe from The Baking Blonde. Oatmeal Fudge Bars! That is a combination that most people would not snub their nose at. Not only that, but it was a recipe from her grandma, so how could you go wrong with that??

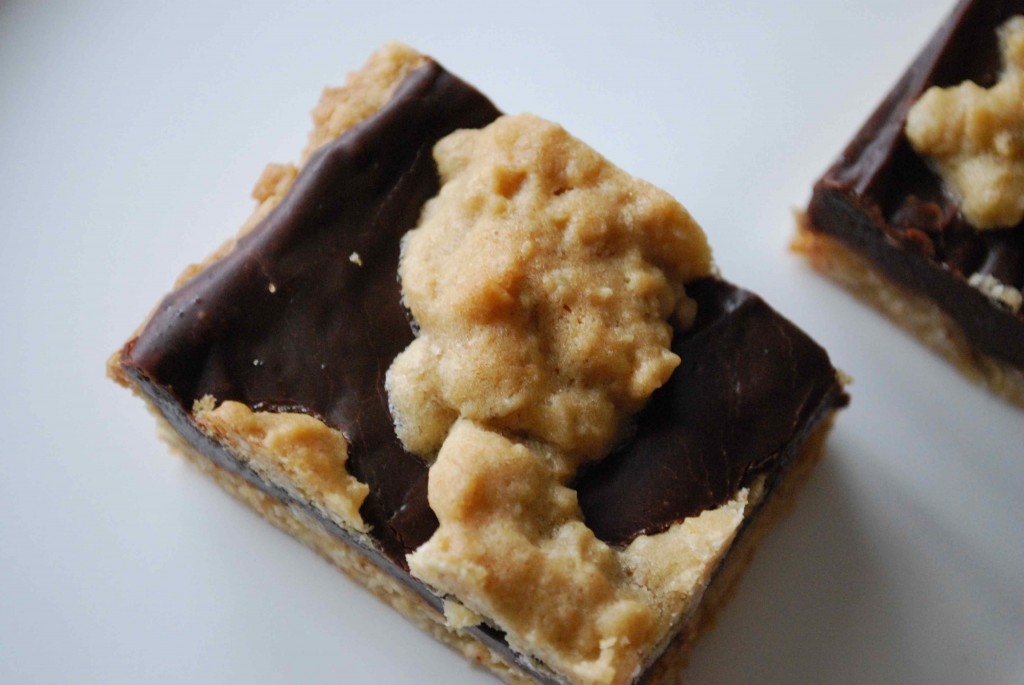
These bars were rich and delicious. They were a definite hit at the barbeque we attended. So if you are looking for a sweet treat that is finger friendly, I would definitely give this a shot.

oatmeal fudge bars 3

oatmeal fudge bars 2

Oatmeal Fudge Bars

Courtesy of The Baking Blonde

2 1/2 cups flour
1 teasponn baking soda
1 teaspoon salt
1 cup butter, softened
2 cups brown sugar
2 eggs
2 teaspoons vanilla
3 cups quick cooking oatmeal.

2 cups semi-sweet chocolate chips
1 can sweetened condensed milk (15 oz.)
2 tablespoons butter
1 teaspoon salt
2 1/2 teaspoons vanilla

Preheat oven to 325.
Grease and flour a 10×15 jelly roll pan.

In a large bowl, sift together flour, baking soda and salt. Set aside.
In a large mixing bowl, beat together softened butter and brown sugar until light and fluffy.
Add eggs, one at a time and beat until combined. Add vanilla and mix well.
Slowly add the sifted flour mixture and mix until combined. Stir in oatmeal.
Gently spread 2/3 of the mixture into the bottom of the prepared pan. Reserve the rest for topping.

Making the filling:
Over Medium-Low heat, melt together chocolate chips, sweetened condensed milk, 2 tablespoons butter, and salt. Stir until smooth. Remove mixture from heat and stir in vanilla.
Evenly pour filling mixture over the crust but keep the filling about a 1/4 inch away from the side of the pan so it does not stick to the pan while baking. Evenly dollup the remaining oat mixture on top of filling. Bake for 25-30 minutes or until topping is light brown and fudge layer is set but not solid. Don’t overbake these bars or they can become dry.

Cool in pan on rack until set. You can chill them if you need them to set up faster.

Keep stored in an airtight container either room temp or in the fridge.

I’m Back!

I have once again fallen off of the blog train. I love to cook and I love sharing the recipes I find and my experiences, but for some reason I can’t get into a routine of actually posting about them. I take the pictures and write down recipe changes, but then I procrastinate and get insanely behind on my posts. My poor blog is over a year old and I feel like it is extremely lacking in content. My wonderful husband has also spent a lot of time helping me create a blog that I really love and tweaking every little problem out of it. So this lack of posting is something that I really want to work on. I know that being out of work for the past 8 months has really had me focusing on a lot of other things, but I need to remember what I am passionate about and not let my job frustrations get in the way. I need to use this as a way to focus on other things. I am setting myself a goal to try and post at least once a week, if not more. I always find so much inspiration from other food blogs, so I want to be sure to contribute back too.

If any of you notice me slacking again, feel free to post or email me and tell me to get my butt back in gear!

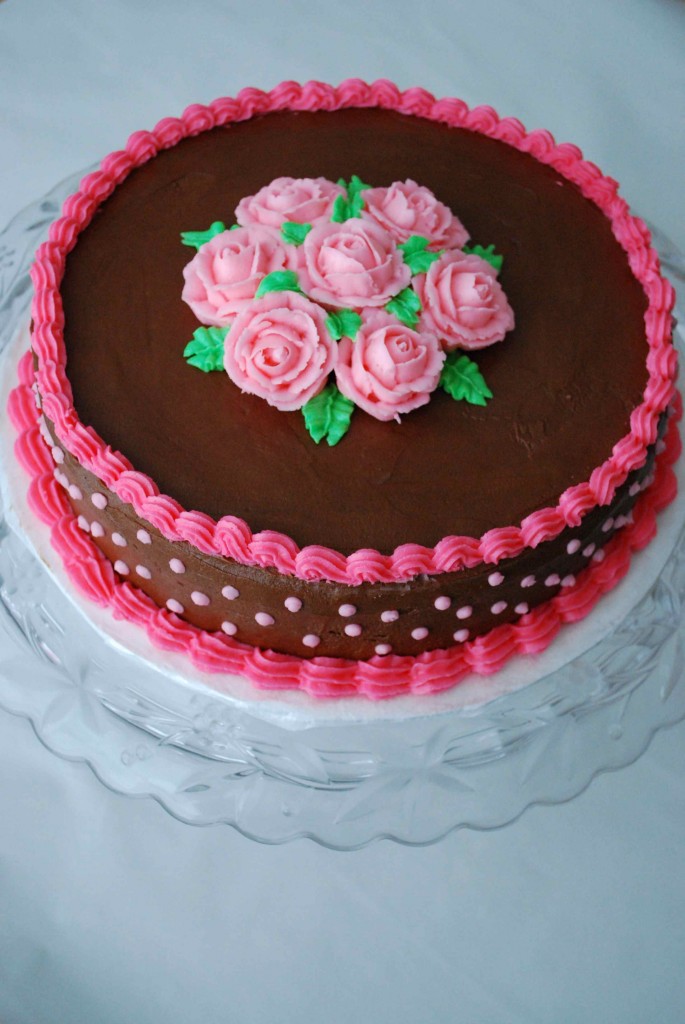
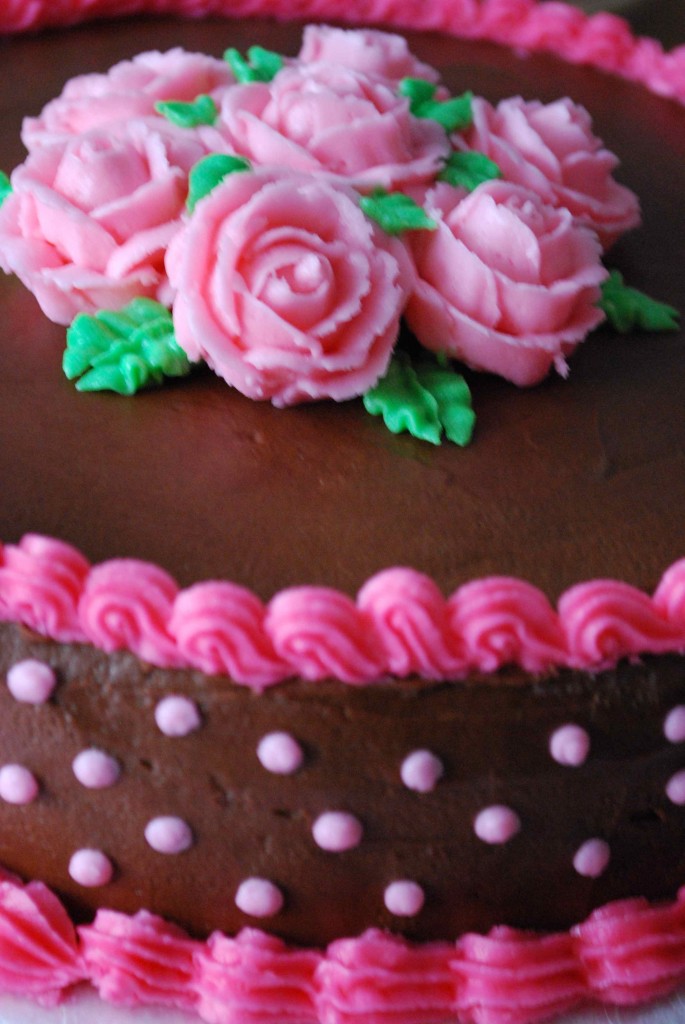
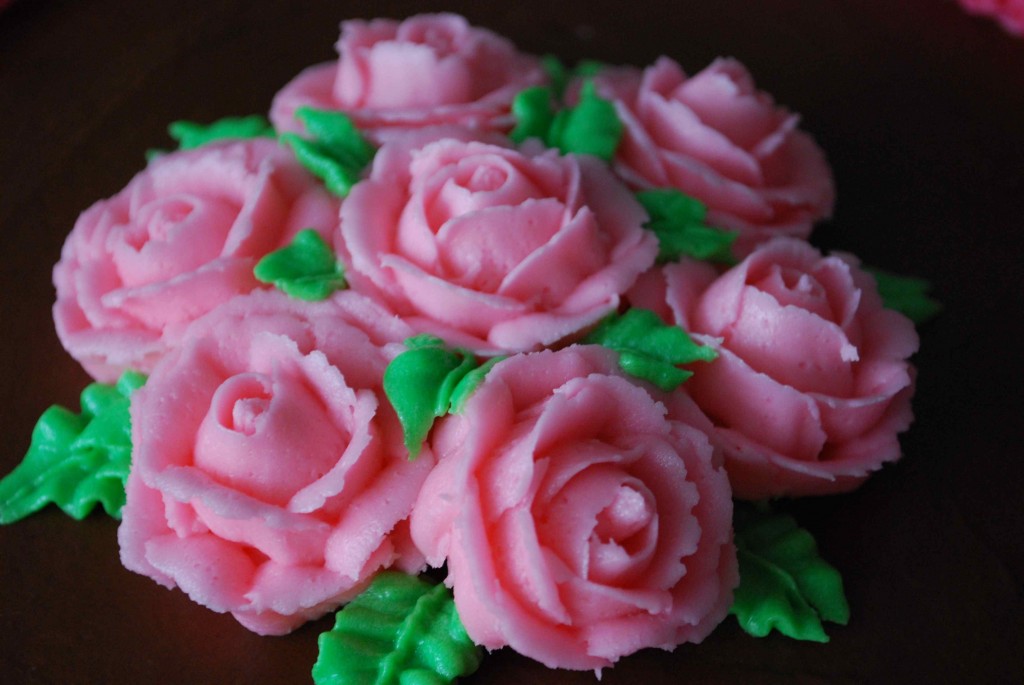
Okay, so I am not going to just leave you with that. I mean that would be a pretty boring post. I have to at least leave you with a picture or two. Back at the beginning of the summer I decided to take a Wilton cake decorating class. I took course 1 and had a good time with it. I am not sure if I will take any more because I honestly prefer to make cakes that taste delicious rather than always having to slather them in a thick coating of butter cream. It was fun though and I learned some great techniques. So, with that I will leave you with a photo of my final cake from course 1. Oh, and in case you wondering, it was no special cake in terms of a recipe. I don’t even remember what I used because it was made more for decorating purposes rather than for eating purposes.  Stay tuned though b/c I do have a delicious cake recipe that I will be adding soon!

cake 3

cake

cake 2