April’s Tasty Tools: Muffin Pans

As someone who grew up being taught that it was very important to eat breakfast every morning, it was strange to me that Greg doesn’t eat breakfast. He likes eggs, bagels, cereal…you know, most of the basic breakfast foods; he just doesn’t like to eat in the morning. Well, after spending nine years with him I learned that he doesn’t mind breakfast as long as he can have it later in the morning, around 9 or 10. Of course with work and all it isn’t always convenient to eat at that time, so I try to think of ways for him to have something quick or on the go. So far cereal has been a staple and now muffins have been thrown into the mix. Luckily he enjoys healthy muffins over the sugary ones, so that works out well.

We have been trying to find a great raisin bran muffin recipe, since that is his favorite combination; so when I saw that the Tasty Tools event for April at Joelen’s Culinary Adventures was muffin pans I thought it would be a perfect time to experiment. When we bought the wheat bran for the last recipe we tried, the package also had a recipe on it. I told Greg we would try that one next time. Sometimes I am weary of the package recipes, but this one had healthy ingredients and sounded pretty promising.

After pulling up a “to do” list and seeing the Tasty Tools event on it with the entry date drawing near I realized that Greg also needed breakfast so I had better get to work on those muffins I promised him. I am very happy that he convinced me to use that recipe because the muffins came out wonderful! They were moist and had a great texture. I was worried they may be a bit bland since the only form of sweetener in them was honey and I used unsweetened applesauce, but to my surprise they were plenty sweet enough. I have a feeling that these may be a new favorite staple for Greg’s breakfast.


muffin

muffin-2

muffin-3

Moist Honey Bran Muffins

Courtesy of Bob’s Red Mill (wheat bran packaging)
1 cup wheat bran
1 ½ cups whole-wheat flour
½ cup raisins
1 tsp. baking powder
1 tsp. baking soda
1 cup milk
½ cup honey (or molasses)
¾ cup unsweetened applesauce
2 tbs. oil
2 eggs, beaten
¼ cup chopped nuts (optional – I omitted)

Preheat oven to 400 degrees.

Combine wheat bran, flour, baking soda and baking powder.  Stir in raisins and nuts (if using).

In a separate bowl, blend applesauce, milk, honey (or molasses), oil and egg.  Add mixture to dry ingredients and stir just until moistened.

Spoon mixture into greased muffin tins (or muffin cups) and bake for 15-20 minutes.  *I baked mine for 15 minutes and they turned out perfect.

Yields 12 muffins according to recipe, but I got 17 out of it.

Nutrition Facts (calculated by sparkrecipe.com)
Serving size: 1 muffin
Calories: 120.8
Total Fat: 2.6 g
Cholesterol: 25.3 mg
Sodium: 118.9 mg
Potassium: 121.1 mg
Carbohydrates: 24.1 g
Dietary Fiber: 3.1 g
Sugars: 9.3 g
Protein: 3.4 g

Add a little spice to your life (or burger).

For some reason I find it necessary to look for new recipes every week. I guess this just stems from my love of cooking. I think no matter how many recipes I accumulate I will never be content. So as I mentioned a few posts back, I have begun to sit down and read through blogs in my spare time. I feel like I have never done it often enough so now I have to actually sit and read entire blogs. Hopefully after I do this with certain blogs I will then be able to just keep up with them through Google Reader. This is my hope, but I have a feeling I will never get organized with all of this blogging. I am going to stay hopeful though. :o)

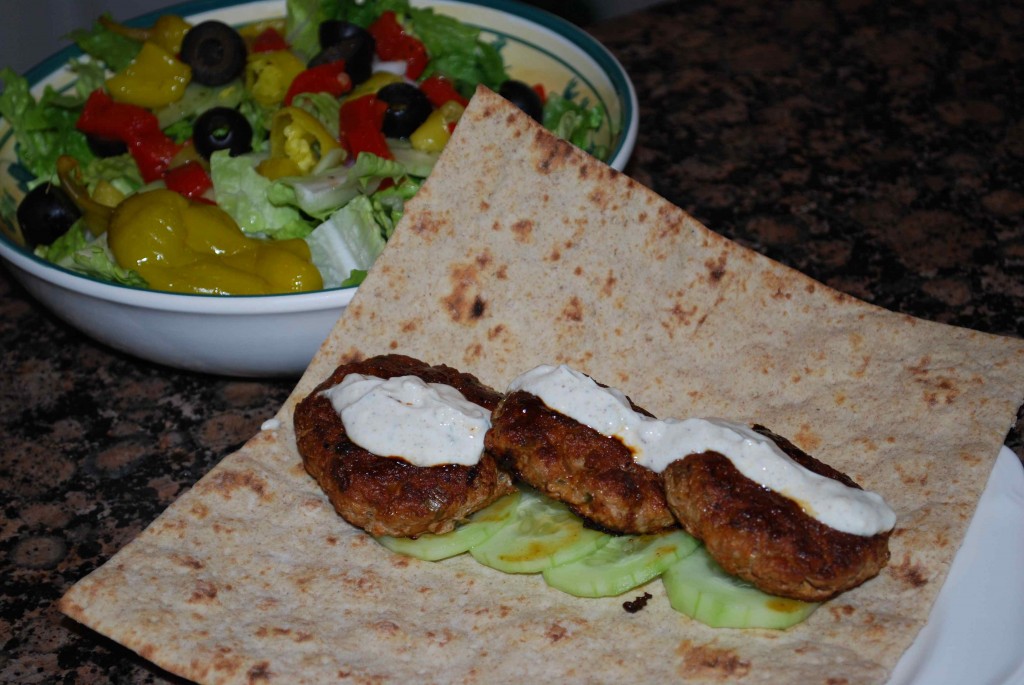
Anyway, I was very inspired by the blog, Elly Says Opa. I made her Chicken with Herbed Pan Sauce a few weeks ago and loved it. So I figured I couldn’t go wrong when I found her recipe for Indian-Spiced Chicken Burgers. When I first showed the recipe to Greg he had a typical guy response, “It doesn’t look like much food.” After I convinced him that the three baby burgers add up to the same amount that he normally eats in one regular burger he decided that it sounded good. Needless to say, he needed no further convincing after we both sat there stuffed after our meal. The dish was delicious and the flavors really complimented each other. I was surprised at how incredibly filling it was too. I absolutely loved the yogurt sauce on top. Although we adore naan, we decided to use whole-wheat flatbread instead to save on calories.

We ended up enjoying the meal with a nice salad and it was a hearty, but healthful and guilt free feast. I love being able to eat more ethnic inspired foods in a trimmed down manner.

indian-patties

indian-patties-2

Indian-Spiced Turkey Burgers

courtesy of Elly Says Opa!

1 lb. ground chicken breast
 (I used turkey burger)
3 scallions, thinly sliced
2 1/2 tbsp. fresh ginger, minced
2 tbsp. fresh lemon juice
2 tsp. paprika
2 tsp. ground cumin
1/4 tsp. cayenne pepper
salt and pepper
1 small cucumber, sliced
flatbread (or naan) and cilantro (optional) for serving
cumin yogurt sauce (recipe follows)

In a bowl, gently combine the first 8 ingredients. Form into burgers or meatballs and set aside/refrigerate for 10 minutes or longer to combine flavors.

Grill or fry the patties. Place the cucumber and cilantro on the naan/flatbread, followed by the patties.

Drizzle with the yogurt sauce.

Cumin Yogurt Sauce
1/2 cup plain Greek yogurt (or strained yogurt)
1/2 tsp. ground cumin
1 clove garlic, minced
salt and freshly ground pepper

Yields 4 servings.

My Ode to Pasta Salad

Oh how I love a great pasta salad. My mom always makes pasta salad in the summer; it is an old standby in our household. Her version is delicious, but it could probably add up on the waistline a bit. It isn’t that bad, but she does love to put chunks of cheese in it and lots of dressing. So over the years I have made my own versions of pasta salad and usually try to make them on the lighter side. I find it to be very subjective and I love that about it. You can make a million different versions and adapt it to practically anyone’s diet restrictions.

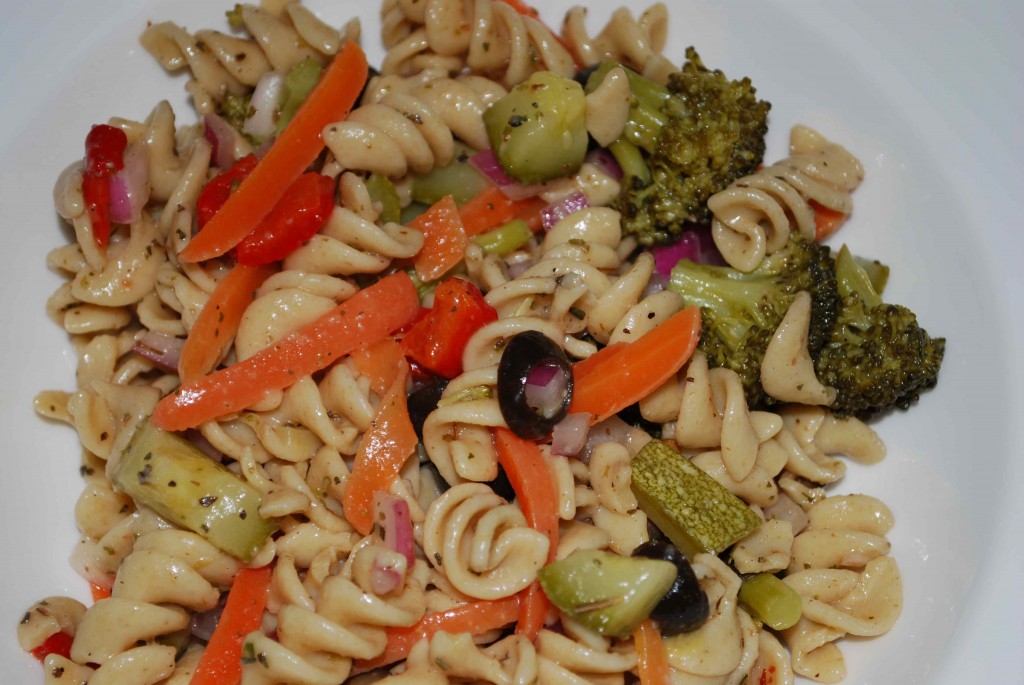
With summer in the air; yes I do realize it is only April but in south Florida we don’t really have a spring. So with summer in the air I decided to make a good old pasta salad for Greg and I. As some may know, I have really been trying to take some weight off, tone up and get Greg and I back on a more healthful and balanced diet. So I made this pasta salad with whole-wheat pasta and I went light on the pasta and heavy on the veggies.

As I mentioned earlier, I think pasta salad is very subjective so I have decided not to post an exact recipe. I figured this entry could serve more as inspiration than as a definite idea. So please, add what you like….have fun with it! I don’t think I’ve ever made a pasta salad the same way twice.

This past time I used the whole-wheat pasta, broccoli florets, zucchini, carrot, red onion, black olives, pimento, homemade Italian dressing and Italian seasoning. It was light, satisfying and deliciously summer.

pasta-salad

Pearlicious

People who know me know that I love to cook, but I’m really passionate about baking. I don’t get to do it as much as I would like because I try not to keep too many sweets in the house. Many times I only bake if we have someplace to go and share it with others. I still have a sweet tooth though and I get an itch every once in a while to really want to bake something. So I try to find recipes that are low in calories and that Greg will eat. Yes, Greg is my other obstacle because he doesn’t really like cakes and such. As mentioned before, he loves brownies and cookies, but you can only make so many brownies and cookies.

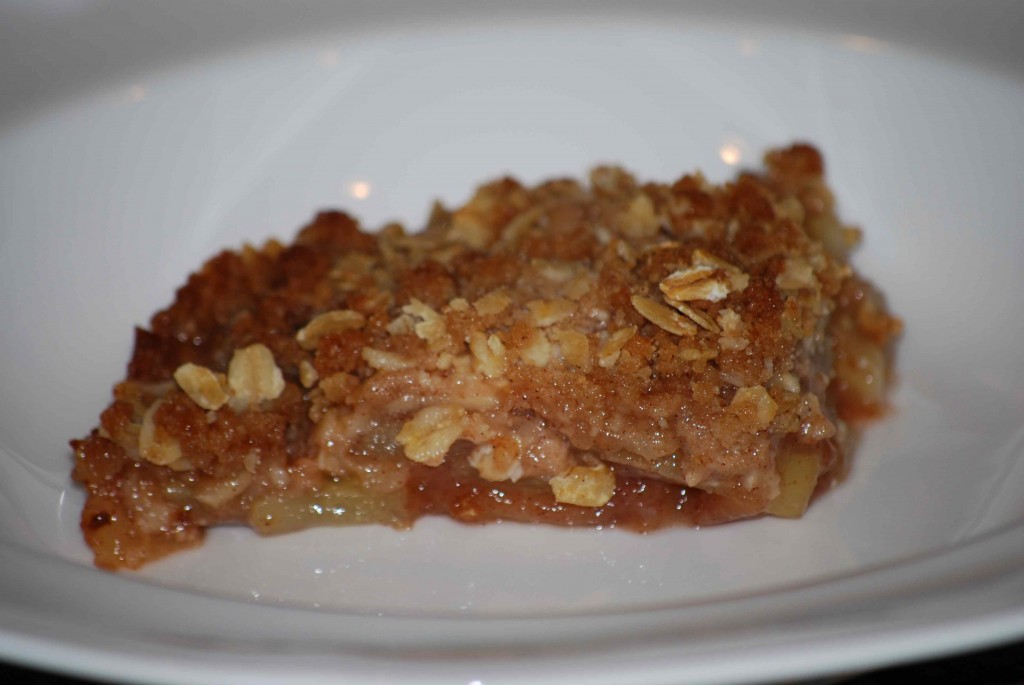
Well, during one of my urges to bake I came across a recipe for Harvest Pear Crisp. I figured there would be a 50/50 chance with Greg agreeing to this one. The disadvantage, he doesn’t really like pie type desserts. The advantage, he LOVES pears. I passed my first hurdle when he saw the recipe and said, yeah that looks good. With that said I proceeded with my dessert making.

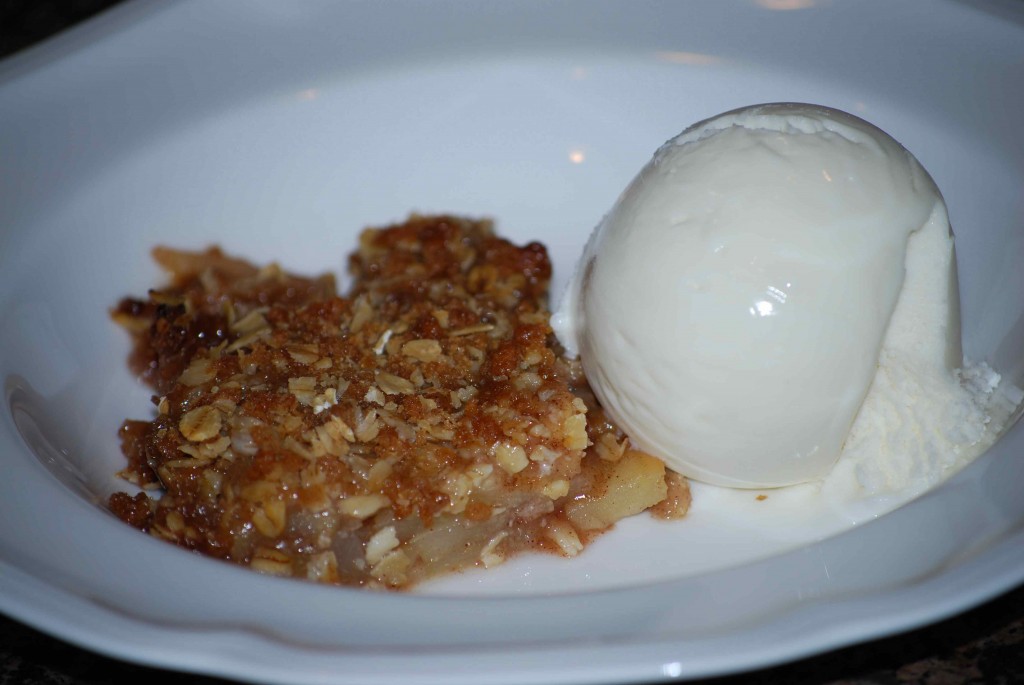
The end verdict you ask? He loved it! Not only that, but I don’t like pears and I also loved it. I would like to try making it with apples or a apple/pear mix next time. This will definitely be a standby on the dessert list.

pear-crisp

pear-crisp-2

Harvest Pear Crisp

courtesy of Cooking Light

6 cups of pears (your choice), cored and cut lengthwise into ½-inch-thick slices (about 3 pounds).
1 tbs. fresh lemon juice
1/3 cup granulated sugar
1 tbs. cornstarch
1 ½ tsp. ground cinnamon, divided
1/3 cup all purpose flour
½ cup packed brown sugar
½ tsp. salt
3 tbs. chilled butter, cut into small pieces
1/3 cup rolled oats
¼ coarsely chopped walnuts (I left these out)

Preheat oven to 375 degrees.

Combine pears and lemon juice in a 2-quart baking dish; toss gently to coat. Combine granulated sugar, cornstarch, and 1 teaspoon cinnamon; stir with a whisk. Add cornstarch mixture to pear mixture; toss well to coat.

Lightly spoon flour into a dry measuring cup; level with a knife. Place flour, 1/2 teaspoon cinnamon, brown sugar, and salt in a food processor; pulse 2 times or until combined. Add chilled butter; pulse 6 times or until mixture resembles coarse meal. Add oats and walnuts (if desired); pulse 2 times. Sprinkle flour mixture evenly over pear mixture.

Bake at 375° for 40 minutes or until pears are tender and topping is golden brown. Cool 20 minutes on a wire rack; serve warm or at room temperature.

I highly recommend serving it with a scoop of vanilla ice cream!

Chicken and Herbs…you can’t go wrong!

As someone who loves to cook, I enjoy using fresh herbs. Unfortunately they are quite pricey at the grocery store and when we do buy them, half usually goes to waste. We have tried growing herbs before, but didn’t have much luck, as they would eventually be taken over by bugs. Since we are now living in a townhouse that has a balcony, we decided to give it a shot again. We are hoping that the elevation will help keep some of the bugs away. We went out and purchased flat leaf parsley, basil, thyme and chives. So far they have been very good.

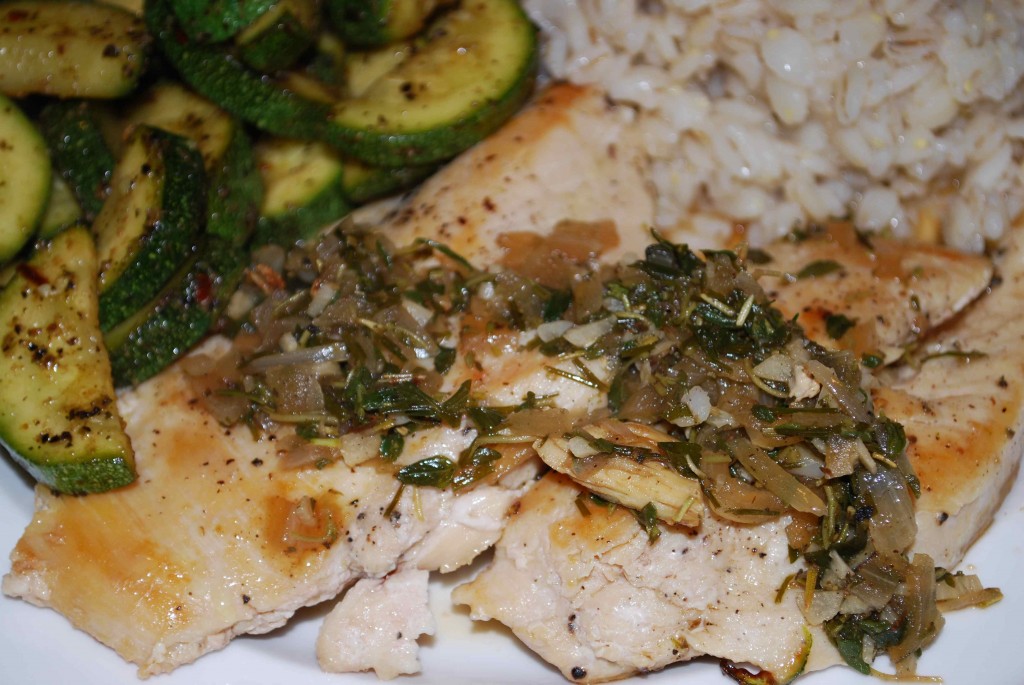
While searching through the blog, Elly Says Opa, I found many wonderful recipes that I am dying to try. One of which was Chicken with Herbed Pan Sauce. I thought this would be a great recipe to use some of our fresh herbs in. It’s also a new chicken recipe, which you can never have too many of. I knew that Greg would probably be a big fan of this as well. So with all of the arrows pointing to “make it,” I quickly added it to our weekly menu.

Although I adapted it a bit to fit with the ingredients I had on hand, the outcome was excellent. This will definitely be a repeat on our menus to come.

herb-chicken

Chicken with Herbed Pan Sauce

adapted from Elly Says Opa

1 Tbsp. olive oil
2 chicken breast halves, pounded to about 1/3-inch thick
1 small shallot, diced (I used onion since that is what I had)
1 clove garlic, minced
2 Tbsp. chopped fresh thyme, rosemary & chive (I substituted the original spices with what I had, feel free to do the same)
1/3 cup dry white wine
1/2 cup chicken broth
salt and pepper to taste

Heat a skillet over medium heat. Add the olive oil to pan. Season the chicken with salt and pepper, and then cook in the oil, about 4 minutes per side or until done. Remove the chicken and keep warm.

Add the shallots (or onion) to the pan and sauté until tender. Add the garlic and herbs and cook until the garlic is fragrant, about 30 seconds.

Pour in the white wine and reduce down by half. Add the chicken broth and do the same. Season the sauce to taste with salt and pepper. Serve sauce over chicken.

Meatloaf with Flair

After frequenting the What’s Cooking board on The Nest, I have been exposed to so many wonderful cooking blogs. I love getting new ideas and great recipes from others that enjoy cooking as much as I do. I find myself book marking recipes and blogs all of the time. The problem is, they accumulate and it can become a bit overwhelming. So lately I have been choosing a blog here and a blog there to sit and sift through. I will look at the tabs that interest me and go through the blog entirely, book marking each recipe that I’m interested in trying. One of the blogs that I did this with was Just 2 Good by Amy. She is also a fellow WC Nestie and has given me great ideas on more than one occasion.

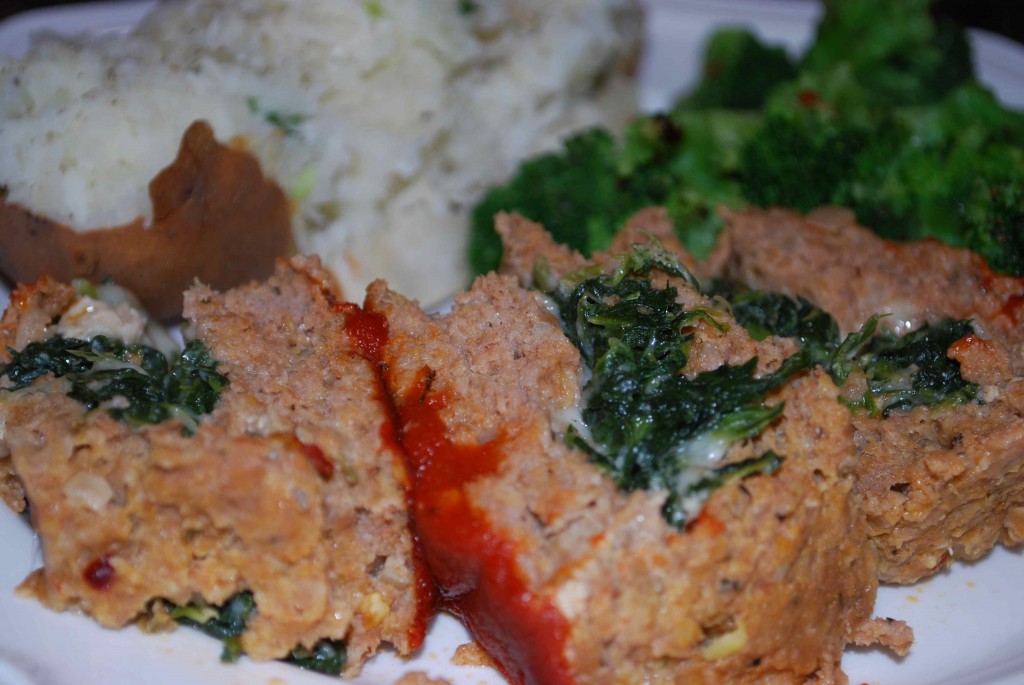
While visiting her blog I came across a recipe for Florentine Turkey Meatloaf. It looked and sounded delicious! It is definitely a twist on the normal humdrum meatloaf that most of us were brought up on. After plugging the ingredients into Spark Recipe and seeing that it wasn’t going to blow my calories for the day, I decided it was definitely worth trying. I am so glad that I did too because it was fabulous and it was an easy recipe to cut in half for the two of us. You can’t beat an old comfort food that is good for you and has a great new face lift.

meatloaf-florentine

Florentine Turkey Meatloaf

courtesy of Amy at Just2Good

1 ¼ pounds ground turkey
1 cup spaghetti sauce, divided
½ cup Italian-seasoned breadcrumbs
1/2 cup finely chopped onion
2 eggs, slightly beaten
2 tbs. grated Parmesan cheese
1 package (10 oz.) frozen chopped spinach, thawed and well drained
¾ cup low-fat shredded mozzarella cheese

Preheat oven to 350 degrees. Line an 8 or 9-inch loaf pan (or 4 mini loaf pans) with foil, dull side toward the food.

Combine ground turkey, ¼ cup spaghetti sauce, breadcrumbs, onion, eggs, and Parmesan cheese in a medium bowl.

Press half of the turkey mixture into a foil-lined pan(s). Press a 1-inch indention down the center of mixture, leaving 1-inch thickness on all sides.

Toss spinach and mozzarella cheese together; spoon into indention, mounding in center. Press remaining turkey mixture evenly over top, sealing edges.

Bake 45 to 50 minutes. Spoon remaining spaghetti sauce over meat loaf. Bake 15 minutes longer. Let stand 10 minutes.

Yields: 6 to 8 servings

Filling the need for Greek!

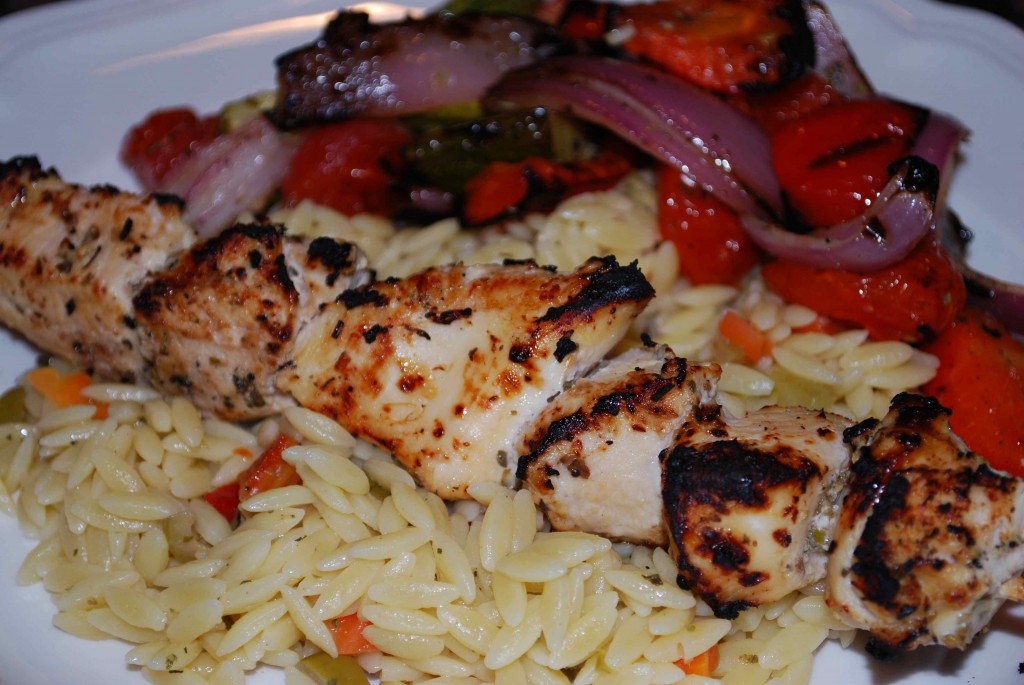
While living in the Clearwater area of Florida, Greg and I were spoiled by having some wonderful Greek restaurants around. This is due to the huge Greek population in the Tarpon Springs area. Unfortunately, since moving back to south Florida, we haven’t found a place to fulfill our need of great Greek food. So after having a craving for it, probably after seeing it on TV, we decided to take the matter into our own hands. If we can’t get it out, then we will have to make it in. So we decided on Greek style chicken and veggie kabobs with a side of orzo.

This was an incredibly delicious meal. It was light but satisfying and I highly recommend it to everyone!

greek

Marinated Greek Chicken Kabobs

adapted from AllRecipes.com

1 cup fat-free plain yogurt (or Greek yogurt)
½ tsp. lemon zest
2 tbs. fresh lemon juice
2 tsp. dried oregano
½ tsp. salt
¼ tsp. ground black pepper
¼ tsp. crushed dried rosemary
1 pound skinless, boneless chicken breasts, cut into 1-inch pieces
Marinated veggies (recipe below)

In a medium bowl, mix the yogurt, lemon zest, lemon juice, oregano, salt, pepper, and rosemary. Place the chicken in a large freezer bag and pour marinade over it. Turn to coat. Place in the refrigerator and let marinate for 3 hours.

Preheat an outdoor grill at high heat.

Thread the chicken and veggie pieces alternately onto skewers. Discard the remaining yogurt mixture.

Grill the skewers on the prepared grill until the chicken is no longer pink and juices run clear.

Marinated Veggies

adapted from AllRecipes.com

1/3 cup fresh lemon juice
1/8 cup white wine vinegar
2 tbs. dried oregano
4 tsp. extra virgin olive oil
6 cloves garlic
1-2 zucchinis, cut into 1 inch chunks
1 red onion, cut into wedges
cherry tomatoes

In a small bowl, combine the lemon juice, vinegar, oregano, oil and garlic. Place the prepared veggies into a large freezer bag and pour marinade over the top. Make sure all of the veggies are well coated. Refrigerate until ready to gill.

I neglected it again.

Okay, so I said I wouldn’t neglect my blog after I revamped it, and look what has happened. I haven’t posted anything since February! I apologize for my laziness. I have been cooking though, so I do have quite a few new recipes to share. Hopefully I will learn to get better at recording them as I go instead of waiting until they pile up.

With that said, you will be seeing quite a few more healthful recipes in the near future. It’s not that I have really ever cooked very unhealthy, but I am lightening up even more now. I have begun cooking a lot more as well as working out 5-6 days a week. I am determined to get back in shape and get Greg and I back to a more healthful lifestyle.

I am also determined to find and create delicious and satisfying meals. You have to find that medium of healthy but delicious food. That way everyone can enjoy it, not just the ones watching their waistlines.