Sweets from the heart.

As I mentioned in my previous post, we made a special Valentine’s dinner in this year. It was fabulous and we enjoyed every minute of cooking and eating it. Along with the side dishes, I was also in charge of the dessert. Of course I wanted to make something special that we wouldn’t have everyday. Sometimes the dessert decision can be a bit of a challenge since Greg and I have different tastes. I love pretty much any kind of dessert, especially cakes and things that are incredibly indulgent. Greg on the other hand, he would be happiest with a cookie, brownie or bowl of ice cream. So, what was I to do??

Well, my original thought was to make individual chocolate lava cakes, as that is one of my all time favorite desserts. The more I thought about it though, I realized that this was not something Greg would enjoy as much. Valentines Day dessert had to be something we would both enjoy equally.

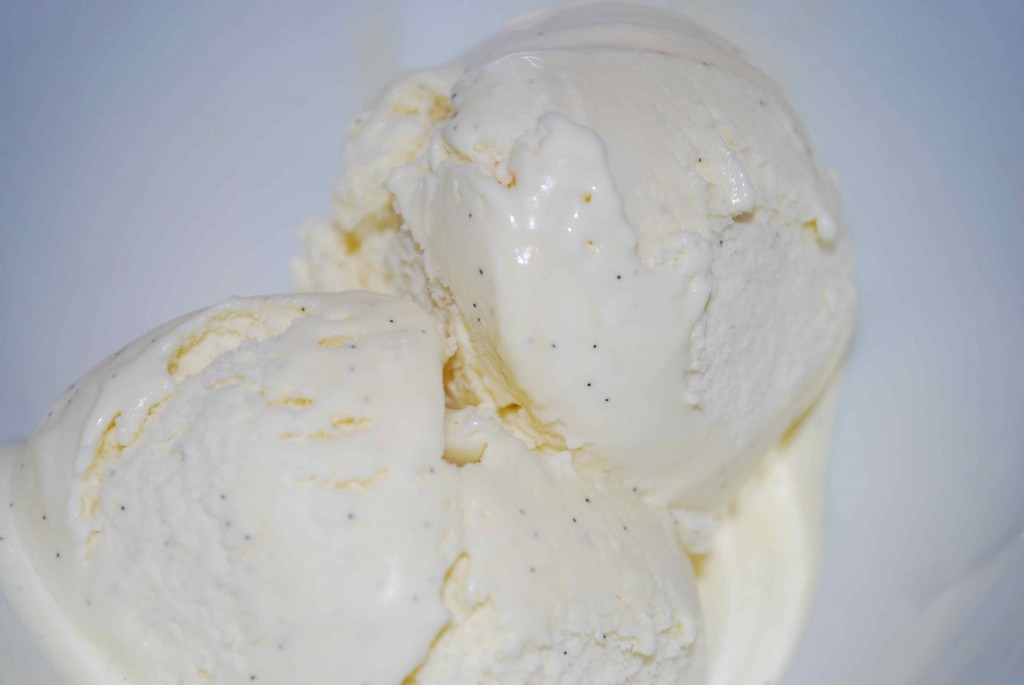
I don’t quite remember what triggered this thought in my head, but after much debate I finally figured out the perfect dessert that Greg would especially enjoy. Ice cream sandwiches made with oatmeal chocolate chip cookies (Greg’s favorite) and homemade vanilla bean ice cream. I had some vanilla beans in the closet that I have been meaning to use and we hadn’t put our ice cream machine to much use since we got it as a wedding gift.

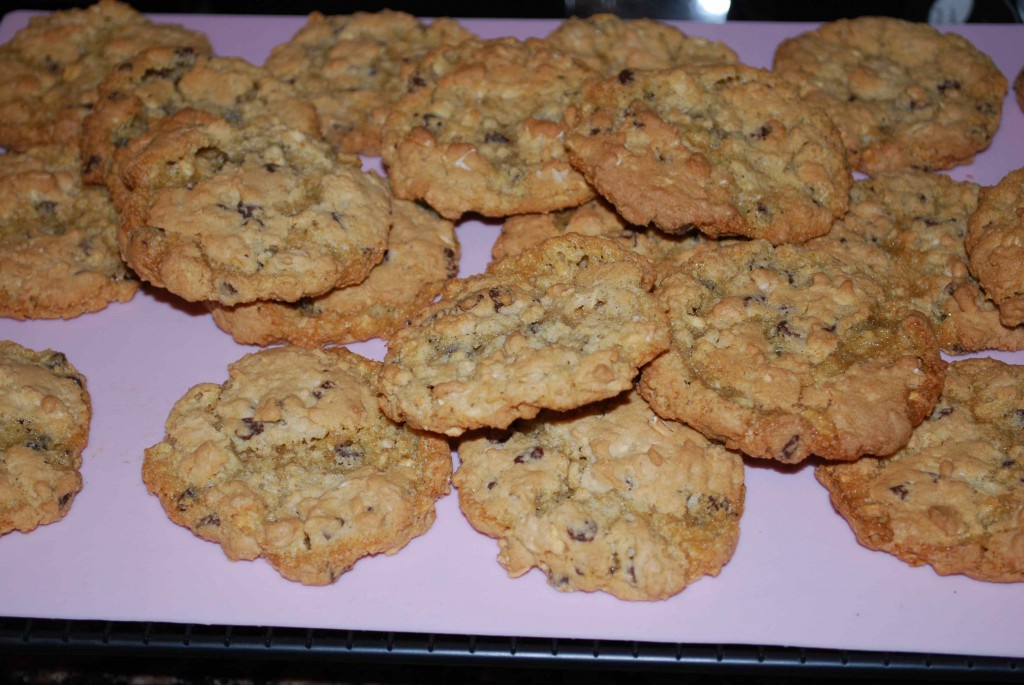
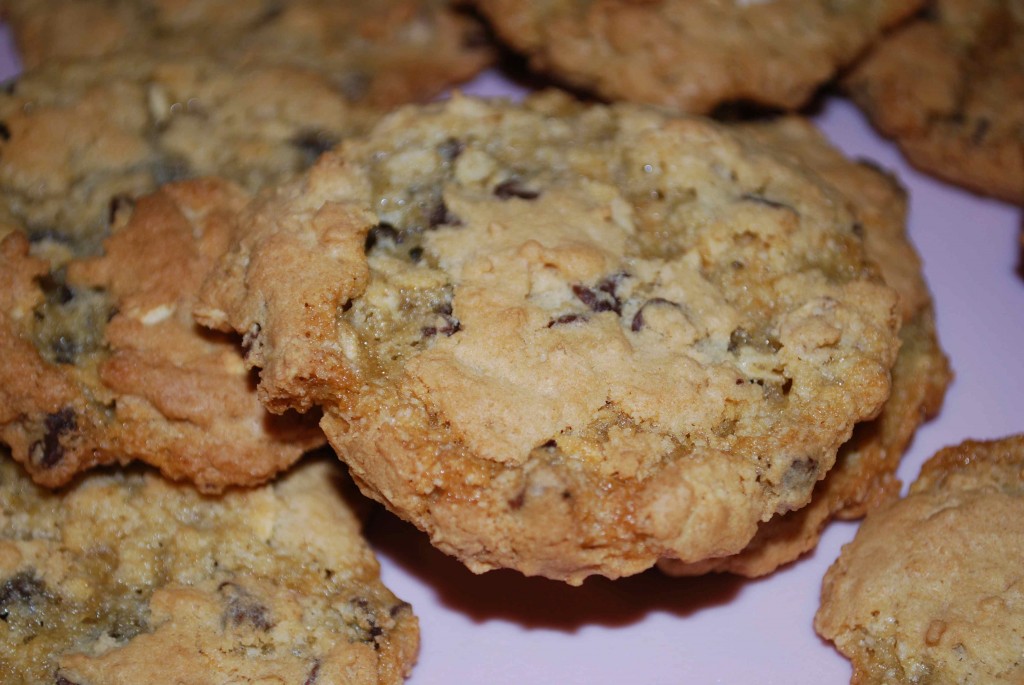
After realizing I couldn’t go wrong with this choice, I went to scrounge up some recipes. The cookie recipe I found on Cooking Light and adapted it. Honestly, I think they were the best homemade oatmeal chocolate chip cookies we have ever had. That is a major score since they are also lower in calories than most. I also came across an incredible vanilla bean ice cream recipe in the blog, Amber’s Delectable Delights, where she credits The Perfect Scoop by David Lebovitz. It was amazing and better than any store bought vanilla ice cream. By the way, I highly recommend a visit to Amber’s blog because she has tons of great recipes.

So we put these two great recipes together and had some yummy ice cream sandwiches. They were a bit messy when you bit into them, but they were worth the mess.

Unfortunately I never got a picture of the actual sandwiches, but I was able to snap some of the individual ingredients.
dsc_0036

dsc_0038

Oatmeal-Chocolate Chip Cookies

adapted from cookinglight.com
1 ¼ cups all-purpose flour (about 5 ½ ounces)
1 cup regular oats
¾ tsp. baking powder
½ tsp. baking soda
½ tsp. salt
¾ cup granulated sugar
½ cup packed brown sugar
1/3 cup butter, softened
1 ½ tsp. vanilla extract
1 large egg
½ cup semi-sweet minichips (next time I will probably add a few more)

Preheat oven to 350 degrees.

Lightly spoon flour into dry measuring cups; level with a knife.  Combine flour and next 4 ingredients (through salt), stirring with a whisk; set aside.

Place sugars and butter in a large bowl; beat with a mixer at medium speed until well blended.  Add vanilla and egg; beat until blended.  Gradually add flour mixture, beating at low speed just until combined.  Stir in the minichips.

Drop dough by tablespoons 2 inches apart onto baking sheets lined with parchment paper.  Bake at 350 degrees for 12 minutes or until edges of cookies are lightly browned.  Cool on pans 2 minutes.  Remove cookies from pans; cool on wire racks.

Yields: 3 dozen
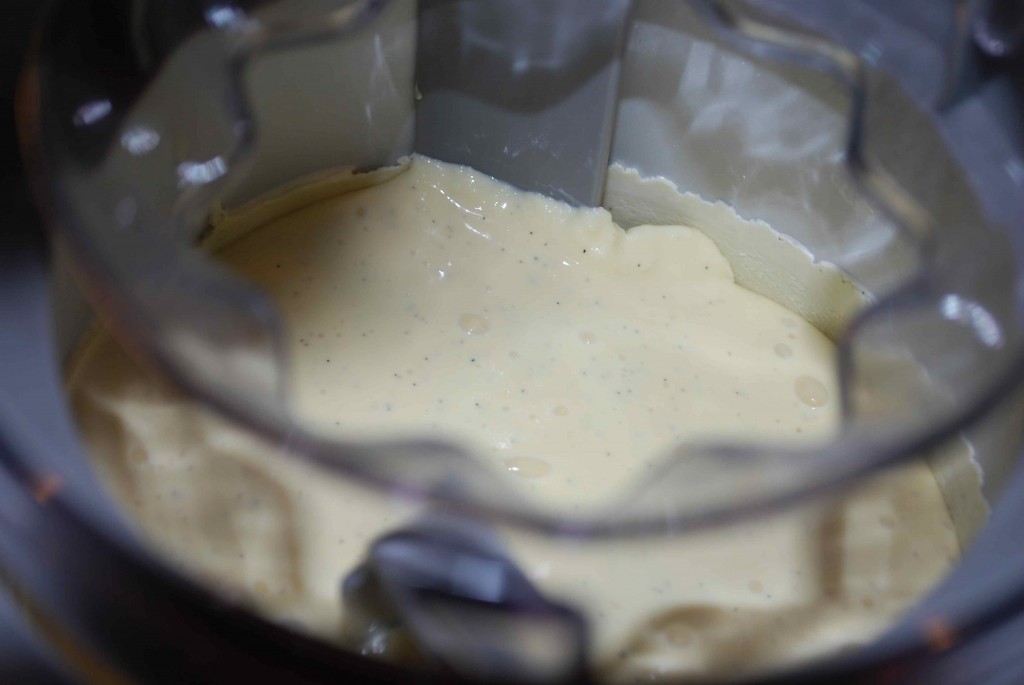
dsc_0034

dsc_0009

Vanilla Ice Cream

courtesy of Amber’s Delectable Delights
1 cup whole milk
¾ cup sugar
2 cups heavy cream, divided
pinch of salt
1 vanilla bean, split in half lengthwise
6 large egg yolks
¾ tsp. vanilla extract

Warm the milk, sugar, 1 cup of cream, and salt in a medium saucepan. Scrape the seeds from the vanilla bean into the warm milk and add the bean as well. Cover, remove from the heat, and let steep at room temperature for 30 minutes.

Pour the remaining 1-cup cream into a large bowl and set a mesh strainer on top. In a separate medium bowl, whisk together the egg yolks. Slowly pour the warm mixture into the egg yolks, whisking constantly, then scrape the warmed egg yolks back into the saucepan.

Stir the mixture constantly over medium heat with a heatproof spatula, scraping the bottom as you stir, until the mixture thickens and coats the spatula. Pour the custard through the strainer (into the remaining 1-cup cream) and stir until cool over an ice bath.

Chill the mixture thoroughly in the refrigerator. When ready to churn, remove the vanilla bean, and then freeze the mixture in your ice cream maker according to the manufacturers instructions.
Love is in the air.

Since Valentine’s Day was on a Saturday this year, Greg and I decided that we were going to celebrate at home. We didn’t want to be bothered with the crowds at restaurants to only receive a sub-par meal from an overwhelmed kitchen. We thought that cooking together and enjoying a romantic dinner with a bottle of great wine would be much more enjoyable. As a side note while I am mentioning wine, I picked up a bottle of Mark West Pinot Noir a while back since Pinot is Greg’s favorite and I had read that this was a fantastic wine for the price.  This was the bottle we chose to have with dinner and to my surprise and happiness, Greg loved it and thought it was one of the best Pinots he has ever had. Score one for me!

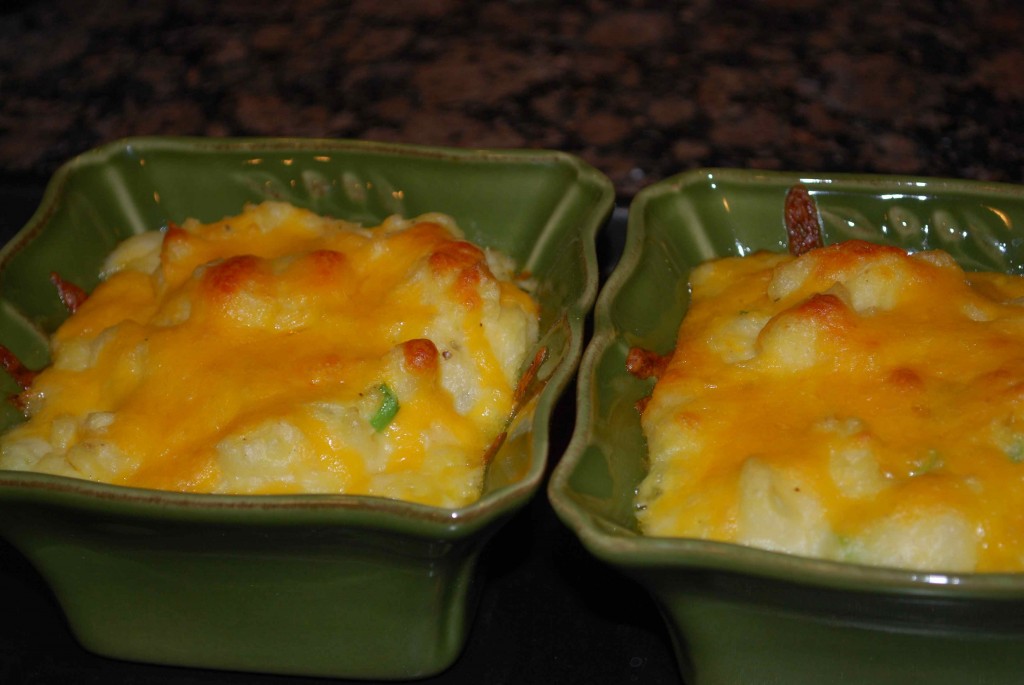
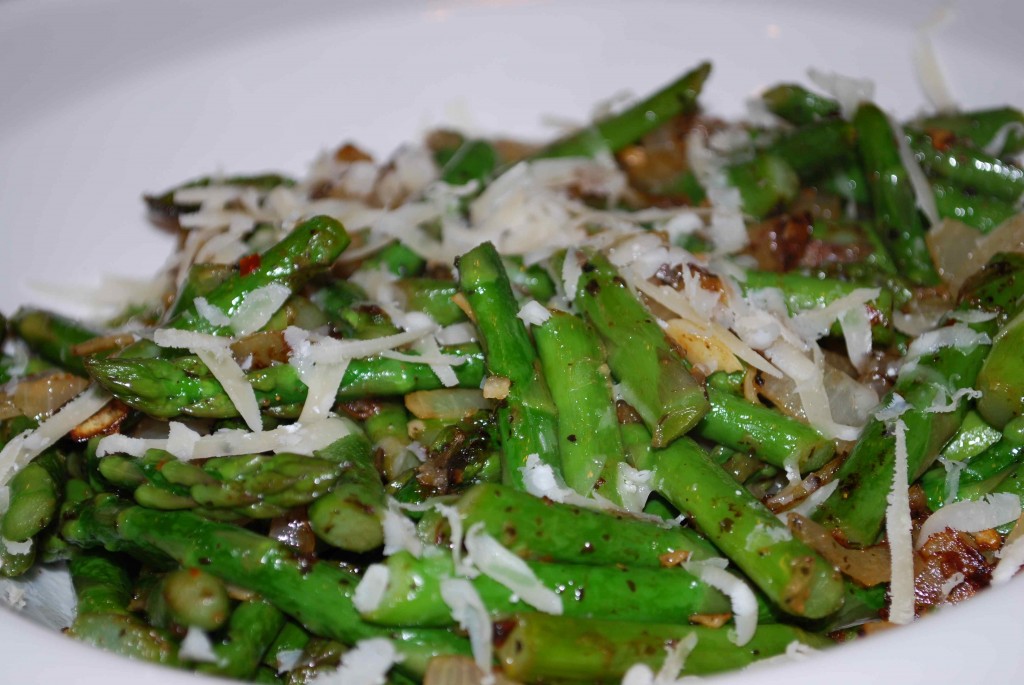
Getting back to dinner, we decided that Greg would grill up some steaks, which he does incredibly well, and I would be in charge of side dishes and dessert. For the sides, I ended up going with a cheesy smashed potato crock and zesty asparagus with shallots and fresh Parmigiano-Reggiano cheese.

After sitting down to our home cooked masterpiece, we both agreed that we made the right decision by staying in. The food was amazing; especially his steaks and we were able to enjoy each other’s company without the hustle and bustle of the Valentines crowd. This may just be a new tradition for us.

dsc_0026

Cheesy Smashed Potato Crocks

1 large baking potato
1 cup shredded cheddar cheese, divided
½ cup cream (or milk)
1 tbs. unsalted butter
¼ cup chopped green onion
salt and pepper to taste

Preheat oven to 375 degrees.

Peel the potato and cut it into about 1 inch chunks.  Place the cut potato into a medium pot of salted water and bring to a boil over medium heat.  Boil the potatoes for about 10 minutes or until a knife can be inserted easily.
Drain the potatoes and place in a mixing bowl.  Using a fork, smash the potatoes to the consistency you desire (I chose to leave small bits in ours).  Add ½ cup of cheese to the bowl (please note that you can use as much or as little cheese as you desire).  Add the cream (or milk), butter, green onion and salt & pepper to taste.  Mix well until all ingredients are incorporated.

Divide the potato mixture into two crocks or individual sized casserole dishes.  Sprinkle the remaining cheese on top of each dish.  Place the dishes on a baking sheet and insert in oven.  Bake 15-20 minutes, or until tops have golden brown specs.

Serve the hot crocks carefully.

Yields: 2 servings.

dsc_0032

Zesty Asparagus

1 package fresh asparagus
2 shallots, sliced
1 tbs. butter
1 ½ tsp. Penzey’s Tuscan Seasoning (or Italian seasoning)
1 tsp. dried red pepper flakes.
¼ cup fresh Parmigiano-Reggiano cheese, grated

Wash the asparagus and cut into 2 inch pieces. Place the butter in a sauté pan on medium-high heat. When the butter has begun to melt, add the sliced shallot and the cut asparagus. Add the Tuscan Seasoning and red pepper flakes. Cook for about 10 minutes or until your desired tenderness. Remove from pan and put in a serving dish, sprinkle the top with Parmigiano-Reggiano cheese.

Yields: 2-3 large servings.

Pollo Arrosto al Balsamico

I decided to take my laptop and make a trip over to Borders the other day since ours has a nice outdoor patio that overlooks the waterway. I figured it would be some nice scenery while I searched for jobs and worked on my blog. When I go to Borders I always check out their clearance section for cookbooks because you can score some great finds for really cheap at times. Well sure enough I found a lovely book by William-Sonoma called Savoring Italy. It was a large book and had beautiful photography of Italy all through it. It also gave a lot of background into Italian ingredients and cooking. Of course I found this intriguing since I am obsessed with Italy and Italian cooking. I figured it would be a lovely coffee table book even if the recipes weren’t that great. After flipping through it for a few minutes I soon discovered that it also had some amazing looking recipes. How in the world could I turn this book down, especially on clearance for $6.95! Needless to say, I have a new cookbook and the cookbook has a new home. :o)

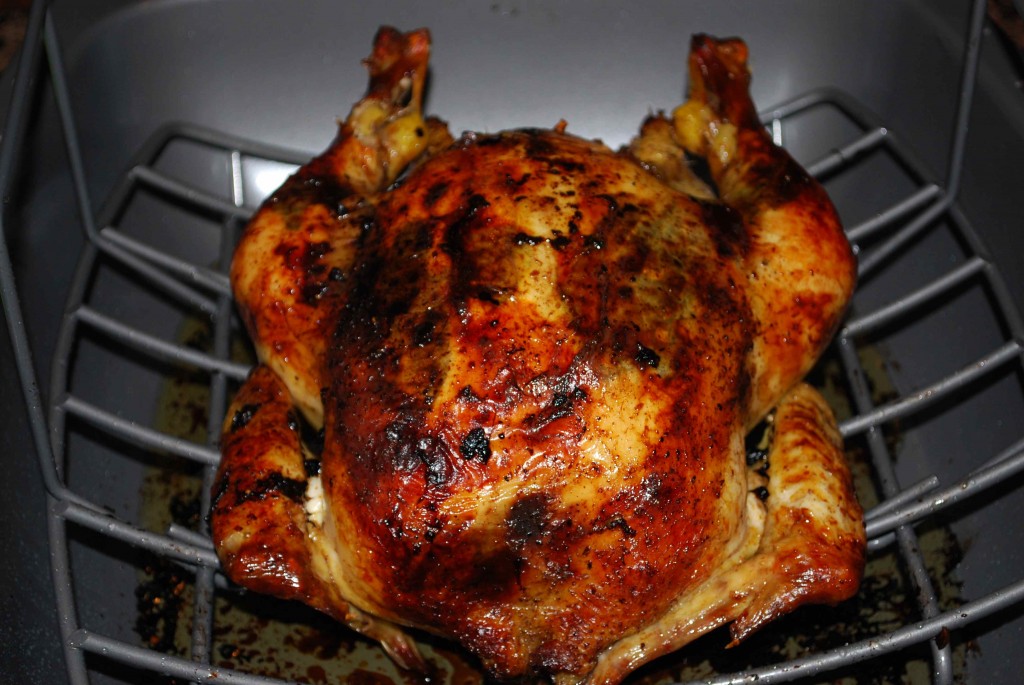
I definitely wanted to use a recipe from the book this week, so when I found the Pollo Arrosto al Balsamico or Roast Chicken with Balsamic Vinegar and Sage, I thought that would be a great weeknight meal. It was fairly easy to make, although we had a little discrepancy with the cook time. In the end, the chicken was moist, flavorful and oh so delicious! I served it with a nice side salad and cheese polenta. Greg and I thoroughly enjoyed it and I look forward to using the leftovers this week.

dsc_0042

~I know the roasting pan looks so elegant. It was getting late, I will have to take a better photo next time.

Roast Chicken with Balsamic Vinegar and Sage

courtesy of William-Sonoma Savoring Italy
1 large roasting chicken (about 5 pounds)
12 fresh sage leaves
2 large cloves of garlic, chopped (I used about 4 large cloves)
2 tbs. olive oil
2 tbs. balsamic vinegar
½ tsp. sugar
salt and freshly ground pepper to taste

Preheat oven to 350 degrees

Rinse the chicken and pat dry. Tuck the chicken wings behind the back. Using your fingers, gently loosen the skin on the breast and legs, being careful not to tear the skin. Insert a few of the sage leaves and some of the garlic under the skin, distributing them evenly. Pat the skin firmly back in place. Tuck the remaining sage leaves and garlic into the cavity.

In a small bowl, whisk together the olive oil, vinegar, sugar, salt, and pepper. Rub some of the mixture over the chicken and pour the remainder inside the cavity. Cross the drumsticks and, using kitchen string, tie the legs together. Place the chicken, breast side up, on a rack in a roasting pan.

Roast the chicken, basting occasionally with the pan drippings, until an instant read thermometer inserted into the thickest part of the thigh away from the bone registers 175 degrees or the juices run clear when a thigh is pierced, about 1 ½ hours.

Transfer the chicken to a carving board. Cover loosely with aluminum foil and keep warm.

Pour the pan juices through a fine-mesh sieve into a small saucepan. Skim off the fat. Reheat to serving temperature, if necessary.

Carve the chicken and arrange on a platter. Pour the juices over the chicken and serve immediately.

Note: Our electric thermometer read a little over 175 degrees, but when we first cut into the chicken to carve it, it was still a bit undercooked. You may want to test more than once for accuracy.

Green Pizza

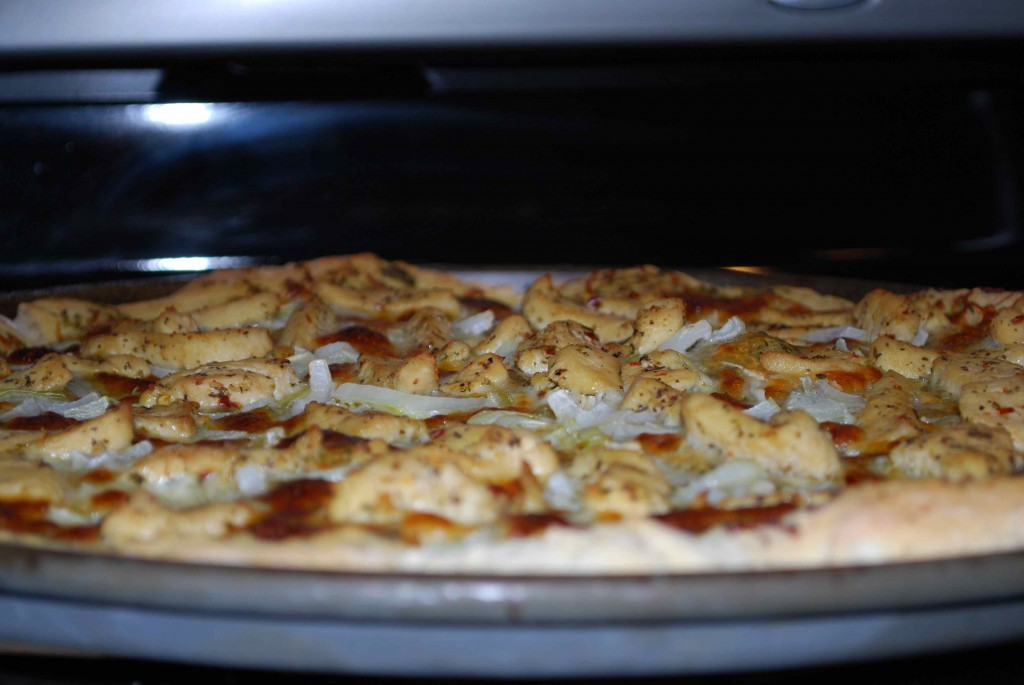
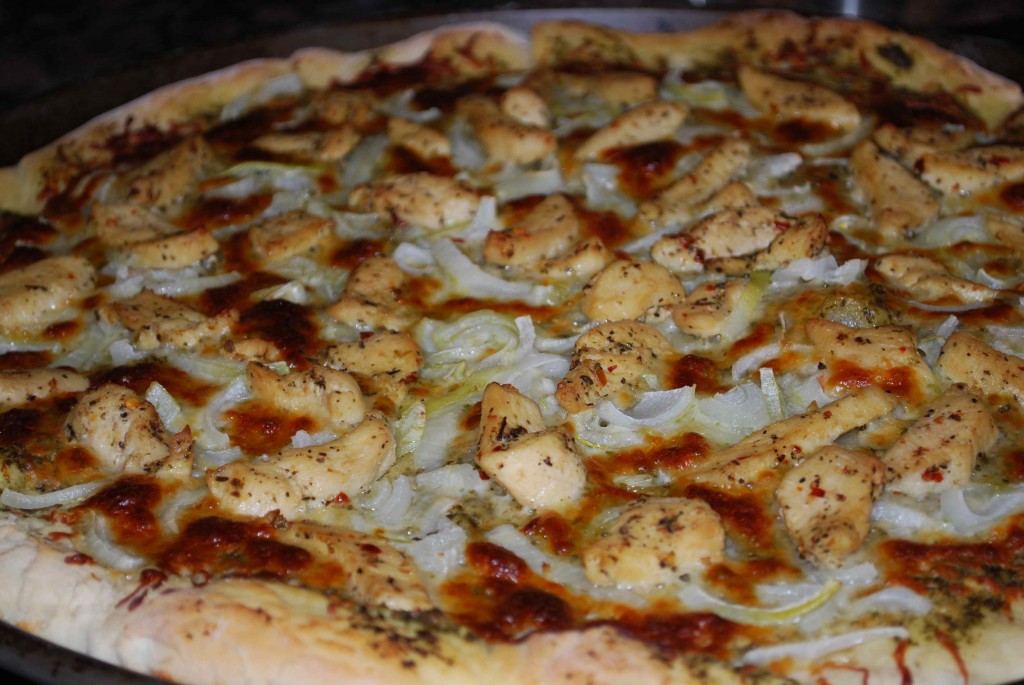
Greg and I love pizza, but we have had a very hard time finding a good pizza place in our area. While wanting to use some things from around the house and having a craving for pizza, I decided to make one homemade. We could have it exactly the way we wanted and we could enjoy it fresh out of the oven.

Not really feeling like the typical tomato sauce and cheese pizza I rummaged through the refrigerator and pantry and came across some pesto, which I thought would be a great replacement for the tomato sauce. I also found onion and chicken, which are two of our favorite pizza toppings anyway. I knew I had flour and yeast, so the dough wouldn’t be a problem either, so I got to work.

The outcome was delicious! It wasn’t too heavy but it was very filling and the flavors were light and tasty.

dsc_0022

dsc_0023

Chicken and Pesto Pizza

pizza dough (I used this Emeril recipe)
store bought pesto
½ cup fresh Parmigiano-Reggiano cheese, grated
1 ¾ cups grated mozzarella cheese
1 small onion, thinly sliced
1 boneless skinless chicken breast, sliced and cooked

Prepare your pizza dough and roll it out onto a prepared pizza pan or stone.

Spread your desired amount of pesto on top of the dough, being sure to leave the edges clean for the crust. Add the grated Parmigianino Reggiano cheese, mozzarella cheese, onion and chicken.

Place in a 425 degree oven for about 18-20 minutes.

Yields: (1) 16 inch pizza

Welcome!

Welcome to the new Little Miss Foodie Two Shoes!  I started the Little Miss Foodie Two Shoes blog quite a while ago, but unfortunately I neglected it.  I became so backed up on my entries that I didn’t think I would ever get it up to date.  Since I figured I would be spending a lot of time getting caught up, I decided to just do a whole blog overhaul while I was at it.  Thanks to my husband, Greg, I now have a new blog and I plan on taking much better care of it!

As you will see from the dates of my posts, I did a lot of catchup over the past month or so.  Quite a few dates aren’t going to coincide with when the recipes were first made.  That will explain why my Christmas Cookie post has a date of February, lol.  I promise I was not making Christmas cookies this past week.  :o)  Hopefully now that I am caught up, I can stay on top of it better from here on out.

You will notice there is a tab named “my favorites.”  I plan to start adding some of my favorite cookbooks, wines, gadgets, etc.  So stay tuned for that.

I hope you enjoy!  I know I am very thankful for so many of the food blogs out there because they inspire me to do so much more in the kitchen.  I am glad I can continue to share my ideas and food finds with all of you as well.  Happy Cooking!

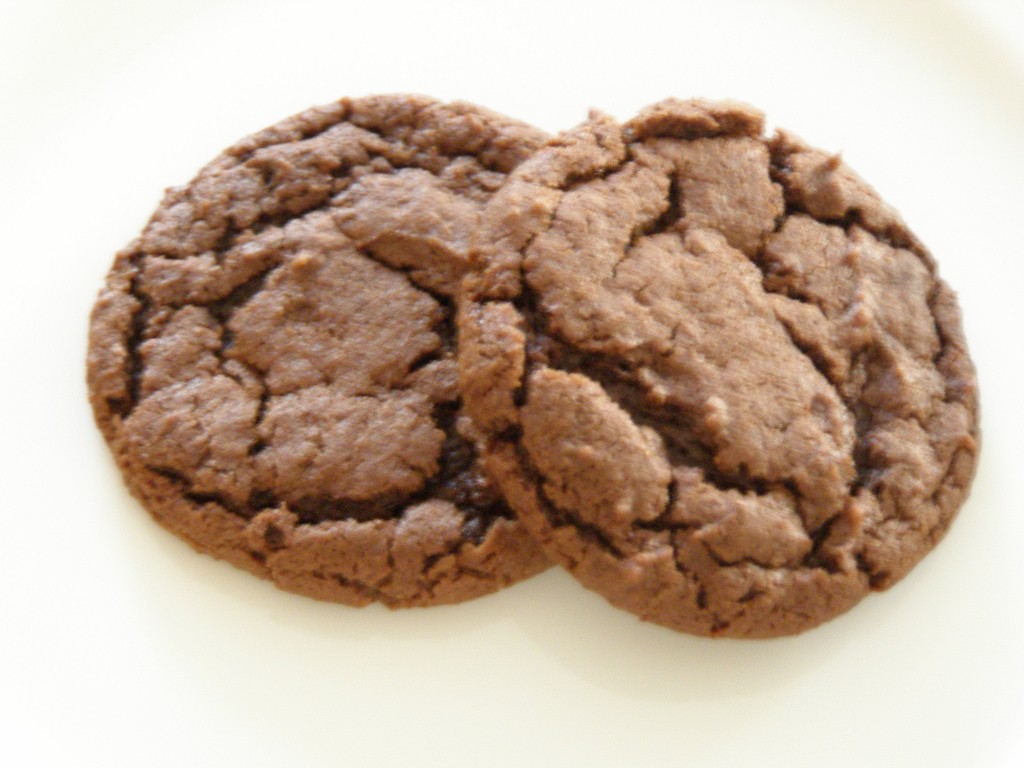
Low-Cal. Chocolate Goodness

Who isn’t looking for a decadent dessert they don’t have to feel guilty about eating?? With the sweet tooth I posses along with being a chocoholic, this is a mission in life for me. :o) Especially since I gain weight just looking at food!

I was so happy to find a chocolate cookie that would feed my sweet tooth, but not leave me avoiding the scale afterwards. Did I mention that this cookie tastes great too?! It is actually more decadent than most full-fat cookies I have eaten. Think cookie meets brownie. Honestly, I really don’t think any further explanation is needed. One bite and you will be sold, I promise!

p10100791

Cocoa Fudge Cookies

courtesy of cookinglight.com
1 cup all-purpose flour
1/4 tsp. baking soda
1/8 tsp. salt
5 tbs. butter
7 tbs. unsweetened cocoa
2/3 cup granulated sugar
1/3 cup packed brown sugar
1/3 cup plain low-fat yogurt (I used vanilla)
1 tsp. vanilla extract
cooking spray

Preheat oven to 350 degrees.

Lightly spoon flour into a dry measuring cup; level with a knife. Combine flour, baking soda, and salt; set aside. Melt butter in a large saucepan over medium heat. Remove from heat; stir in cocoa powder and sugars (mixture will resemble course sand). Add yogurt and vanilla, stirring to combine. Add flour mixture, stirring until moist. Drop by level tablespoons 2 inches apart onto baking sheets coated with cooking spray.

Bake at 350 degrees for 8 to 10 minutes or until almost set. Cool on pans 2 to 3 minutes or until firm. Remove cookies from pans; cool on wire racks.

Yields about 2 dozen cookies.

When in Rome.

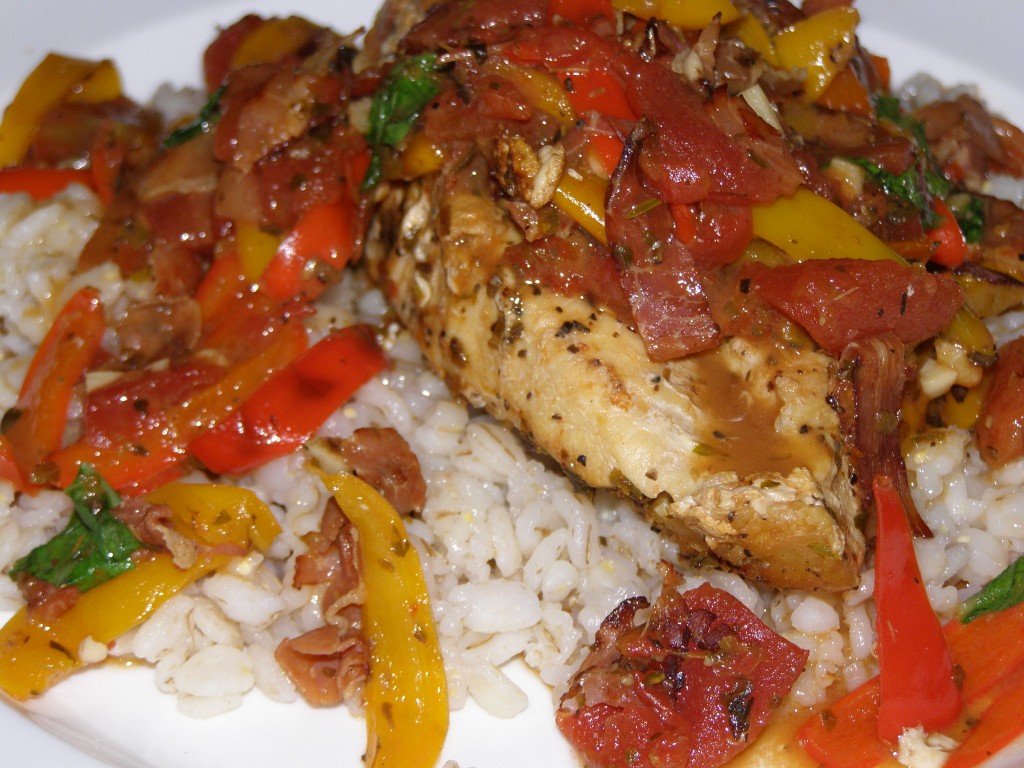
I love recipes that can be made with things that are generally kept stocked in the kitchen. These are always great go to dishes that don’t require a last minute run to the grocery store. These are also dishes that have ingredients that can be subbed in and out if you are missing something or have something in the refrigerator that needs to be used up.

While watching the Food Network the other day, I found one of “those” dishes. It is Giada’s Roman-Style Chicken. The dish is jam packed with a tasty combination of fresh ingredients. This will definitely stay on my list of “go to” meals. It was delicious to say the least!

p1010071

Roman-style Chicken

adapted from Giada De Laurentiis and Food Network
4 skinless chicken breast halves (I used boneless skinless chicken breast)
2 skinless chicken thighs, with bones (I omitted these)
1/2 tsp. salt, plus 1 tsp.
1/2 tsp. freshly ground black pepper, plus 1 tsp.
1/4 cup olive oil
1 red bell pepper, sliced
1 yellow bell pepper, sliced
3 ounces prosciutto, chopped
2 cloves garlic, chopped
1 (15 oz.) can diced tomatoes
1/2 cup white wine
1 tbs. fresh thyme leaves (I used dried)
1 tsp. fresh oregano leaves (I used dried)
1/2 cup chicken stock
1/4 cup chopped fresh flat-leaf parsley

Season the chicken with 1/2 tsp. salt and 1/2 tsp. pepper. In a heavy, large skillet, heat the olive oil over medium heat. When the oil is hot, cook the chicken until browned on both sides. Remove from the pan and set aside.

Keeping the same pan over medium heat, add the peppers, prosciutto and cook until the peppers have browned and the prosciutto is crisp, about 5 minutes. Add the garlic and cook for 1 minute. Add the tomatoes, wine, and herbs. Using a wooden spoon, scrape the browned bits off the bottom of the pan. Return chicken to the pan, add the stock, and bring the mixture to a boil. Reduce the heat and simmer, covered, until the chicken is cooked through, about 20 to 30 minutes.

Add parsley and stir to combine.

Light but Satisfying

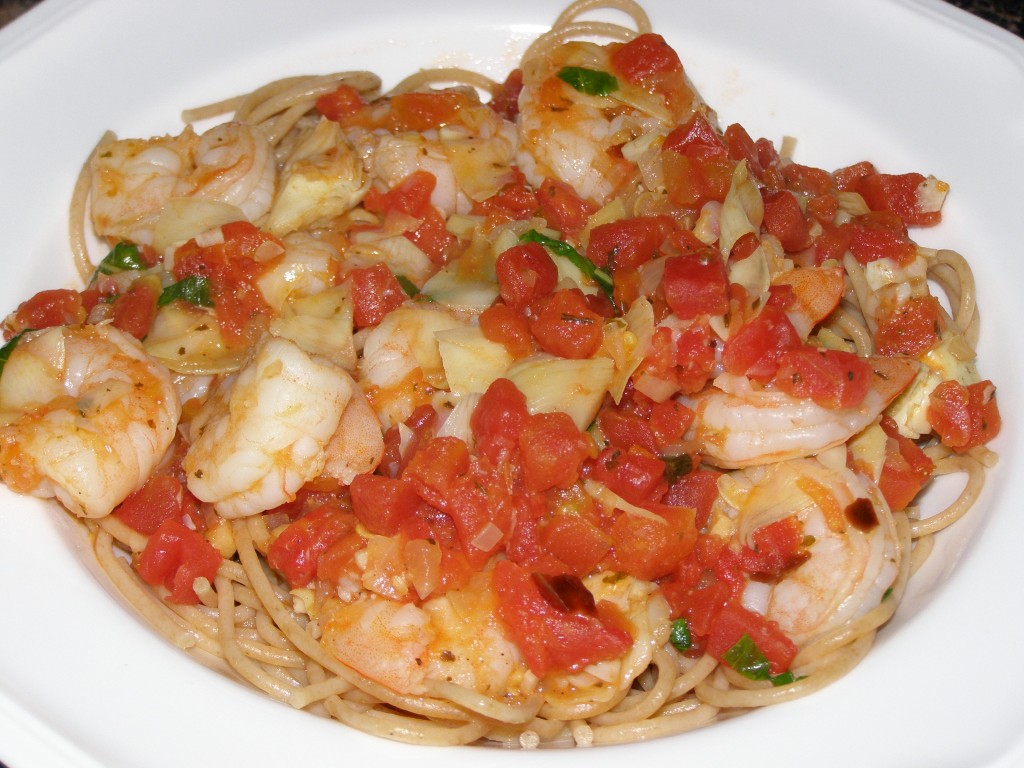
I really feel like I should have been born Italian. I just love the culture and food. I mean their ingredients alone are enough to make me drool. Italian food is my absolute favorite thing to cook by far. With that said, of course Giada De Laurentiis is one of my favorite chefs. Her recipes are very inspiring and open doors for you to explore many options.

Recently I was looking for a lighter pasta dish. I didn’t want a heavy sauce, just something refreshing. While looking through Giada’s Family Dinners I found a recipe for Fusilli with Shrimp and Arugula. It sounded great, but I wanted to put my own twist on it. In the end it turned out fabulous and is now a favorite of mine and Greg’s. We have also made it without the shrimp as a simple side dish.

p1010065

Spaghetti with Shrimp and Basil

adapted from Giada’s Family Dinners
1/4 cup olive oil
1/4 cup finely chopped shallots (or yellow onion)
1 tbsp. minced garlic
1/4 tsp. crushed red pepper flakes
1 cup dry white wine
1 lb. large shrimp, peel and deveined
1 cup petite diced tomatoes
salt
fresh ground black pepper
12 ounces dried thin spaghetti (or pasta of your choice)
about 6 leaves of fresh basil

Heat the oil in a large skillet over medium heat.  Add the shallots, garlic, and red pepper flakes; saute until translucent, about 2 minutes.  Add the wine.  Simmer until the wine reduces by half, about 5 minutes.  Add the diced tomatoes and stir to combine.  Add the shrimp and cook, stirring, just until they are pink; about 2 minutes.

Meanwhile, bring a large pot of salted water to a boil.  Add the spaghetti and cook, stirring often to prevent the pasta from sticking together, until tender but still firm to the bite; about 8 minutes.  Drain.

Add the spaghetti and the basil (torn into pieces) to the skillet with the shrimp.  Toss to combine.  Season the pasta to taste with salt and pepper.

Yields about 4 servings.

Lemony Sunshine

Back in January we had Greg’s mom and grandparent’s over to celebrate his mom’s birthday as well as mine. The thing is, my mother-in-law and I share the same birthday, January 7th (Greg and my sister also share the same birthday-Oct. 12th). I know, it is strange. Anyway, since Greg took me out to dinner on my birthday, we wanted to do something for his mom the following weekend.

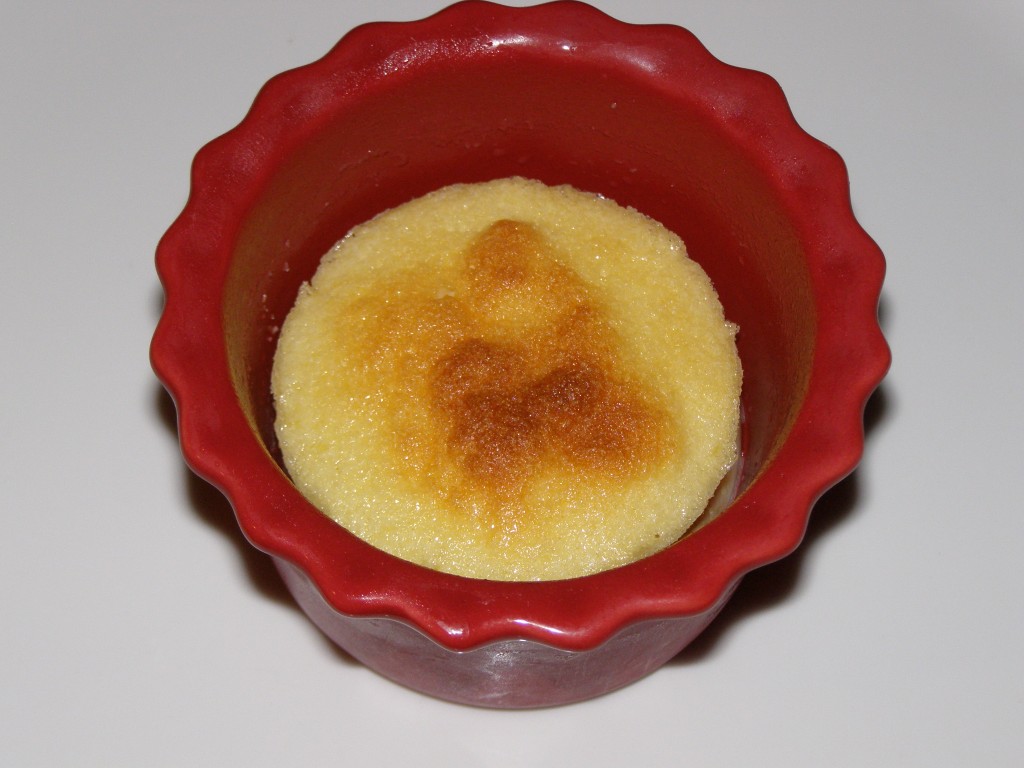
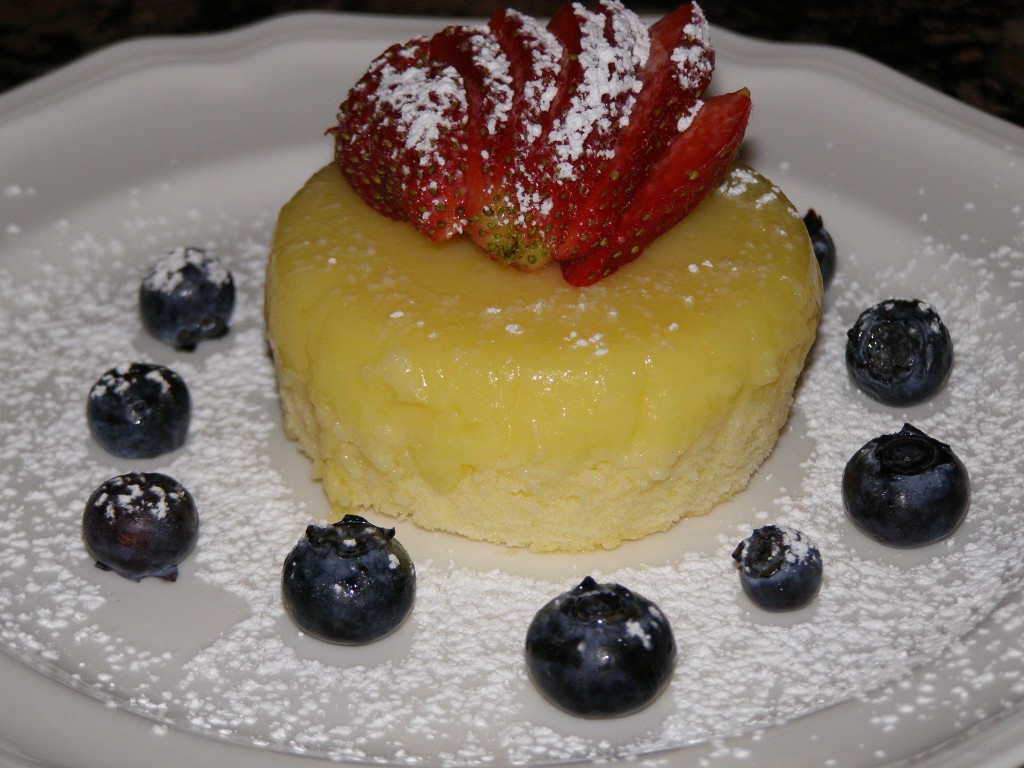
To our happiness, this “family” dinner with his side was also a success. Of course my main concern was the dessert. With the holidays just coming to a close, I was really tired of all the heavy desserts and was looking for something lighter, almost summery. When I found a Tyler Florence recipe for Lemon Pudding Cake with Fresh Mixed Berries, I knew that would be perfect. I also thought it would be fun to have individual servings of dessert, which this recipe was designed for, so it worked out great.

This recipe is so light and refreshing. I will definitely be making it again as spring and summer approach. It is a fairly easy dessert to put together but it really has the “wow” factor. It looks like you spent a lot more time than you actually did, but that can be your little secret. ;o)

p1010014

p1010019

Lemon Pudding Cake with Fresh Mixed Berries

courtesy of Tyler Florence and Food Network
1 tbs. unsalted butter
2/3 cup superfine sugar
2 eggs, seperated
2/3 cup reduced fat buttermilk
2 tbs. lemon juice
1 tbs. lemon zest
1/4 cup all-purpose flour
1/4 tsp. salt

Garnish:
Feel free to switch out the berries with whatever kind you choose. I used strawberries and blueberries.
1 cup fresh raspberries
1 cup fresh blueberries
1 cup fresh blackberries
2 tbs. confectioners’ sugar

Preheat oven to 325 degrees. Butter and lightly sugar 4 ramekins (about 1-cup size).

In a mixer, add egg yolks, buttermilk, lemon juice and lemon zest and beat until well combined. Reduce the speed to low and sift in flour, sugar and salt. Continue to mix until combined. Beat egg whites until you get stiff peaks then combine the 2 mixtures by gently folding them together, a little at a time. Divide evenly amongst ramekins then bake in a water bath – set ramekins in a roasting tray and fill with water halfway up the sides of the ramekins.

Bake for 60 minutes until the top springs back when gently pressed and the cakes have a nice golden brown color. Allow to cool slightly, then carefully invert onto a plate. Serve with fresh berries and dust with powdered sugar.

Yields 4 servings.

A few of my favorite things..

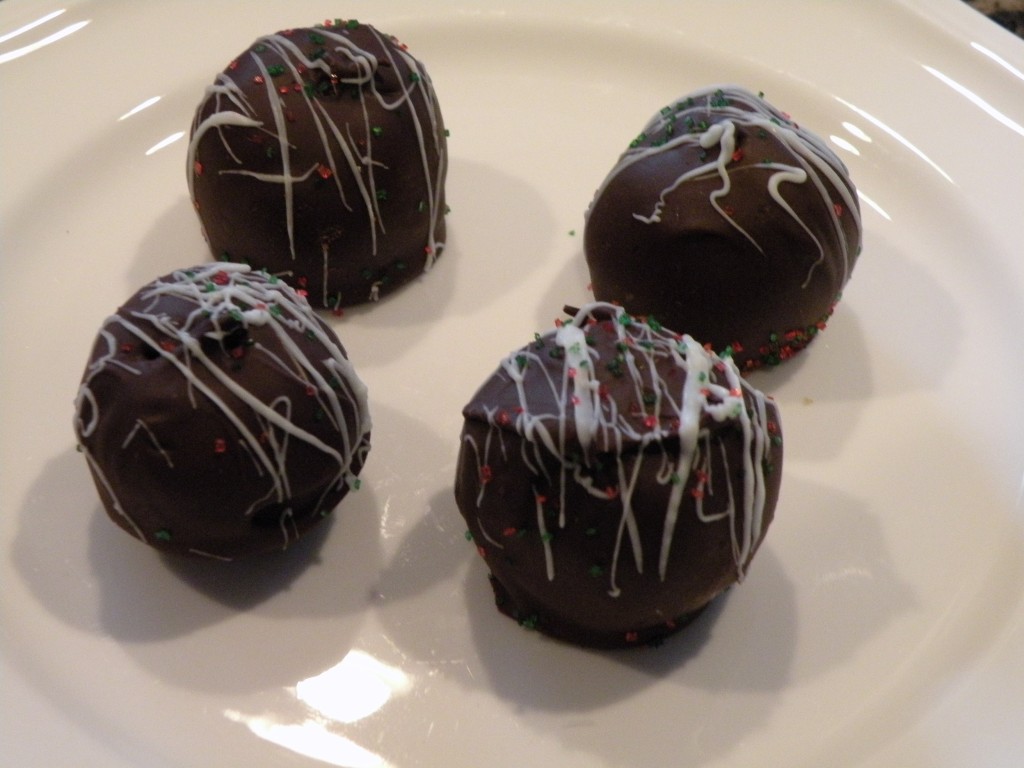
During the holidays I saw Oreo Truffles mentioned on the What’s Cooking board numerous times. You mention truffles and I am immediately intrigued. So I decided to look into these truffles that everyone spoke of. Pretty much crushed Oreos and cream cheese covered in chocolate….what more could a girl ask for? These definitely had to go on my “to make” list. I decided to whip a batch up for Christmas day. We would be going over to visit with family and I thought it would be the perfect treat. They are so incredibly easy to make, but they look like you purchased them at a high end chocolate store. Oh, did I forget to mention that they are also DELICIOUS!! I highly recommend these for any occasion. You can used whatever type of chocolate you prefer and you can change up the decorations. Just be prepared for them to disappear very quickly! :o)

dscn0104

Oreo Truffles

courtesy of lovestoeat’s weblog, originally from recipezaar.com

1 lb. Oreo cookies (3 sleeves) 8 ounces cream cheese, room temperature 1/2 tsp. vanilla extract 1 lb. milk chocolate 1/2 lb. white chocolate Using a food processor, grind cookies to a fine powder.

With a mixer, blend cookie powder, cream cheese and vanilla extract until thoroughly mixed (there should be no white traces of cream cheese).

Roll into small balls and place on wax-lined cookie sheet. (As suggested, I used my cookie scoop, refrigerated for a while, then rolled them and this made it a lot less messy).

Refrigerate for 45 minutes.

Line two cookie sheets with wax paper.

In a double-boiler, melt milk chocolate (I used a Pyrex dish over a pot).

Dip balls in chocolate and coat thoroughly.

With slotted spoon, lift balls out of chocolate and let excess chocolate drip off. (I used toothpicks to do this instead).

Place on wax paper lined cookie sheet.

In a separate double-boiler, melt white chocolate.

Using a fork, drizzle white chocolate over balls. (You may also choose to use decorative sprinkles or sugars for decorating).

Let cool.

Store in airtight container, in refrigerator.

Yields approximately 40 truffles.