Tasty Tools: Bakeware – Low Fat Pumpkin Muffins

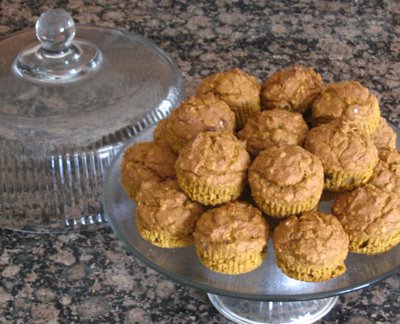
This month’s Tasty Tools hosted by Joelen’s Culinary Adventures, is bakeware. Since everyone seems to be catching the Fall bug I decided to use my muffin pans and make Pumpkin Muffins. This is my first time participating in the event (actually any event that has been advertised on the WC board) so I am very excited!

Okay so let’s get to the muffins. I have been trying to cut calories lately so these muffins are actually low fat and were inspired by a Weight Watchers friendly recipe that a friend told me about a few years ago. The original recipe was good and extremely easy but I just wasn’t crazy about the texture; they were very dense and the tops were always gooey. I decided to do a little research and attempt to make the recipe a little more pleasing without making it unhealthy.

I was very pleased with the outcome. The muffins have more of a cake like texture and do a better job of resembling a full-fat muffin. Pumpkin muffins that you don’t feel guilty about eating, what more could you ask for??

Well, you could visit Joelen’s Culinary Adventures to see a ton of other delicious recipes in the Tasty Tools September Round-Up!
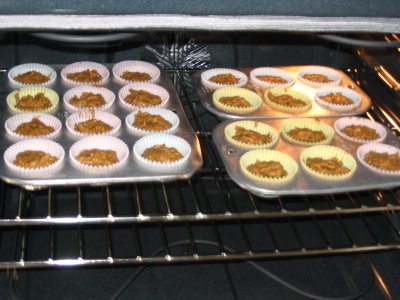
muffin1

In they go! I have to give the Tasty Tools a spotlight too.
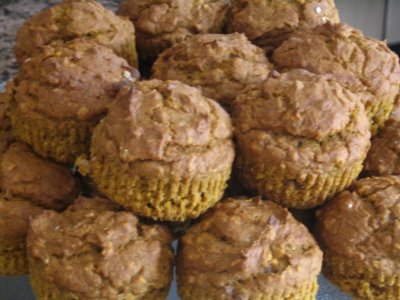
muffin2

A hill of pumpkin yumminess.

muffin3

Low Fat Pumpkin Muffins

1 box of spice cake mix
1/2 cup instant oats
1 15 oz. can of pumpkin
1 to 2 egg whites
3/4 cup water (or milk)
1 tsp. vanilla extract

Preheat oven to 350 degrees. Combine cake mix and instant oats. Add pumpkin, egg whites, water (or milk) and vanilla extract. Mix until well combined.
Line your muffin pans with paper liners (I suggest spraying the liners with a little cooking spray since the recipe has no oil in it). Fill the liners 3/4 of the way up. Place in oven and bake 20-25 minutes. Recipe should make 24 muffins.

It doesn’t get much easier than that!
Grandma Smalley’s Brownies

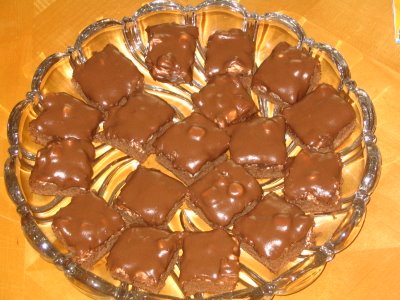
We had a family gathering at my husband’s grandparent’s house this weekend. When I asked if she wanted me to bring something of course his grandmother said no, we just needed to bring ourselves. Well, I haven’t really done any baking since we moved and I was really itching to get in the kitchen and do what I love most. I decided to make my grandma’s “famous” brownies. I had asked her for the recipe quite a while ago but never got around to making them. For as long as I can remember she has always made these brownies for pretty much every holiday or family gathering. We all always look forward to these brownies (hence why I called them “famous”)! Needless to say they were a hit with my husband’s family as well. The tray was more than half empty before it was even time for dessert.

I am really glad that everyone enjoyed them as much as I always have. It is always fun to share a recipe that has been passed down. Next time around I may even try to put my own twist on them….Greg has already put his request in for adding chocolate chips. :o)

gbrownie1

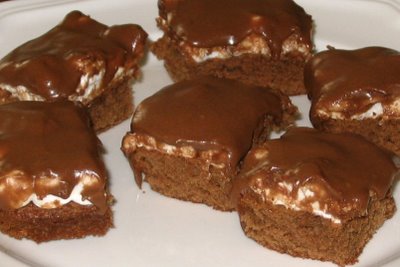
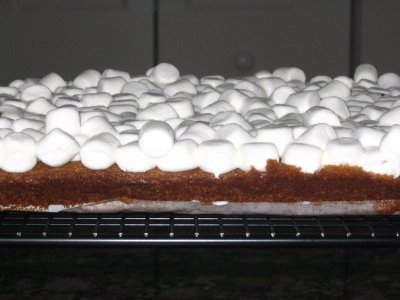
Marshmallowy Goodness!!

Time for a close-up.  It really doesn't get much better than brownies topped with marshmallow and chocolate icing.  I must say my grandma usually adds nuts as well but since Greg isn't a fan I decided to leave them out.   Oh and I guess the "it doesn't get much better than this" comment is up for debate due to Greg wanting to add chocolate chips next time.

Time for a close-up. It really doesn't get much better than brownies topped with marshmallow and chocolate icing. I must say my grandma usually adds nuts as well but since Greg isn't a fan I decided to leave them out. Oh and I guess the "it doesn't get much better than this" comment is up for debate due to Greg wanting to add chocolate chips next time.

gbrownies3

Grandma Smalley’s Brownies

1 cup sugar
1/2 cup butter (softened)
3/4 cup flour
2 eggs
2 tbs cocoa
1 cup nuts (optional – I left them out)
pinch of salt
small marshmallows (about a half a bag)

Preheat oven to 350 degrees. Cream sugar and butter. Add the eggs and mix until combined. Sift the flour, salt and cocoa together and then add to the egg mixture. Mix in nuts (if desired). Line a square cake pan with parchment paper (this isn’t necessary but it makes for easy removal – otherwise make sure to grease your pan). Pour batter into the pan.

Bake at 350 degrees for about 25 minutes (33 minutes for a glass pan). When brownies are done remove them from the oven and immediately spread the marshmallows on the top. You can add a tin foil tent over the pan for a few minutes to make the marshmallows melt nicely but it isn’t necessary.
Let cool and cover with icing (recipe follows).

Chocolate Icing
1/4 cup butter (softened)
2 cups confectioners sugar
2 tbs cocoa
2-4 tbs half & half (I didn’t have any so I used milk and it worked fine)

Mix the butter sugar and cocoa in a bowl until it starts to combine. Add two tbs. of half & half and mix well. Add additional half & half until you reach the correct consistency.

Puffs of Sweetness

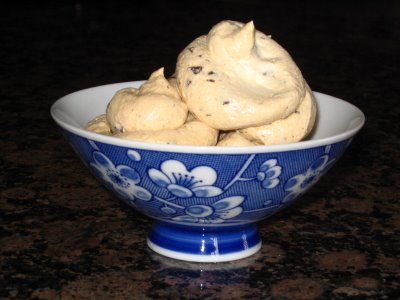
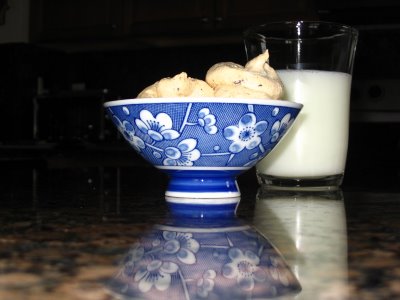
Well they may be puffs of sweetness if someone else makes them! Sadly I don’t think I am cut out to make meringues. My husband and I have been trying to get back into shape and back into the routine of eating healthy. I saw Ellie Krieger make these Chocolate-Almond Meringues on her show the other day and thought they would be a perfect (low fat) sweet treat for us. I made a first attempt at them last week and they completely flopped. I cooked them for 40 minutes at 250 degrees as the recipe instructed. Once they cooled they became super sticky and soggy. Yuck!

I didn’t want to let them defeat me so I asked the girls on the WC Nest board about their experience with meringues and I referred to a few other recipes. I decided to try the route of heating the oven and then turning it off when I put the meringues in and leaving them in for a few hours. When I took them out I could tell they weren’t done so I put them in the oven at 250 for another 30 minutes and then let them stand in the oven for quite a while again after I turned it off. When I first took them out they were PERFECT!! I was so happy and thought I finally had a success. Well, to my disappointment they weren’t as perfect the next day. :o( They aren’t as soggy as the first time but they aren’t crispy like they should be either. I think I am going to give the meringue making up now. I have posted the recipe below in case anyone else would like to take a crack at it. Please let me know if you have any better success!

puffs1

puffs2

Chocolate-Almond Meringues

courtesy of Ellie Krieger
3 egg whites
1/4 tsp. cream of tartar
1/3 cup superfine (caster) sugar*
3/4 tsp. almond extract
2 oz. semi-sweet chocolate (chopped)

Preheat oven to 250 degrees F. Line a baking sheet with parchment paper and set aside (I actually had to use two baking sheets). Place egg whites and cream of tartar in a clean, dry bowl of a stand mixer and beat until foamy (I used my hand mixer). Add sugar and almond extract, beat until meringues hold soft peaks, about 3 minutes. Fold in chocolate gently until just incorporated. Using a pastry bag or a sealable plastic bag with the corner snipped off, pipe meringue by the tablespoon onto cookie sheets. Bake for 40 minutes, then remove from oven and let cool completely before removing from parchment paper. Transfer to an airtight container.

*You can make your own caster sugar by pulsing granulated sugar in a food processor for 30-40 seconds.

Our New Kitchen!

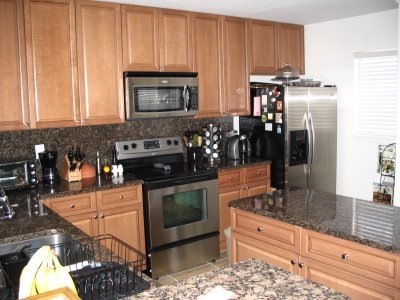
My husband and I just relocated to Fort Lauderdale which means we are also renting a new home. We found this beautiful new townhouse which is perfect for us and the best part about it is….the kitchen! So, I thought I would introduce you to the new place that my dishes and recipes will be coming from.

In the past I have had small kitchens that I hated to cook in because there was just no room. Not to mention the amount of space I had to store all of my dishes, appliances, etc. Now I have this nice spacious kitchen with an island and lots of cabinet space. I am such a happy little cook.

The island is my new best friend.  It makes prep work so much easier and less messy.  I am still in amazement that I actually have counter space.

The island is my new best friend. It makes prep work so much easier and less messy. I am still in amazement that I actually have counter space.

I even have a little area over there in the corner to keep all of my cookbooks and cooking magazines.  I used to have to keep them in our office.

I even have a little area over there in the corner to keep all of my cookbooks and cooking magazines. I used to have to keep them in our office.

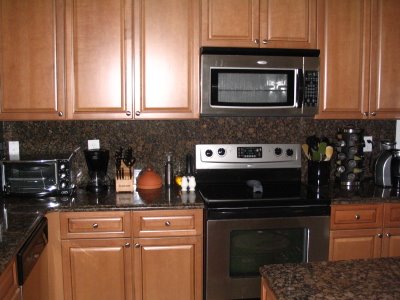
The one downfall is that we had to go back to an electric stove.  :o(  I miss my gas stove so much.  I have to admit that this is a pretty decent flat top but it still takes so much longer for things to heat up and it is impossible to regulate the temperature.  I guess I can't have everything though.

The one downfall is that we had to go back to an electric stove. :o( I miss my gas stove so much. I have to admit that this is a pretty decent flat top but it still takes so much longer for things to heat up and it is impossible to regulate the temperature. I guess I can't have everything though.

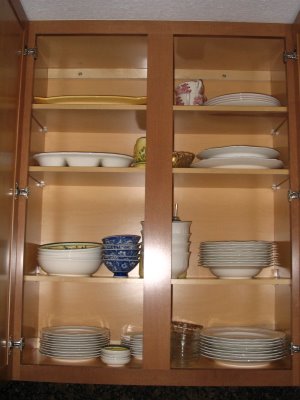
I actually have cabinet space.  There is a nice organized spot for everything.  I can actually use all of my dishes, pots/pans, utensils and appliances without having to dig for them.  I actually know what I have now.

I actually have cabinet space. There is a nice organized spot for everything. I can actually use all of my dishes, pots/pans, utensils and appliances without having to dig for them. I actually know what I have now.

I told my husband that now when we go to buy a house next year there is NO downsizing with the kitchen. There is no way I could go back to something smaller now. :o)