Cold, Sweet and Delicious

Every month I try to make sure I go over to Joelen’s Culinary Adventures to see what she has planned for her monthly Tasty Tools event. Of course I visit her wonderful blog more than once a month, but sometimes I get busy and completely forget to check out what events she has going. Well, I managed to remember this month and found out that the June’s choice tool was the ice cream maker. After thinking about it, I thought that I wouldn’t get around to making any ice ream this month and I would wait and see what she would choose for next month.

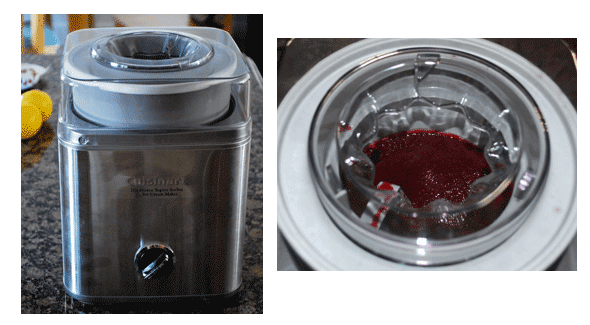
Fast-forward to the end of the month; I made a delicious strawberry cake for Father’s Day and had quite a bit of leftover strawberry puree. I was originally planning on freezing it into small portions for smoothies. Well, as I was portioning it out, I decided that a strawberry sorbet would be divine for these hot summer days. Of course it then dawned on me that it would give me the opportunity to use my ice cream maker. Yay, I would get to participate in Tasty Tools after all!

I began searching for sorbet recipes and found a great one over at Epicurious by Bon Appétit. I did realize that I didn’t have quite enough strawberries though, but I did have a bag of blueberries in the freezer. So my strawberry sorbet quickly turned into a “berry” sorbet. Well, what are berries without a little chocolate? To me, the mixture of a berry ice cream or sorbet with semi-sweet or dark chocolate chips is heaven. Okay, so now I have a berry chocolate chip sorbet. Yum!

Oh, and YUM is right! I got to work on my concoction and I was NOT disappointed. Greg snubbed his nose at the thought of the blueberries when I first told him what I was doing. Ha, that snub didn’t last long after he took a bite that night. The outcome was delicious. A sweet tartness with a hint of chocolate, what more could a girl ask for?

Sorbet-1

frozen-machine-rev1

Berry Chocolate Chip Sorbet

Adapted from Bon Appétit

1 1/3 cups water
2/3 cup sugar

10 ounces strawberries, hulled
6 ounces blueberries
2.5 tbs. fresh orange juice
2.5 tbs. fresh lemon juice
1 tsp. lemon zest
1/3 cup mini semi-sweet chocolate chips

Stir 1 1/3 cups water and sugar in heavy medium saucepan over high heat until sugar dissolves. Boil 5 minutes.

Puree strawberries and blueberries in food processor until smooth. Add the berry puree, orange and lemon juices and lemon zest to sugar syrup; stir to blend. Cover and refrigerate until cold, about 2 hours.

Process berry mixture in ice cream maker according to manufacturer’s instructions; adding the chocolate chips during the last 5 minutes.

-The sorbet does become very solid after freezing overnight. You may choose to add a tablespoon of vodka to the mix to help keep the sorbet from getting too solid. You can also let it sit out about 15 minutes before serving.

Daring Bakers’ June Challenge: Bakewell Tart

The June Daring Bakers’ challenge was hosted by Jasmine of Confessions of a Cardamom Addict and Annemarie of Ambrosia and Nectar. They chose a Traditional (UK) Bakewell Tart… er… pudding that was inspired by a rich baking history dating back to the 1800’s in England.

Daring Bakers’, you ask? Yup, Daring Bakers’ is a group that I recently joined in hopes of being exposed to and learning new baking styles, techniques, traditions, etc. I will be participating in it monthly and I will reveal my latest challenge outcomes on the 27th of each month, so keep an eye out for my new adventures. I am very excited to see what’s to come!

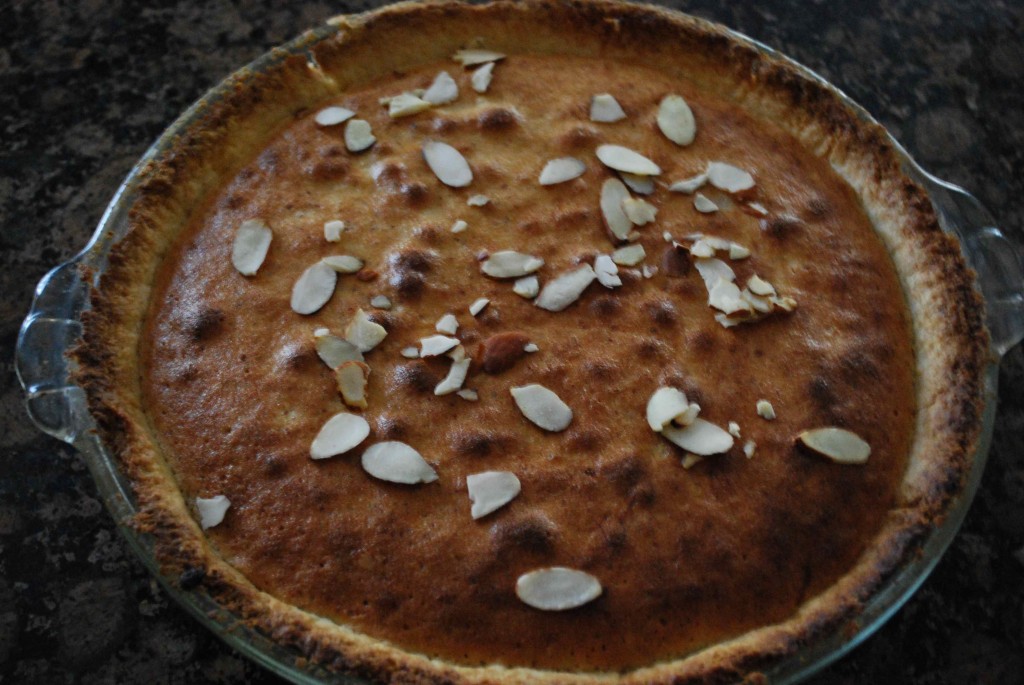
Okay, so as mentioned above, June’s challenge was a Bakewell Tart. I honestly had never even heard of this style tart before, let alone ever tried it. So this was definitely a whole new experience for me and my love of baking. Oh, and an experience it was! I must admit that my first challenge outcome was a bit of a flop. I mean, it’s edible and it tastes pretty good, but I had a tad bit of trouble with the baking time and the crust browning too quickly. Not to mention that the center of the frangipane was not quite cooked all of the way. Ooops! But hey, that is what this Daring Bakers experience is all about; learning about things I have never tried before and taking a stab at it. Practice makes perfect, right? In the end though I was pretty much able to fix my problems and end up with quite a yummy little dessert. It couldn’t have been too bad since Greg liked it and he isn’t really even a fan of those types of desserts.

Although I ran into a couple snafus, I must admit that this really isn’t that difficult of a dessert to make. There are a number of steps, but they are all quite simple. I think my biggest issue was the fact that I can’t for the life of me judge this oven we have. As an outcome, the outside cooked quicker than the inside, making me think that my oven had just cooked it faster (since that is normally what it tends to do). Next time I will just cover the top with foil if it browns too quickly. Rookie mistake!

Okay, so on to the tart…
DB 3

DB 4

Bakewell Tart…er…pudding

Makes one 23cm (9” tart)
Prep time: less than 10 minutes (plus time for the individual elements)
Resting time: 15 minutes
Baking time: 30 minutes
Equipment needed: 23cm (9”) tart pan or pie tin (preferably with ridged edges), rolling pin

One quantity sweet shortcrust pastry (recipe follows)
Bench flour
250ml (1cup (8 US fl. oz)) jam or curd, warmed for spreadability
One quantity frangipane (recipe follows)
One handful blanched, flaked almonds

Assembling the tart

Place the chilled dough disc on a lightly floured surface. If it’s overly cold, you will need to let it become acclimatised for about 15 minutes before you roll it out. Flour the rolling pin and roll the pastry to 5mm (1/4”) thickness, by rolling in one direction only (start from the center and roll away from you), and turning the disc a quarter turn after each roll. When the pastry is to the desired size and thickness, transfer it to the tart pan, press in and trim the excess dough. Patch any holes, fissures or tears with trimmed bits. Chill in the freezer for 15 minutes.

Preheat oven to 200C/400F.

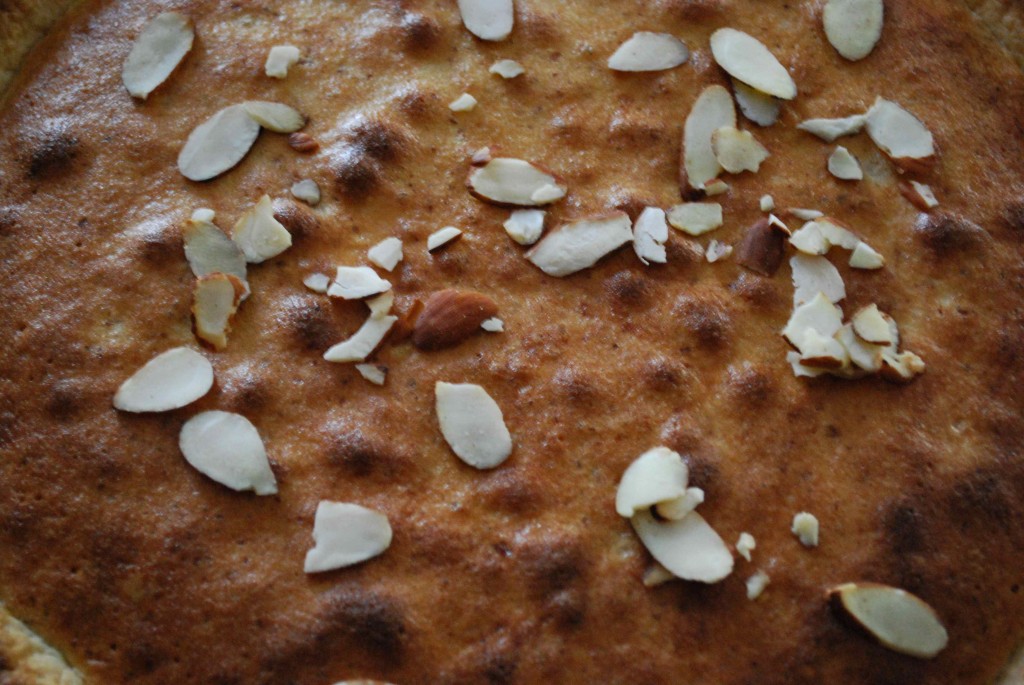
Remove shell from freezer, spread as even a layer as you can of jam onto the pastry base. Top with frangipane, spreading to cover the entire surface of the tart. Smooth the top and pop into the oven for 30 minutes. Five minutes before the tart is done, the top will be poofy and brownish. Remove from oven and strew flaked almonds on top and return to the heat for the last five minutes of baking.

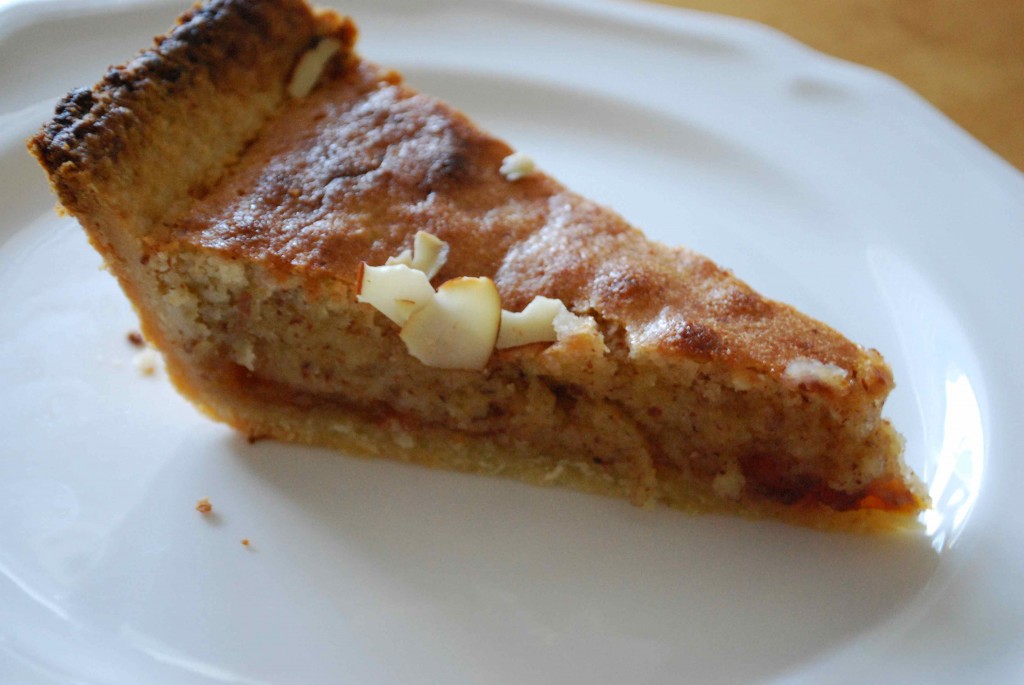
The finished tart will have a golden crust and the frangipane will be tanned, poofy and a bit spongy-looking. Remove from the oven and cool on the counter. Serve warm, with crème fraîche, whipped cream or custard sauce if you wish.

When you slice into the tart, the almond paste will be firm, but slightly squidgy and the crust should be crisp but not tough.
cook

Sweet Shortcrust Pastry

Prep time: 15-20 minutes
Resting time: 30 minutes (minimum)
Equipment needed: bowls, box grater, cling film

225g (8oz) all purpose flour
30g (1oz) sugar
2.5ml (½ tsp) salt
110g (4oz) unsalted butter, cold (frozen is better)
2 (2) egg yolks
2.5ml (½ tsp) almond extract (optional)
15-30ml (1-2 Tbsp) cold water

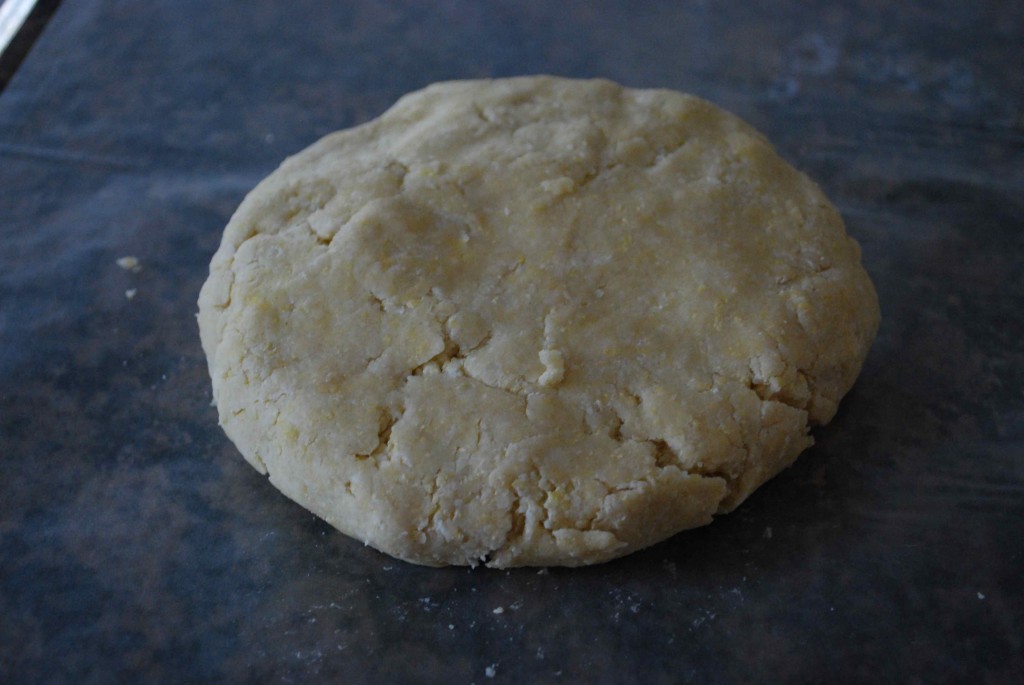
Sift together flour, sugar and salt. Grate butter into the flour mixture, using the large hole-side of a box grater. Using your finger tips only, and working very quickly, rub the fat into the flour until the mixture resembles bread crumbs. Set aside.

Lightly beat the egg yolks with the almond extract (if using) and quickly mix into the flour mixture. Keep mixing while dribbling in the water, only adding enough to form a cohesive and slightly sticky dough.

Form the dough into a disc, wrap in cling and refrigerate for at least 30 minutes.
DB 2

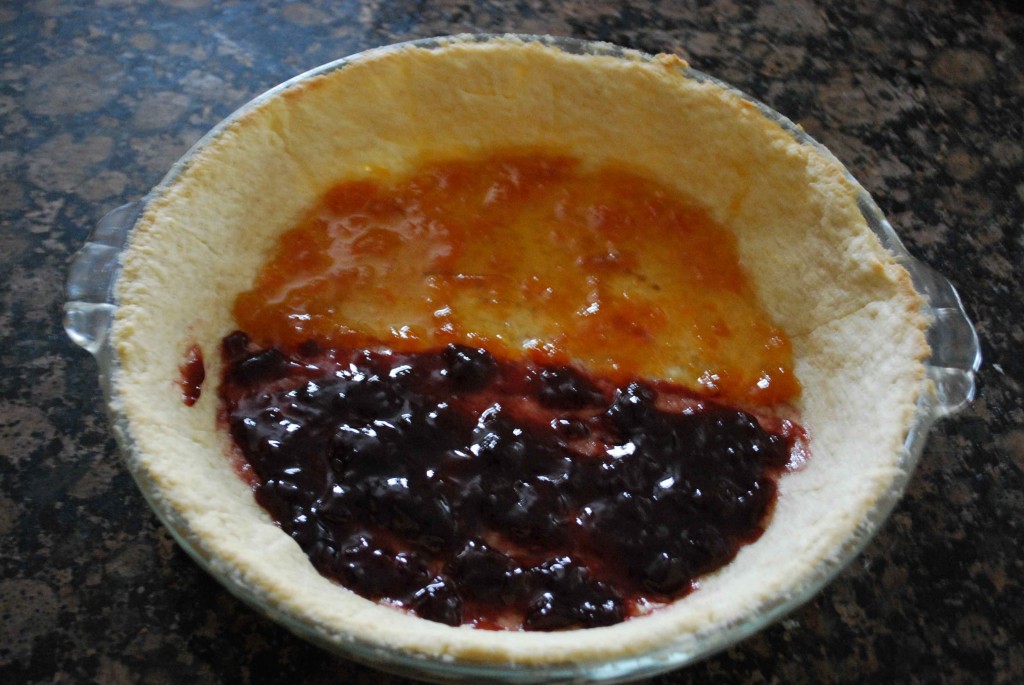
This time I chose to use store bought raspberry and apricot jam.

Frangipane

Prep time: 10-15 minutes
Equipment needed: bowls, hand mixer, rubber spatula

125g (4.5oz) unsalted butter, softened
125g (4.5oz) icing sugar (powdered sugar)
3 (3) eggs
2.5ml (½ tsp) almond extract (or vanilla extract)
125g (4.5oz) ground almonds
30g (1oz) all purpose flour

Cream butter and sugar together for about a minute or until the mixture is primrose in color and very fluffy. Scrape down the side of the bowl and add the eggs, one at a time, beating well after each addition. The batter may appear to curdle. Don’t worry, that is the way it should look. After all three are in, pour in the almond extract and mix for about another 30 seconds and scrape down the sides again. With the beaters on, spoon in the ground nuts and the flour. Mix well. The mixture will be soft, keep it’s slightly curdled look (mostly from the almonds) and retain its pallid yellow color.
DB 5

Finger Lickin Good

Like most people, I am always looking for new chicken recipes. I mean it is just that go-to meat that you always have in your house that is healthy and versatile. You honestly can do a million and one things with it, but of course when you are trying to think of something new, you draw a blank. Well, at least I do. Therefore, any time I come across a new chicken recipe I am sure to put it in safe keeping for those, “I don’t know what I want for dinner,” nights.

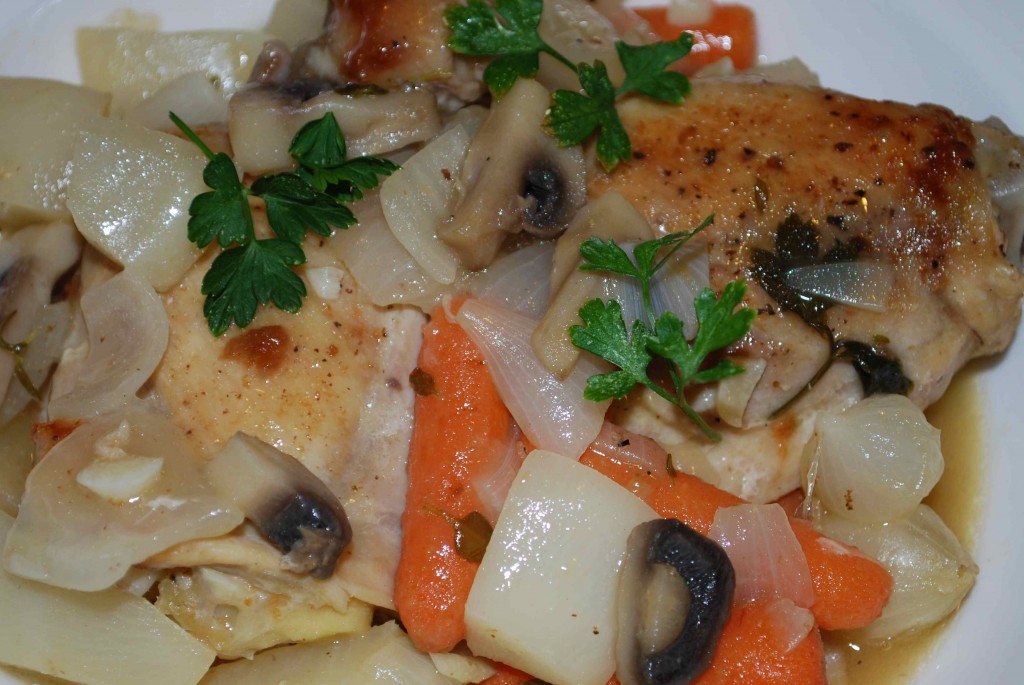
I love chicken, but I tend to steer away from dishes that call for chicken on the bone unless it is a whole chicken or it’s being cooked on the grill and eaten with your hands. I don’t like to have to pick chicken off the bone when it is in some type of mixed dish (i.e. chicken cacciatore). Let’s be honest, you can only get so much meat off of the bone with a fork and knife.  Ironically, when I saw a recipe in Cooking Light for Braised Chicken with Vegetables, I just couldn’t resist it. The picture just made the dish look so appetizing and it made me forget about my dislike of picking through chicken that was surrounded by a gravy like substance.

It was a very tasty dish and I must say that I enjoyed it, even though I had to pick through my food.  Unfortunately my version is missing the peas sine Greg told me there were peas in the freezer when really they were lima beans (yuck). I did add some sliced mushrooms to the mix though.

braised chicken

Braised Chicken with Baby Vegetables and Peas

Courtesy of Cooking Light

2 tbs. butter, divided
2 bone-in chicken breast halves, skinned
2 bone-in chicken thighs, skinned
2 chicken drumsticks, skinned
1/2 tsp. salt
1/4 tsp. freshly ground black pepper
2 (14-ounce) cans fat-free, less-sodium chicken broth
1 cup dry white wine
1/2 tsp chopped fresh thyme
12 baby turnips, peeled (about 8 ounces) (I cut up a large turnip)
12 baby carrots, peeled (about 8 ounces)
12 pearl onions, peeled (about 8 ounces) (I used frozen)
6 white mushrooms, sliced
6 fresh flat-leaf parsley sprigs
2 bay leaves
2 tbs. all-purpose flour
3/4 cup fresh green peas
2 tbs. chopped fresh flat-leaf parsley

Melt 1 tablespoon butter in a Dutch oven over medium-high heat. Sprinkle chicken evenly with salt and pepper. Add chicken to pan; sauté 5 minutes on each side or until browned. Remove from pan.

Add broth to pan; cook 1 minute, scraping pan to loosen browned bits. Add wine and next 7 ingredients (through bay leaves); stir. Add chicken to pan, nestling into vegetable mixture; bring to a boil. Cover, reduce heat, and simmer 20 minutes or until chicken is done. Discard bay leaves and parsley sprigs. Remove chicken and vegetables from the pan.

Place a zip-top plastic bag inside a 2-cup glass measure. Pour cooking liquid into bag; let stand 10 minutes (fat will rise to the top). Seal bag; carefully snip off 1 bottom corner of bag. Drain drippings back into pan, stopping before fat layer reaches opening; discard fat. Return liquid to pan. Bring liquid to a boil; cook until reduced to 1 1/2 cups (about 5 minutes).

Melt remaining 1 tablespoon butter in a small skillet. Add flour, stirring until smooth. Add flour mixture to cooking liquid; cook 2 minutes or until slightly thick, stirring constantly. Return chicken and vegetable mixture to pan; stir in peas. Cook 3 minutes or until thoroughly heated. Garnish with chopped parsley.

Yields 4 servings

Nutrition Facts (according to Cooking Light)
Calories: 324
Total Fat: 11.4 g
Cholesterol: 100 mg
Sodium: 818 mg
Carbohydrates: 22.1 g
Dietary Fiber: 5.2 g
Protein: 32.6 g

Morning Glories

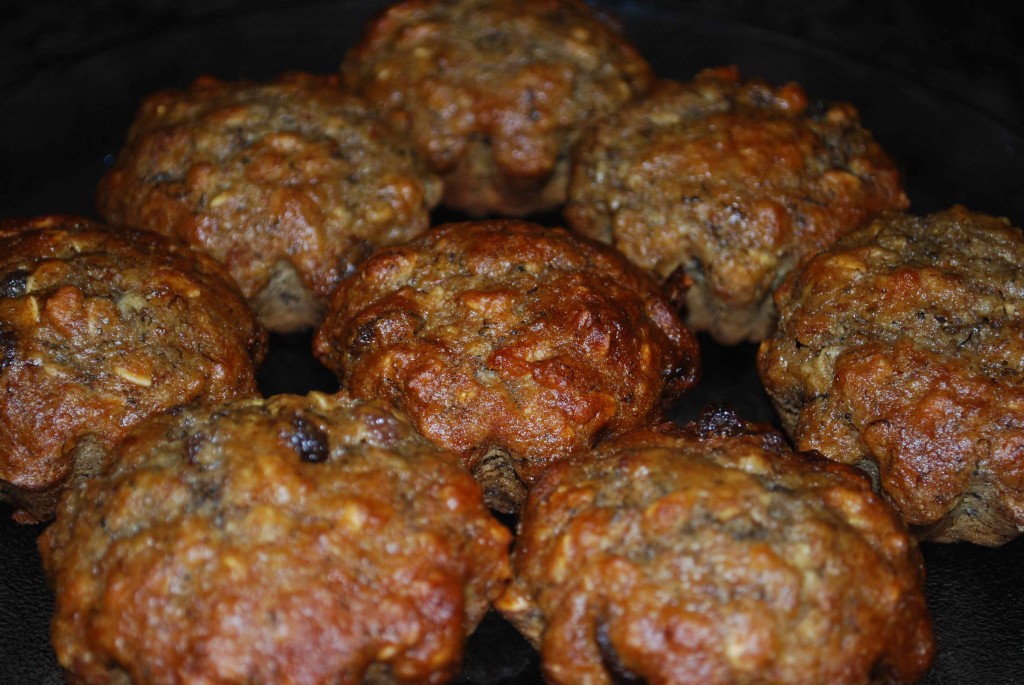
It’s no secret that I love baked goods. If I could eat a fresh muffin, scone, pastry, etc. for breakfast everyday I would. Unfortunately if I did this then I would probably have to spend the other half of everyday in the gym. So every once in a while I try to come to a compromise; make something yummy but do it on the healthy side. That is where these Morning Glory muffins come in.

When I saw these muffins I knew they would be the perfect “compromise” to my regular breakfast of egg whites and fruit. They would be a nice fresh baked muffin filled with fruit, yogurt, oats and loads of other good for you stuff. So I gathered my ingredients and got to work.

These were definitely tasty muffins; they were flavorful and had more of a dense consistency to them. I must admit that the Honey Bran Muffins are still at the top of my list for healthful muffins though. Not to say the Morning Glories weren’t good, because they were, I think I just prefer a more cake-like texture to my muffins. Overall I recommend these and I think it is a great base recipe to tweak to your liking. It is also a great way to use up ripe bananas.

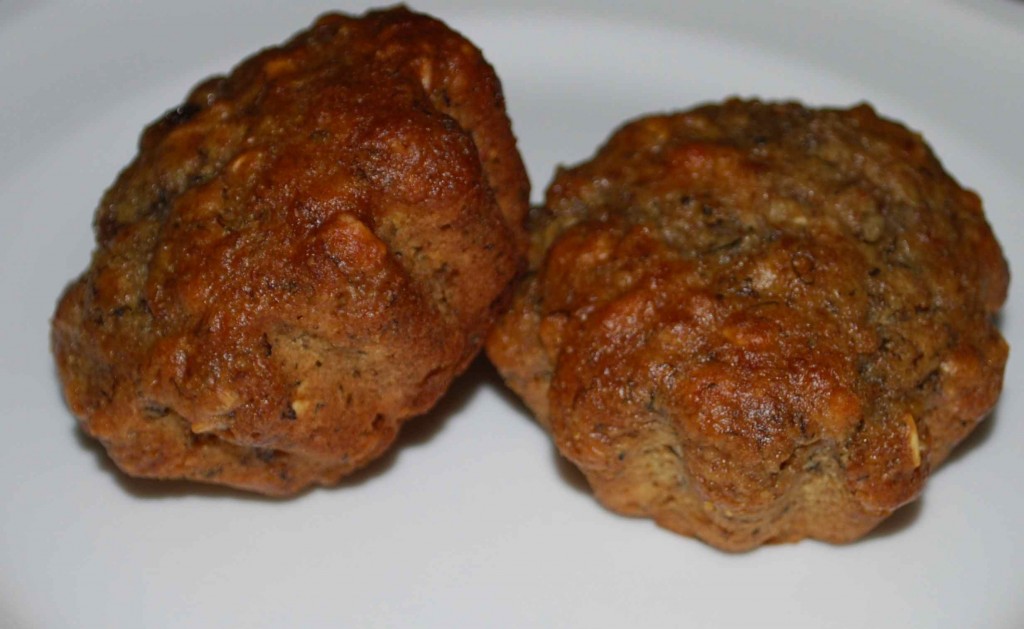
Oh, and if you are wondering why they look a little weird in the shape department, it’s because I used my silicone baking cups that have a flower-like edge on them.  The pictures don’t do them much justice and kind of make them look like blobs.

mg-muffins

mg-muffins-2

Morning Glory Muffins

Adapted from Cooking Light

Cooking spray
1 cup whole wheat flour (about 4 3/4 ounces)
1/2 cup all-purpose flour (about 2 1/4 ounces)
1 cup regular oats
3/4 cup packed brown sugar
1 tablespoon wheat bran
2 teaspoons baking soda
1/4 teaspoon salt
1 cup plain fat-free yogurt
1 cup mashed ripe banana (about 2)
1 large egg
3/4 cup raisins

Preheat oven to 350°.

Place 18 muffin cup liners in muffin cups; coat liners with cooking spray.
Lightly spoon flours into dry measuring cups, and level with a knife. Combine flours and next 5 ingredients (through salt) in a large bowl; stir with a whisk. Make a well in center of mixture. Combine yogurt, banana, and egg; add to flour mixture, stirring just until moist. Fold in raisins.

Spoon batter into prepared muffin cups. Bake at 350° for 20 minutes or until muffins spring back when touched lightly in center. Remove muffins from pans immediately; cool on a wire rack.

Yields 18 muffins

Nutrition Facts
Serving size: 1 muffin
Calories: 127.9
Total Fat: 0.8 g
Cholesterol: 12.1 mg
Sodium: 235.4 mg
Carbohydrates: 28.2 g
Dietary Fiber: 2 g
Protein: 3.4 g

Oh So Good Pasta Ponza

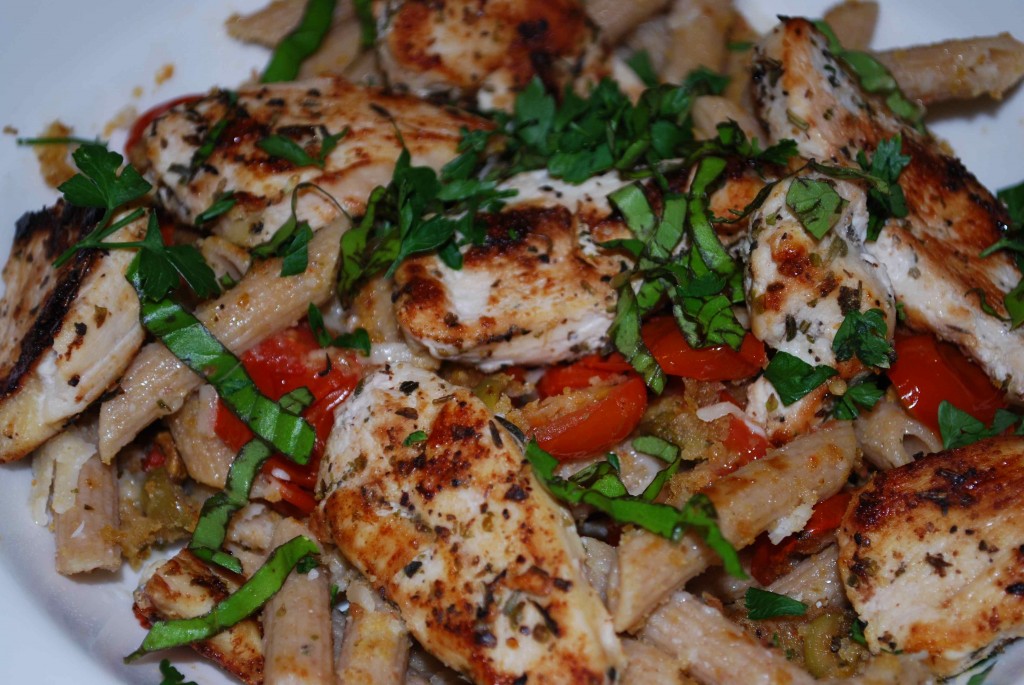
Have you ever come across a recipe or saw one being made on TV and decided that you had to make that for dinner that same night? This was exactly what went through my mind while watching an episode of Everyday Italian. While Giada was cooking away on my television, I was trying to keep myself from drooling. Normally this dish would have had to go on the back burner for a while because although Greg loves Italian food, I didn’t really think it would be something he would like. Well, wasn’t I lucky, because Greg just so happened to have to work at Dolphin Stadium that night which meant I was on my own for dinner. Pasta Ponza it was!

I was short some of the ingredients so I had to make a few substitutions, but the dish was still amazing! I am sure it would be even better following the exact recipe, but I was quite pleased with my version as well.

The dish is just so rich but yet light at the same time and is one of those things that just comforts you. I actually made it for myself again the next time Greg worked a game. He saw a picture of it on my computer (waiting to be blogged about) and he was like, “What is that?!” I told him and he seemed pretty disappointed that I made it while he was working. Go figure! I told him that I didn’t think he would like it and promised him I would make it again while he was home. Well, I haven’t made it for him yet, but it will definitely be in the repertoire again in the near future.

Pasta

Pasta Ponza

Adapted from Giada De Laurentiis

Butter for greasing
2 cups (12 ounces) red cherry or grape tomatoes, halved
2 cups (12 ounces) yellow cherry or grape tomatoes, halved (I only used red)
1/4 cup capers, rinsed and drained (I didn’t have any on hand so I diced up Spanish olives)
1 tbs. extra-virgin olive oil, plus extra for drizzling
1/2 tsp. kosher salt, plus extra for seasoning
1/4 tsp. freshly ground black pepper, plus extra for seasoning
1/2 cup Italian-style seasoned breadcrumbs
1 pound ziti or other short tube-shaped pasta
1 1/4 cups (2 1/2 ounces) Pecorino Romano cheese, grated (I substituted Parmigiano Reggiano)
1/4 cup chopped fresh flat-leaf parsley (I used fresh basil)

*I also added some grilled chicken on top for a more balanced meal.

Place an oven rack in the center of the oven. Preheat the oven to 375 degrees F. Butter an 8 by 8-inch glass baking dish. Set aside.

Place the tomatoes, capers (or olives), 1 tablespoon olive oil, 1/2 teaspoon salt, and 1/4 teaspoon pepper in the prepared baking dish. Toss to coat. Sprinkle the breadcrumbs over the tomato mixture. Drizzle the top with olive oil and bake for 30 to 35 minutes until the top is golden. Cool for 5 minutes.

Bring a large pot of salted water to a boil over high heat. Add the pasta and cook until tender but still firm to the bite, stirring occasionally, about 8 to 10 minutes. Drain and reserve about 1 cup of the pasta water.

Place the pasta in a large serving bowl. Spoon the tomato mixture onto the pasta. Add the cheese and toss well. Thin out the sauce with a little pasta water, if needed. Season with salt and pepper, to taste. Sprinkle with the chopped parsley (or basil) and serve immediately.

Yields 4-6 servings