I always love to take on challenges, so when I met my Jewish husband I decided that it would be necessary for me to learn to cook some of the traditional holiday foods. I especially made this a goal when we moved away from his family and wanted to make sure that he was still able to enjoy the dishes he grew up on. Of course it is easy to go to the store and buy many of these foods in easy to make boxed, jarred or frozen versions, but anyone who has placed these “foods” in their mouth knows that they can be down right disgusting and sometimes not even seem edible. So again, it would be a necessity to learn how to make some things from scratch.
Challah is actually one of the items you can find in most bakeries and can be down right delicious when bought from the store. Why wouldn’t I take the easy way out though? I would much rather take on the trial and errors of finding the perfect recipe, even if it does take hours to produce one loaf. Call me crazy, but I live for that sort of thing.
Luckily it seems that it has only taken me two recipes to find a version that we love. Last year I took a stab at Cook’s Illustrated version, which was recommended by Melissa from It’s Melissa’s Kitchen. It turned out great and everyone raved over it. For some reason though I was antsy to try out a different version this year and I turned to Smitten Kitchen. I hadn’t tried any of Deb’s recipes yet, but I had always drooled over them in my Google Reader. So, I decided to give her version a try. Boy am I glad that I did! Although I really enjoyed the Cook’s Illustrated version, I think Deb’s is the new favorite. I enjoyed the texture and consistency of hers a bit more. Not to discredit CI because this is obviously a personal preference and CI has never steered me wrong with anything else. I actually have an amazing cookie recipe coming soon that is one of theirs; so stay tuned for that.
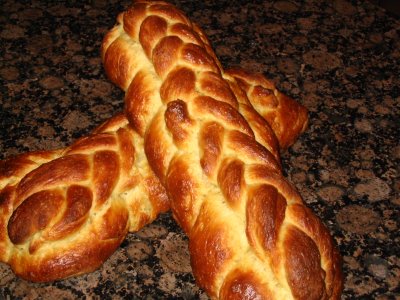
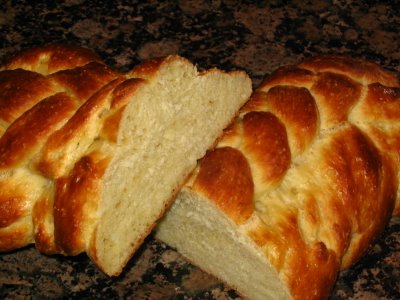
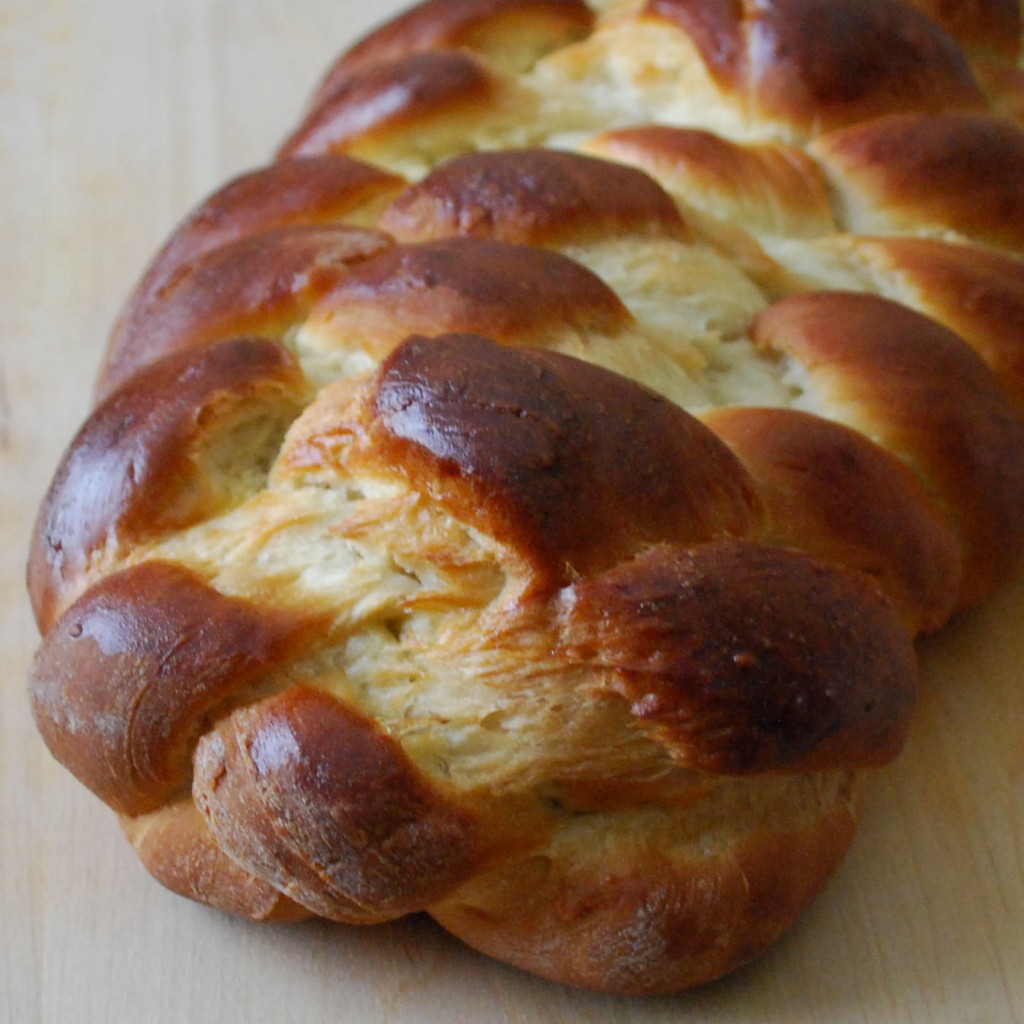
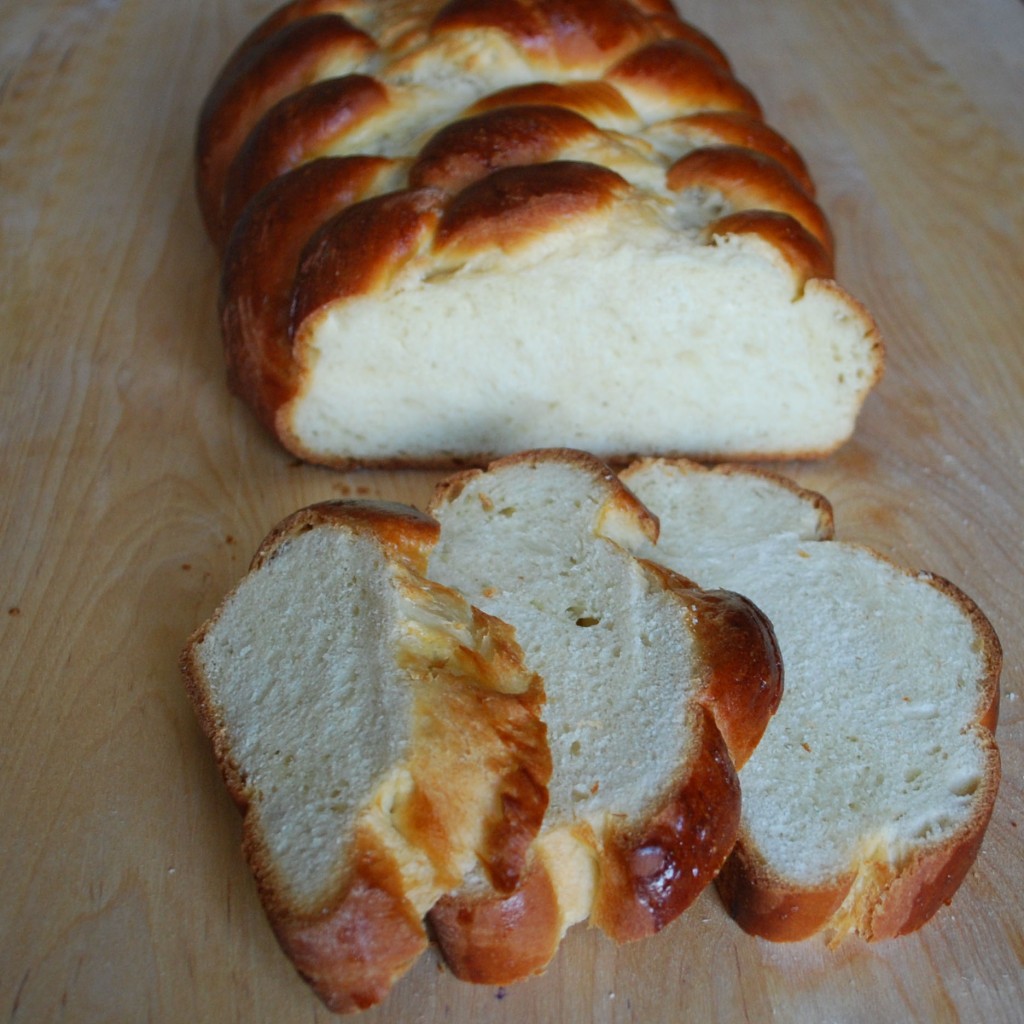
Okay, so back to the challah. I loved everything about this challah, the flavor, the texture and the look. When I brought it to my husband’s family, they all raved over it and said it was better than Publix, so I took that as a good sign as well. The only problem I ran into with this version was the instructions for braiding it. My husband was nice enough to run upstairs mid braiding to find me a helpful video to follow. It made the braiding process incredibly easy and I recommend taking a look at it before you get started.
Oh, and can I mention that there is nothing much better than the smell of fresh baked challah slithering through your home.
Best Challah
1 1/2 packages active dry yeast (1 1/2 tablespoons)
1 tablespoon plus 1/2 cup sugar
1/2 cup olive or vegetable oil, plus more for greasing the bowl
5 large eggs
1 tablespoon salt
8 to 8 1/2 cups all-purpose flour
1/2 cup raisins per challah, plumped in hot water and drained (optional)
Poppy or sesame seeds for sprinkling (optional)
In a large bowl, dissolve yeast and 1 tablespoon sugar in 1 3/4 cups lukewarm water.
Whisk oil into yeast, then beat in 4 eggs, one at a time, with remaining sugar and salt. Gradually add flour. When dough holds together, it is ready for kneading. (You can also use a mixer with a dough hook for both mixing and kneading, but be careful if using a standard size KitchenAid–it’s a bit much for it, though it can be done.)
Turn dough onto a floured surface and knead until smooth. Clean out bowl and grease it, then return dough to bowl. Cover with plastic wrap, and let rise in a warm place for 1 hour, until almost doubled in size. Dough may also rise in an oven that has been warmed to 150 degrees then turned off. Punch down dough, cover and let rise again in a warm place for another half-hour.
At this point, you can knead the raisins into the challah, if you’re using them, before forming the loaves. To make a 6-braid challah follow the instructions on this video for the braiding process (I personally did not have success following the written instructions from Smitten Kitchen).
Beat remaining egg and brush it on loaves. Either freeze breads or let rise another hour.
If baking immediately, preheat oven to 375 degrees and brush loaves again. Sprinkle bread with seeds, if using. If freezing, remove from freezer 5 hours before baking.
Bake in middle of oven for 30 to 40 minutes, or until golden. (If you have an instant read thermometer, you can take it out when it hits an internal temperature of 190 degrees.) Cool loaves on a rack.
Note from Deb: Any of the three risings can be done in the fridge for a few hours, for more deeply-developed flavor. When you’re ready to work with it again, bring it back to room temperature before moving onto the next step.
Time: about 1 hour, plus 2 1/2 hours’ rising
Yield: 2 loaves

