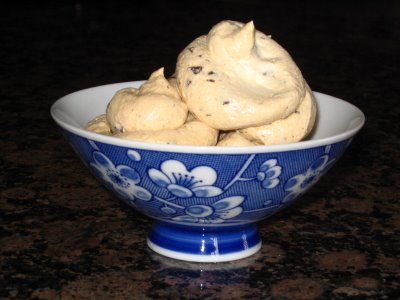
Lightened Up Rice Pudding

It is absolutely no secret that I have a sweet tooth. Unfortunately you mix that with the fact that I gain 10 pounds by just looking at dessert and it doesn’t make for a great combination. At least my waistline doesn’t think so. With that said, I am always looking for sweet treats that I don’t have to feel guilty about.

When we lived in Clearwater we used to frequent a little Greek restaurant that we loved. A few times I indulged in their rice pudding and thought it was delicious. I never really thought to make some of my own until I recently saw a recipe for a lightened up version. I figured that it was nutritious and would tame my sweet tooth, so I couldn’t go wrong.

The recipe was very easy to make and it could feed quite a few people. I actually took some over to my grandmother and she really enjoyed it. It is light and slightly less sweet than your traditional rice pudding. It’s perfect for an evening treat when you are craving a little something sweet.
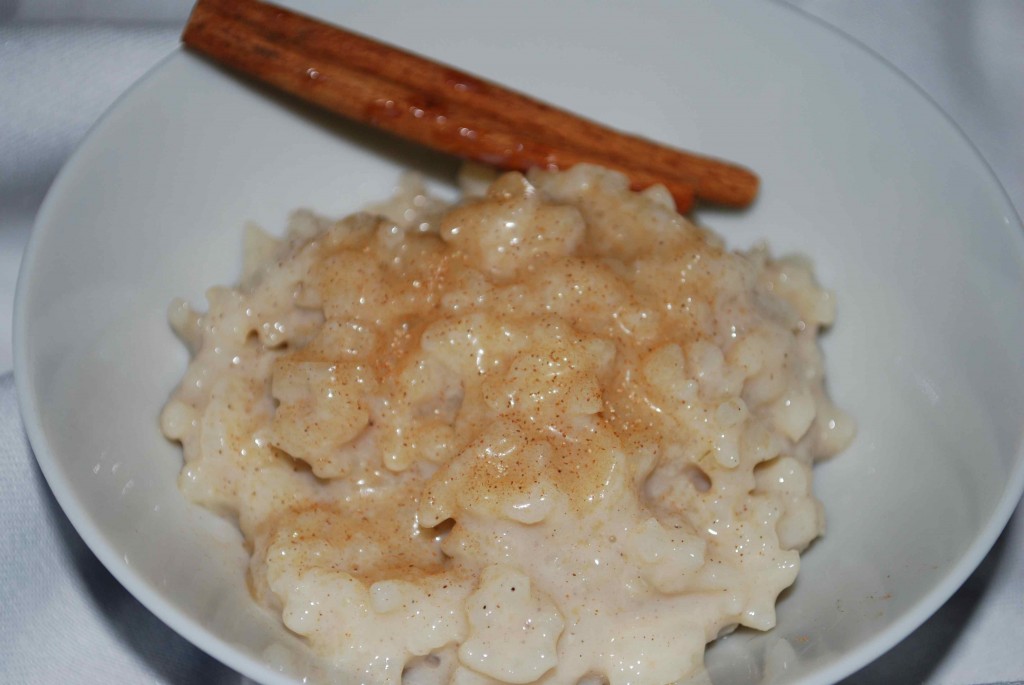
rice-pudding1

Very Vanilla Rice Pudding

Courtesy of The Food You Crave by Ellie Krieger

2 cups water
1 cup Arborio rice
3 cups vanilla soy milk
¼ cup sugar
Pinch of salt
1 cinnamon stick
½ tsp. vanilla extract
¼ tsp. ground cinnamon, plus more for dusting
¼ tsp. ground nutmeg, plus more for dusting

Preheat oven to 375 degrees.

Bring the water to a boil in a medium, heavy, ovenproof saucepan. Add the rice, cover, reduce the heat to low, and simmer until the rice is nearly cooked, about 20 minutes.

In a large bowl, whisk together the soy milk, sugar, and salt. When the rice is cooked and still hot, add the soy milk mixture and cinnamon stick. Cover, place in the oven, and cook for 45 minutes.

Remove from the oven, uncover, and remove the cinnamon stick. Stir in vanilla, ground cinnamon, and nutmeg. The pudding will be slightly liquidy; the liquid will continue to absorb into the rice and thicken as the pudding cools. Distribute among 8 bowls. Dust with more cinnamon and nutmeg. Serve warm or at room temperature. The pudding will keep in the refrigerator in an airtight container for about 3 days.

Yields: 8 servings

Nutrition Facts (according to book)
Serving size: 2/3 cup
Calories: 154
Total Fat: 2 g
Cholesterol: 1.7 mg
Sodium: 59 mg
Carbohydrates: 36 g
Dietary Fiber: 0.7 g
Protein: 5 g

A little late, but worth it!

Passover has come and gone once again, but at least this year I was able to leave a lasting impression with dessert! I know this is a bit late, but better late then never….especially with this dessert! Passover desserts can be tricky and can become a bit redundant because there tends to be a few standbys that most people turn to. On top of that, no one really likes to bake in Greg’s family so I challenge myself to always make a wonderful dessert to bring, especially for Passover. The past couple of years I have just thrown together simple things last minute, but this year I really wanted to find a great recipe. All I can say is that Cooking Light has come through for me once again. I had been eying this beautiful lemon curd cake for a while and decided to finally make it sine it was Passover friendly.

This cake was AMAZING!! Everyone raved over it. Halfway through serving it Greg’s cousin started rationing the pieces and then horded the remaining bits for herself and practically licked the plate clean. It not only looked pretty but it was lemony and refreshing with a touch of cake. I will definitely make this recipe again and it will not be stored away for just Passover, as the matzo cake meal can easily be switched out with whole-wheat flour. It is perfect for any spring or summer gathering.

lemon-cake

Lemon-Almond Cake with Lemon Curd Filling

Courtesy of Cooking Light
Cooking spray
2 tsp. matzo cake meal (I ground up matzo meal)
4 large egg yolks
1 cup sugar
1/4 cup matzo cake meal
1 1/2 tsp. water
1/2 tsp. grated lemon rind
1 tsp. fresh lemon juice
1/4 tsp. salt
1/4 cup blanched almonds, ground
4 large egg whites
1 cup Lemon Curd (recipe follows)
2 cups fresh raspberries (I garnished with fresh strawberries)

Preheat oven to 350°.

Coat a 9-inch spring-form pan with cooking spray. Dust pan with 2 teaspoons matzo cake meal.
Place the egg yolks in a large bowl, and beat with a mixer at high speed for 2 minutes. Gradually add 1 cup sugar, beating until thick and pale (about 1 minute). Add 1/4 cup matzo cake meal, 1 1/2 teaspoons water, 1/2 teaspoon grated lemon rind, fresh lemon juice, and 1/4 teaspoon salt; beat just until blended. Fold in the almonds.

Place egg whites in a large bowl. Using clean, dry beaters, beat egg whites with a mixer at high speed until stiff peaks form. Gently stir one-fourth of egg whites into egg yolk mixture; gently fold in remaining egg whites. Spoon batter into prepared pan.

Bake at 350° for 35 minutes or until golden brown and set. Cool for 10 minutes in pan on a wire rack. Run a knife around edge of cake. Remove cake from pan. Cool completely on a wire rack. (Cake will sink in center as it cools.) Spread 1 cup Lemon Curd in center of cake, and top with raspberries (or whatever berries you prefer). Cut cake into wedges using a serrated knife. Serve immediately.

Lemon Curd

1/2 cup sugar
3 large eggs
2 tablespoons grated lemon rind
3/4 cup fresh lemon juice
2 tablespoons unsalted butter

Place sugar and eggs in a medium bowl; beat with a mixer at medium speed until blended. Gradually beat in rind and juice. Spoon mixture into a heavy-duty saucepan over medium heat. Add butter to pan; cook 5 minutes or until thick, stirring constantly (do not boil). Spoon mixture into a bowl. Cover surface with plastic wrap. Chill thoroughly.

Yields: 8 servings

Nutrition Facts 
Serving size: 1/8 of cake
Calories: 238
Total Fat: 6.6 g
Cholesterol: 149 mg
Sodium: 123 mg
Carbohydrates: 41.4 g
Dietary Fiber: 2.7 g
Protein: 5.9 g

April’s Tasty Tools: Muffin Pans

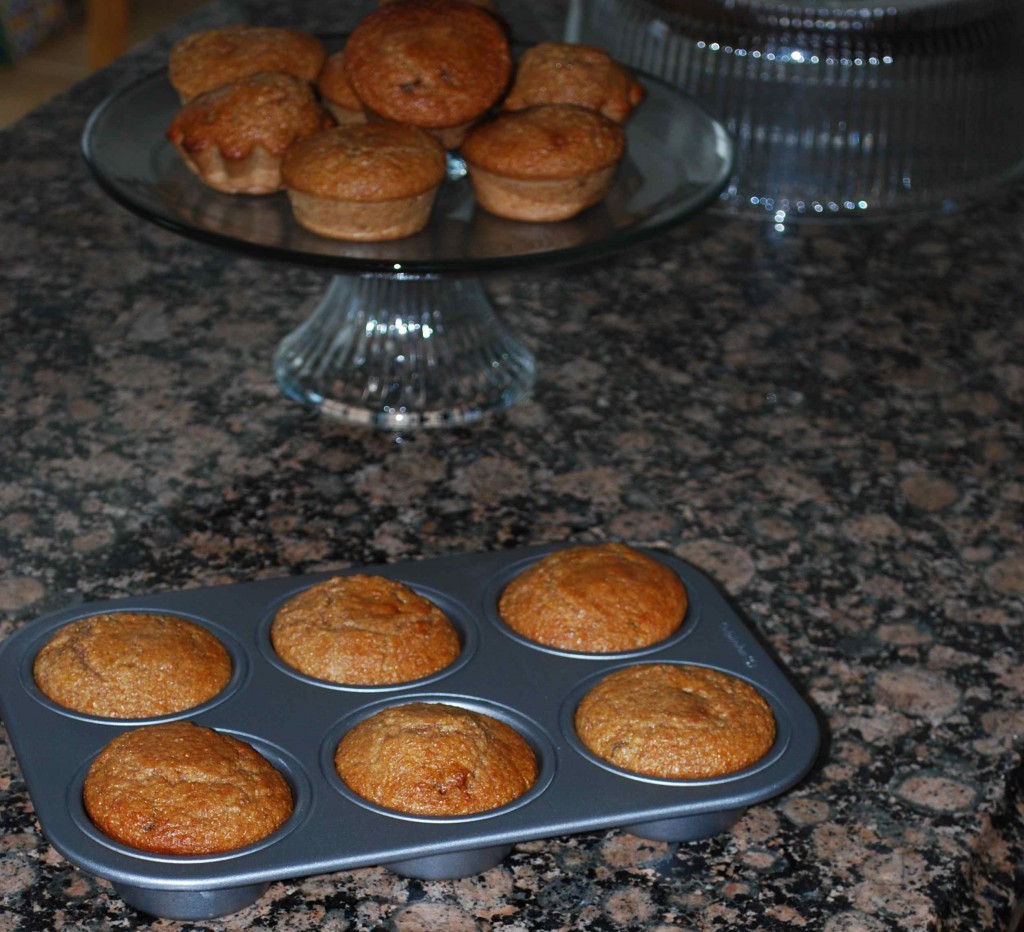
As someone who grew up being taught that it was very important to eat breakfast every morning, it was strange to me that Greg doesn’t eat breakfast. He likes eggs, bagels, cereal…you know, most of the basic breakfast foods; he just doesn’t like to eat in the morning. Well, after spending nine years with him I learned that he doesn’t mind breakfast as long as he can have it later in the morning, around 9 or 10. Of course with work and all it isn’t always convenient to eat at that time, so I try to think of ways for him to have something quick or on the go. So far cereal has been a staple and now muffins have been thrown into the mix. Luckily he enjoys healthy muffins over the sugary ones, so that works out well.

We have been trying to find a great raisin bran muffin recipe, since that is his favorite combination; so when I saw that the Tasty Tools event for April at Joelen’s Culinary Adventures was muffin pans I thought it would be a perfect time to experiment. When we bought the wheat bran for the last recipe we tried, the package also had a recipe on it. I told Greg we would try that one next time. Sometimes I am weary of the package recipes, but this one had healthy ingredients and sounded pretty promising.

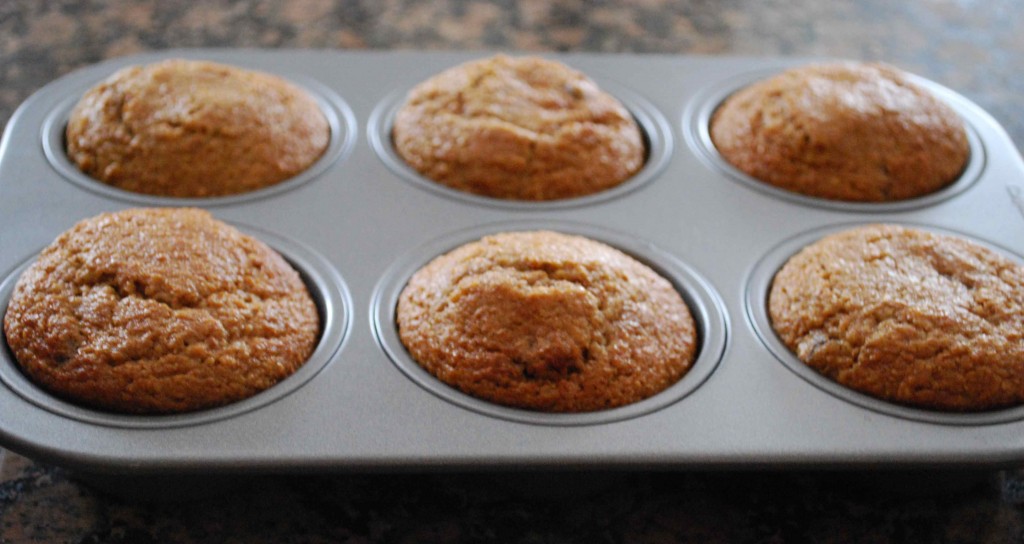
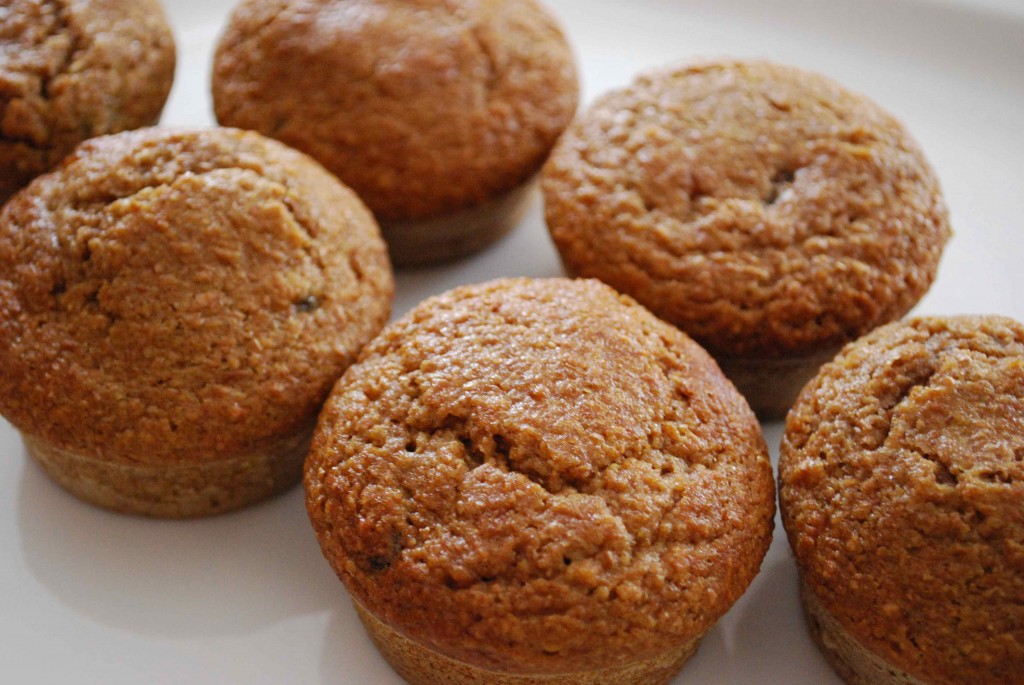
After pulling up a “to do” list and seeing the Tasty Tools event on it with the entry date drawing near I realized that Greg also needed breakfast so I had better get to work on those muffins I promised him. I am very happy that he convinced me to use that recipe because the muffins came out wonderful! They were moist and had a great texture. I was worried they may be a bit bland since the only form of sweetener in them was honey and I used unsweetened applesauce, but to my surprise they were plenty sweet enough. I have a feeling that these may be a new favorite staple for Greg’s breakfast.

muffin

muffin-2

muffin-3

Moist Honey Bran Muffins

Courtesy of Bob’s Red Mill (wheat bran packaging)
1 cup wheat bran
1 ½ cups whole-wheat flour
½ cup raisins
1 tsp. baking powder
1 tsp. baking soda
1 cup milk
½ cup honey (or molasses)
¾ cup unsweetened applesauce
2 tbs. oil
2 eggs, beaten
¼ cup chopped nuts (optional – I omitted)

Preheat oven to 400 degrees.

Combine wheat bran, flour, baking soda and baking powder.  Stir in raisins and nuts (if using).

In a separate bowl, blend applesauce, milk, honey (or molasses), oil and egg.  Add mixture to dry ingredients and stir just until moistened.

Spoon mixture into greased muffin tins (or muffin cups) and bake for 15-20 minutes.  *I baked mine for 15 minutes and they turned out perfect.

Yields 12 muffins according to recipe, but I got 17 out of it.

Nutrition Facts (calculated by sparkrecipe.com)
Serving size: 1 muffin
Calories: 120.8
Total Fat: 2.6 g
Cholesterol: 25.3 mg
Sodium: 118.9 mg
Potassium: 121.1 mg
Carbohydrates: 24.1 g
Dietary Fiber: 3.1 g
Sugars: 9.3 g
Protein: 3.4 g

Pearlicious

People who know me know that I love to cook, but I’m really passionate about baking. I don’t get to do it as much as I would like because I try not to keep too many sweets in the house. Many times I only bake if we have someplace to go and share it with others. I still have a sweet tooth though and I get an itch every once in a while to really want to bake something. So I try to find recipes that are low in calories and that Greg will eat. Yes, Greg is my other obstacle because he doesn’t really like cakes and such. As mentioned before, he loves brownies and cookies, but you can only make so many brownies and cookies.

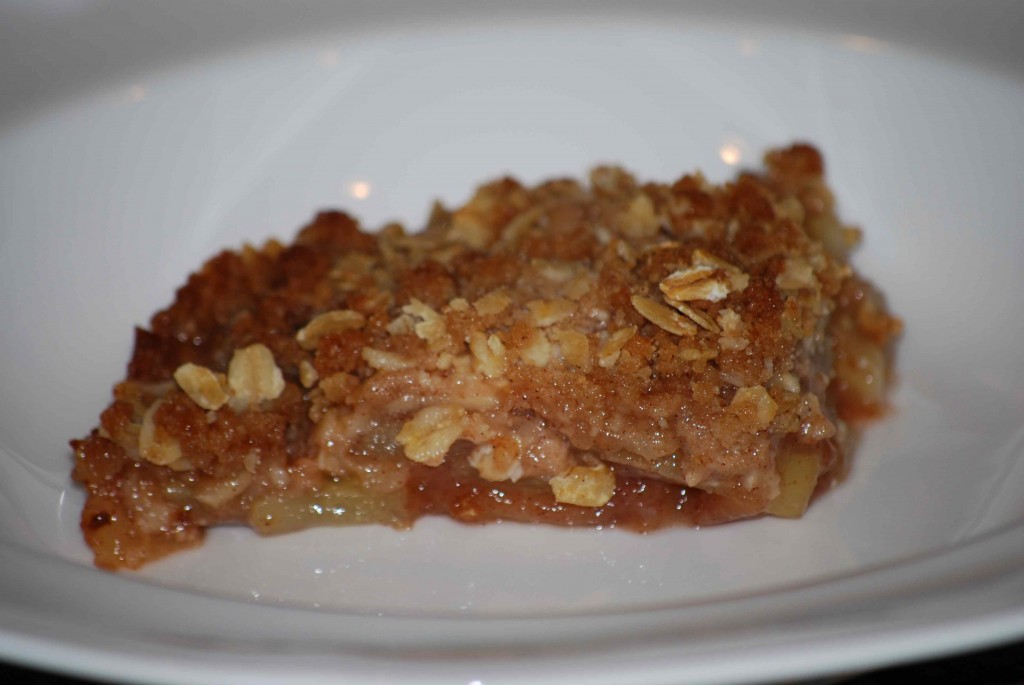
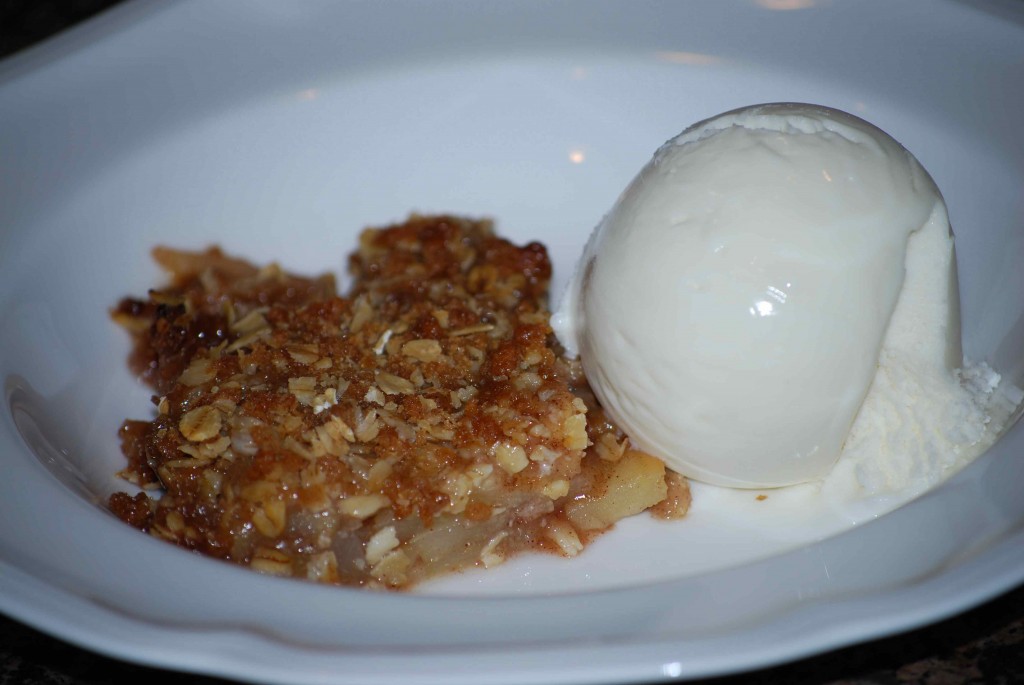
Well, during one of my urges to bake I came across a recipe for Harvest Pear Crisp. I figured there would be a 50/50 chance with Greg agreeing to this one. The disadvantage, he doesn’t really like pie type desserts. The advantage, he LOVES pears. I passed my first hurdle when he saw the recipe and said, yeah that looks good. With that said I proceeded with my dessert making.

The end verdict you ask? He loved it! Not only that, but I don’t like pears and I also loved it. I would like to try making it with apples or a apple/pear mix next time. This will definitely be a standby on the dessert list.

pear-crisp

pear-crisp-2

Harvest Pear Crisp

courtesy of Cooking Light

6 cups of pears (your choice), cored and cut lengthwise into ½-inch-thick slices (about 3 pounds).
1 tbs. fresh lemon juice
1/3 cup granulated sugar
1 tbs. cornstarch
1 ½ tsp. ground cinnamon, divided
1/3 cup all purpose flour
½ cup packed brown sugar
½ tsp. salt
3 tbs. chilled butter, cut into small pieces
1/3 cup rolled oats
¼ coarsely chopped walnuts (I left these out)

Preheat oven to 375 degrees.

Combine pears and lemon juice in a 2-quart baking dish; toss gently to coat. Combine granulated sugar, cornstarch, and 1 teaspoon cinnamon; stir with a whisk. Add cornstarch mixture to pear mixture; toss well to coat.

Lightly spoon flour into a dry measuring cup; level with a knife. Place flour, 1/2 teaspoon cinnamon, brown sugar, and salt in a food processor; pulse 2 times or until combined. Add chilled butter; pulse 6 times or until mixture resembles coarse meal. Add oats and walnuts (if desired); pulse 2 times. Sprinkle flour mixture evenly over pear mixture.

Bake at 375° for 40 minutes or until pears are tender and topping is golden brown. Cool 20 minutes on a wire rack; serve warm or at room temperature.

I highly recommend serving it with a scoop of vanilla ice cream!

Low-Cal. Chocolate Goodness

Who isn’t looking for a decadent dessert they don’t have to feel guilty about eating?? With the sweet tooth I posses along with being a chocoholic, this is a mission in life for me. :o) Especially since I gain weight just looking at food!

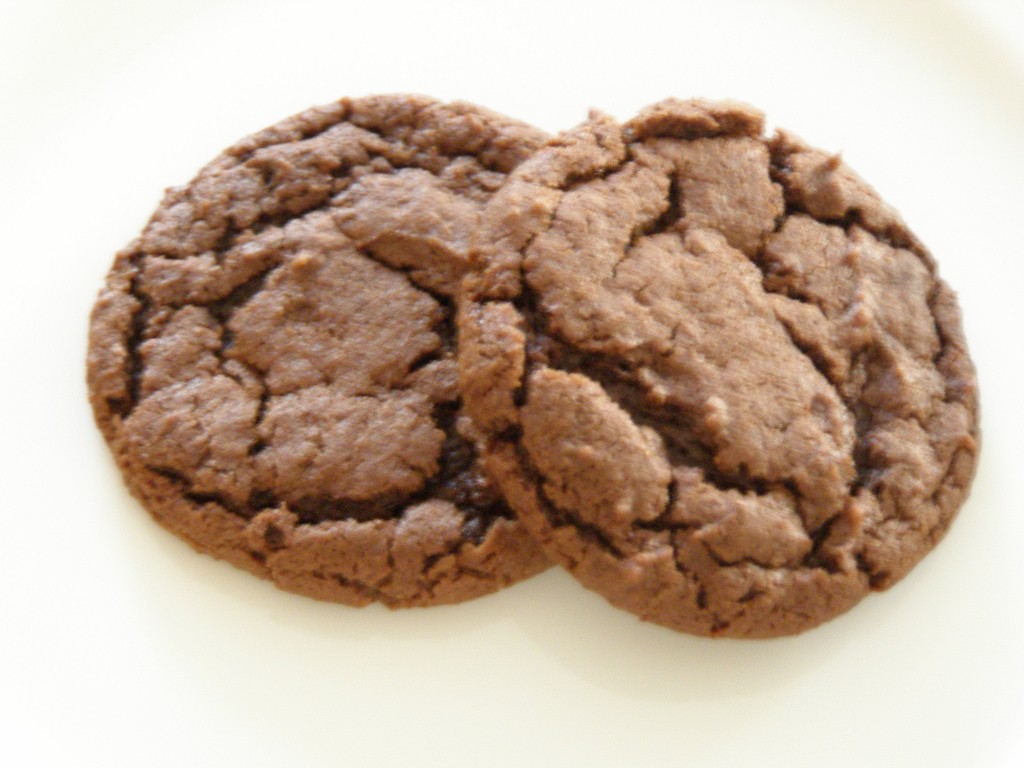
I was so happy to find a chocolate cookie that would feed my sweet tooth, but not leave me avoiding the scale afterwards. Did I mention that this cookie tastes great too?! It is actually more decadent than most full-fat cookies I have eaten. Think cookie meets brownie. Honestly, I really don’t think any further explanation is needed. One bite and you will be sold, I promise!

p10100791

Cocoa Fudge Cookies

courtesy of cookinglight.com
1 cup all-purpose flour
1/4 tsp. baking soda
1/8 tsp. salt
5 tbs. butter
7 tbs. unsweetened cocoa
2/3 cup granulated sugar
1/3 cup packed brown sugar
1/3 cup plain low-fat yogurt (I used vanilla)
1 tsp. vanilla extract
cooking spray

Preheat oven to 350 degrees.

Lightly spoon flour into a dry measuring cup; level with a knife. Combine flour, baking soda, and salt; set aside. Melt butter in a large saucepan over medium heat. Remove from heat; stir in cocoa powder and sugars (mixture will resemble course sand). Add yogurt and vanilla, stirring to combine. Add flour mixture, stirring until moist. Drop by level tablespoons 2 inches apart onto baking sheets coated with cooking spray.

Bake at 350 degrees for 8 to 10 minutes or until almost set. Cool on pans 2 to 3 minutes or until firm. Remove cookies from pans; cool on wire racks.

Yields about 2 dozen cookies.

Guilt Free Brownies

There is no denying that Greg and I love sweets. I tend to be more of the dessert person (i.e. cakes, pastries, etc.) while Greg prefers candy and ice cream. He isn’t much of a cake person, but he loves cookies and brownies. So, that brings me to our dilemma….if there are sweets in the house, we will eat them! Unfortunately our waistlines don’t enjoy the treats as much as our taste buds do.

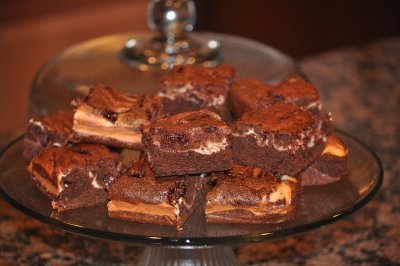
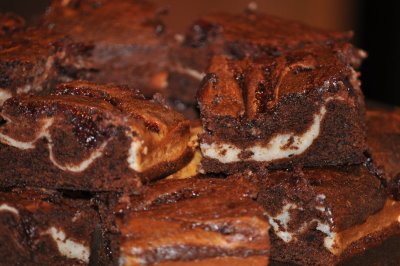
Thankfully there is this wonderful website/magazine called Cooking Light that lets us feed our sweet tooth without increasing our clothing size. I frequent this site quite a bit to find healthy or at least semi-healthy treats. I wanted to make brownies but I wanted something a bit different. When I came across the Raspberry-Cream Cheese Brownies I knew I found a winner. Chocolate and raspberry are a match made in heaven and then you add cream cheese…..what more could you want?

These were definitely a winner and there is no doubt I will make them again. The best part….they are delicious and I don’t even have to feel guilty while indulging.

brownies11

brownie21

Raspberry-Cream Cheese Brownies

courtesy of cookinglight.com
Filling:
1/3 cup sugar
1/3 cup (3 oz.) 1/3 less fat cream cheese, softened
2 tsp. all-purpose flour
1/2 tsp. vanilla extract
1 large egg white

Brownies:
Cooking Spray or Parchment Paper
3/4 cup all-purpose flour
1/4 tsp. baking powder
1/4 tsp. baking soda
1/8 tsp. salt
1 cup sugar
2/3 cup unsweetened cocoa
1/4 cup of butter or stick margarine, melted
1 tbs. water
1 tsp. vanilla extract
1 large egg
2 large egg whites
3 tbs. raspberry preserves

Preheat oven to 350 degrees.

To prepare the filling, mix the first 5 ingredients at medium speed of a mixer until well blended, then set aside.

To prepare the brownies, coat the bottom of an 8 inch baking pan with cooking spray (I prefer to line the pan with parchment paper for easy release). Lightly spoon 3/4 cup flour into dry measuring cups, and level with a knife. Combine flour, baking powder, baking soda and salt in a medium bowl. Combine (in another bowl) 1 cup sugar with cocoa, butter, water vanilla extract, egg and egg whites, mixing until smooth. Add the flour mixture to the wet ingredients, stirring just until moist. Spread 2/3 of the mixture into the bottom of the prepared pan. Pour the cream cheese filling over the batter, spreading evenly. Carefully drop the remaining batter and raspberry preserves by spoonfuls over the filling. Swirl together using the tip of a knife to make a marble effect.

Bake at 350 degrees for 40 minutes or until a toothpick inserted in the center comes out almost clean. Cool on a wire rack and then ENJOY!

Puffs of Sweetness

Well they may be puffs of sweetness if someone else makes them! Sadly I don’t think I am cut out to make meringues. My husband and I have been trying to get back into shape and back into the routine of eating healthy. I saw Ellie Krieger make these Chocolate-Almond Meringues on her show the other day and thought they would be a perfect (low fat) sweet treat for us. I made a first attempt at them last week and they completely flopped. I cooked them for 40 minutes at 250 degrees as the recipe instructed. Once they cooled they became super sticky and soggy. Yuck!

I didn’t want to let them defeat me so I asked the girls on the WC Nest board about their experience with meringues and I referred to a few other recipes. I decided to try the route of heating the oven and then turning it off when I put the meringues in and leaving them in for a few hours. When I took them out I could tell they weren’t done so I put them in the oven at 250 for another 30 minutes and then let them stand in the oven for quite a while again after I turned it off. When I first took them out they were PERFECT!! I was so happy and thought I finally had a success. Well, to my disappointment they weren’t as perfect the next day. :o( They aren’t as soggy as the first time but they aren’t crispy like they should be either. I think I am going to give the meringue making up now. I have posted the recipe below in case anyone else would like to take a crack at it. Please let me know if you have any better success!

puffs1

puffs2

Chocolate-Almond Meringues

courtesy of Ellie Krieger
3 egg whites
1/4 tsp. cream of tartar
1/3 cup superfine (caster) sugar*
3/4 tsp. almond extract
2 oz. semi-sweet chocolate (chopped)

Preheat oven to 250 degrees F. Line a baking sheet with parchment paper and set aside (I actually had to use two baking sheets). Place egg whites and cream of tartar in a clean, dry bowl of a stand mixer and beat until foamy (I used my hand mixer). Add sugar and almond extract, beat until meringues hold soft peaks, about 3 minutes. Fold in chocolate gently until just incorporated. Using a pastry bag or a sealable plastic bag with the corner snipped off, pipe meringue by the tablespoon onto cookie sheets. Bake for 40 minutes, then remove from oven and let cool completely before removing from parchment paper. Transfer to an airtight container.

*You can make your own caster sugar by pulsing granulated sugar in a food processor for 30-40 seconds.