Back with a sweet treat!

I want to begin by saying thank you to anyone who contacted me, wondering where I was. I really appreciate your concern. I am back now and I apologize for my absence over the past month. I took a little break so I could put some extra concentration into my ongoing job hunt. I needed some time to work on writing samples, track down previous work samples and revamp some things. I am thrilled there has been some interest shown, so now I will just hope that good things are coming my way. My wish is to start the new year out with a new job, so please send the job dust my way!

Okay, on to the task at hand. It’s time to get back in the kitchen and do what I love. You are all obviously not here to listen to my job woes, you are here for that stuff that satisfies our taste-buds and fills our bellies with goodness. Well my friends, I have a good one for you today. I have to give you something great to make up for my absence, right? I don’t think this will disappoint.

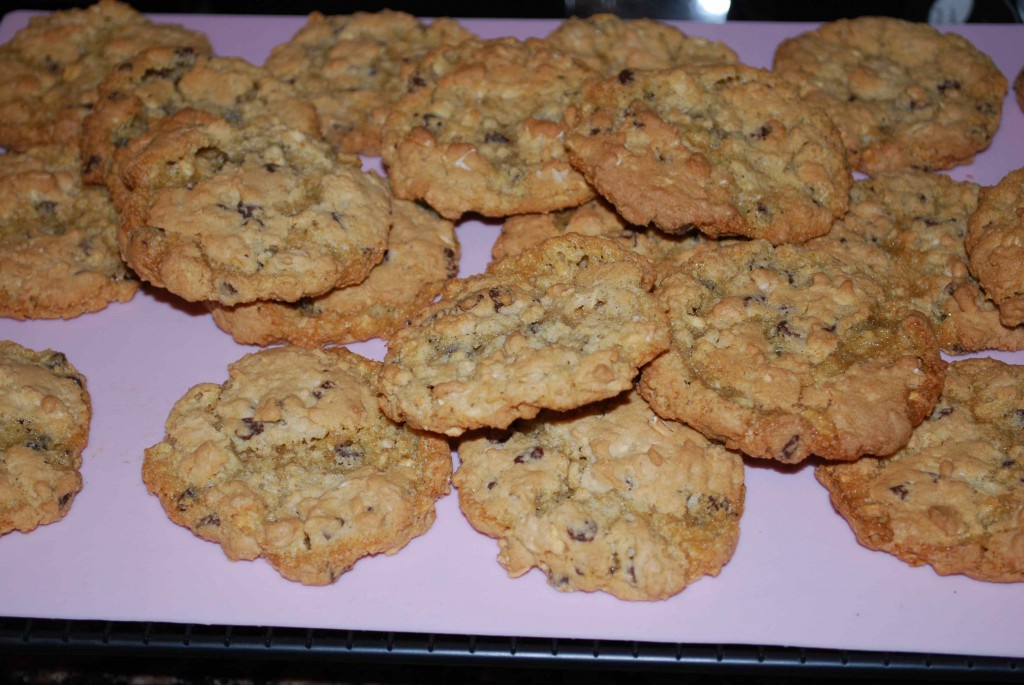
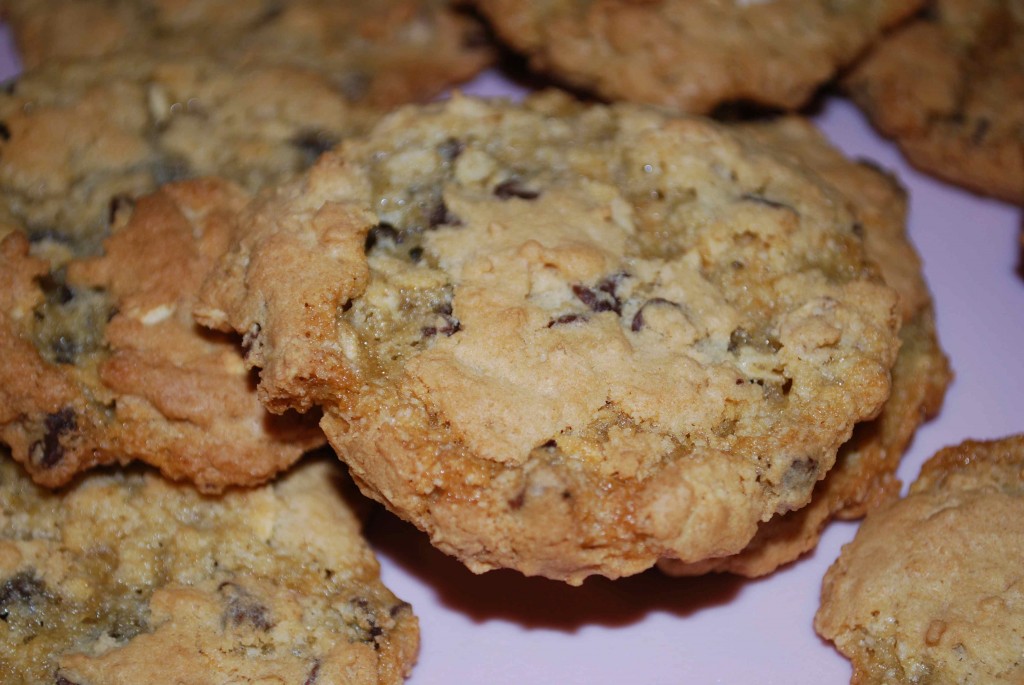
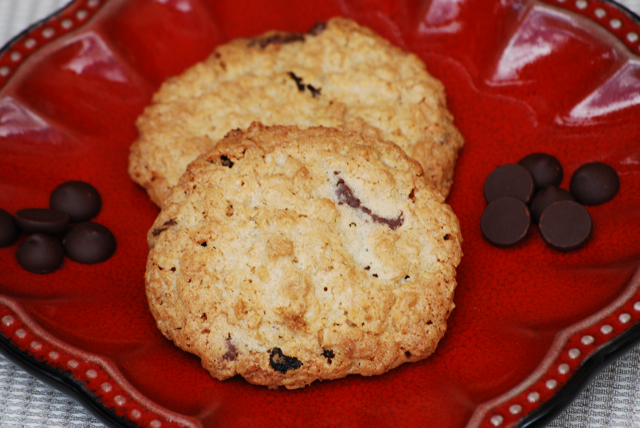
Hands down, chocolate chip cookies have always been my favorite of the cookie family; that is until my husband influenced me. He loves oatmeal cookies. Not just oatmeal cookies, but oatmeal raisin chocolate chip cookies! Now, I am usually trying to find healthier versions of recipes, but when my husband’s birthday rolled around I knew I had to give him the good stuff. He isn’t really a fan of cake, but I knew a great cookie would win his heart over. So, of course I turned to my trusty Cook’s Illustrated book; which never disappoints. That is where I found, in my opinion, the best oatmeal cookie recipe. A plump, soft center with slightly crispy edges, and full of raisin and chocolate chip goodness. Not only did they win his heart over, but they won mine too. I think this cookie has taken the position as my new favorite cookie.

Enjoy the treat, and I will be back soon with an amazing appetizer recipe; just in time for the holidays!
cookie 1-cropped

cookie 2

Chewy Oatmeal Raisin Chocolate Chip Cookies

adapted from Cook’s Illustrated, The New Best Recipe

1 1/2 cups (7 1/2 ounces) unbleached all-purpose flour
1/2 teaspoon baking powder
1/2 teaspoon salt
16 tablespoons (2 sticks) unsalted butter, softened but still cool
1 cup packed (7 ounces) light brown sugar
1 cup (7 ounces) granulated sugar
2 large eggs
3 cups old fashioned rolled oats
3/4 cup raisins
3/4 cup semi-sweet chocolate chips

Adjust the oven racks to the low and middle positions and heat the oven to 350 degrees. Line 2 large baking sheets with parchment paper or spray them with nonstick cooking spray.

Whisk flour, baking powder, and salt together in a medium bowl.

Either by hand or with an electric mixer, beat the butter on medium speed until creamy. Add the sugars; beat until fluffy, about 3 minutes. Beat in the eggs, one at a time.

Stir the dry ingredients into the butter-sugar mixture with a wooden spoon or large rubber spatula. Stir in the oats, raisins and chocolate chips.

Working with a generous 2 tablespoons of dough each time, roll the dough into 2-inch balls. Place the balls on the prepared baking sheets, spacing them at least 2 inches apart.

Bake until the cookie edges turn golden brown, 22 to 25 minutes, rotating the baking sheets front to back and top to bottom halfway through the baking time. Let the cookies cool on the baking sheets for 2 minutes. Transfer the cookies with a wide metal spatula to a wire rack. Let cool at least 30 minutes.

Yields: approximately 2 dozen cookies.

*In the case that you don’t want to overindulge too much, these cookies freeze well too!
Cheesecake + Cookies= A Great Light Bite

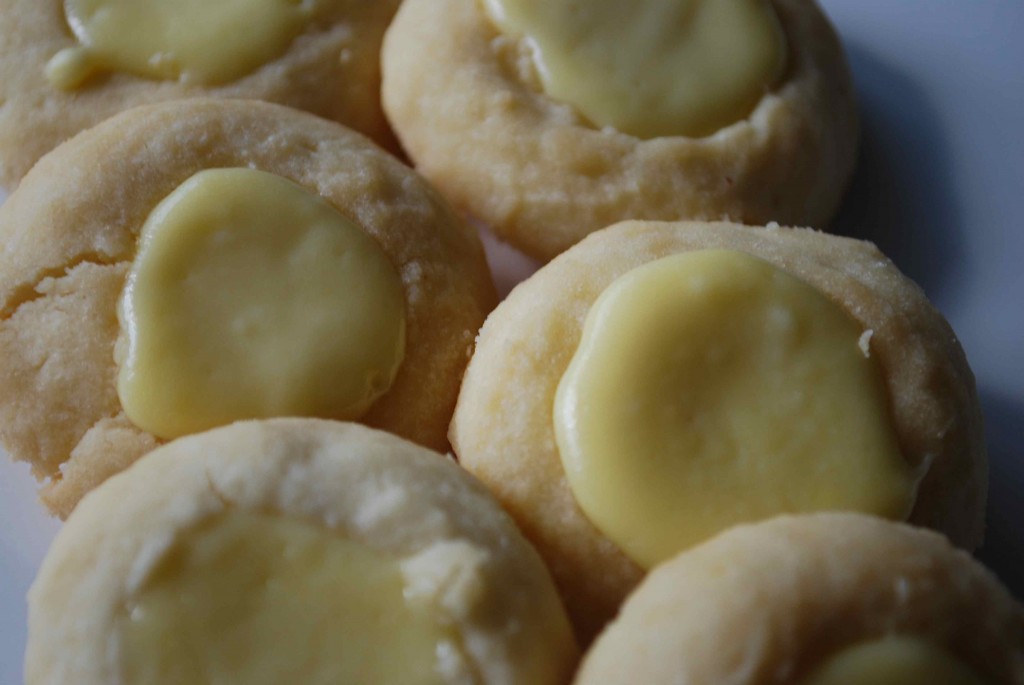
I mentioned in my last post that I had made goodies for a barbeque we attended. I also mentioned that when I bake for gatherings I like to try and make an array of things in hopes of pleasing everyone’s palates. For that same barbeque I decided to make some Cheesecake Thumbprint Cookies in addition to the Oatmeal Fudge Bars. About a year ago I purchased Martha Stewart’s Baking Handbook. I am usually not a huge fan of hers, but this book seemed like it had a great variety of baked goods as well as some wonderful information on techniques, equipment, etc. So far it has been a great purchase and hasn’t steered me wrong.

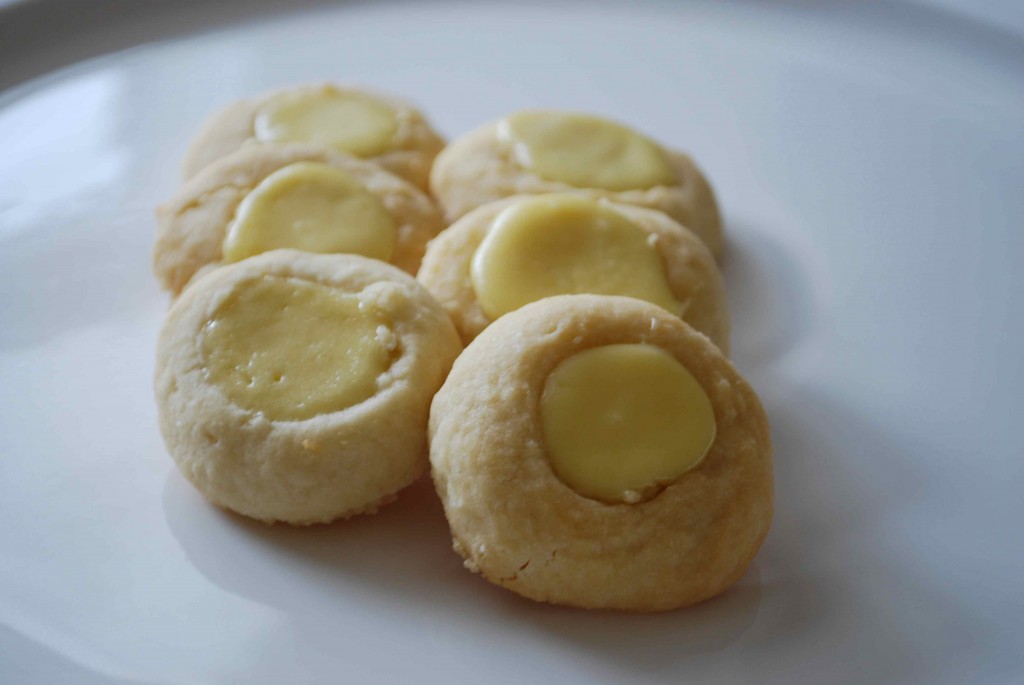
The Cheesecake Thumbprint Cookie recipe sounded like a winner, oh and a winner it was! Everyone raved over them, especially my grandmother. It is a fairly simple recipe and it is a treat that is easy for transport. The cookies are light and have the perfect amount of sweetness. This would be a wonderful recipe if you are looking for something that isn’t incredibly rich and decadent.

cheesecake cookies 2

cheesecake cookies

Cheesecake Thumbprints

Courtesy of Martha Stewart’s Baking Handbook

4 oz. cream cheese, room temperature
½ cup granulated sugar
¼ tsp. salt, plus a pinch
2 large egg yolks
1½ tsp. sour cream
1/8 tsp. vanilla extract
2 sticks unsalted butter, room temperature
2 cups all purpose flour

In a bowl of an electric mixer fitted with the paddle attachment, beat cream cheese on medium speed until light and fluffy, about 3 minutes, scraping down the sides of the bowl as needed. Add ¼ cup sugar and a pinch of salt, and beat until smooth, about 3 minutes. Add 1 egg yolk, sour cream, and vanilla; beat until smooth. Transfer to a small bowl, and refrigerate for about 30 minutes.

Preheat the oven to 350 degrees F, with racks in the upper and lower thirds. Line two large baking sheets with parchment paper; set aside. In the bowl of an electric mixer fitted with the paddle attachment, beat the butter and remaining ¼ cup sugar on medium speed until well combined, 1 to 2 minutes, scraping down the sides of the bowl as needed. Add remaining ¼ teaspoon salt and egg yolk; beat to combine. With mixer on low speed, gradually add the flour, mixing until just combined.

Shape level tablespoons of dough into balls, and place on prepared baking sheets about 1 inch apart. Using the lightly floured end of a thick wooden spoon handle (or your thumb), make an indentation in the center of each ball.

Bake 10 minutes; remove from oven and make indentations again. Rotate sheets, return to oven, and bake until edges of cookies begin to turn golden, 7 to 9 minutes more. Transfer cookies to a wire rack to cool completely.

Using a small teaspoon, fill the center of each cookie with about 1 teaspoon cream cheese filling, mounding it slightly. Return cookies to the oven, and bake until the filling is firm, 7 to 8 minutes. Transfer cookies to a wire rack to cool completely. Refrigerate in an airtight container, layered between waxed or parchment paper, at least 4 hours before serving (cookies can be refrigerated overnight).

Note: This recipe makes about 30 cookies. These cookies are best eaten after they have been refrigerated overnight. Allow them to sit at room temperature for twenty minutes before serving.

Sweets from the heart.

As I mentioned in my previous post, we made a special Valentine’s dinner in this year. It was fabulous and we enjoyed every minute of cooking and eating it. Along with the side dishes, I was also in charge of the dessert. Of course I wanted to make something special that we wouldn’t have everyday. Sometimes the dessert decision can be a bit of a challenge since Greg and I have different tastes. I love pretty much any kind of dessert, especially cakes and things that are incredibly indulgent. Greg on the other hand, he would be happiest with a cookie, brownie or bowl of ice cream. So, what was I to do??

Well, my original thought was to make individual chocolate lava cakes, as that is one of my all time favorite desserts. The more I thought about it though, I realized that this was not something Greg would enjoy as much. Valentines Day dessert had to be something we would both enjoy equally.

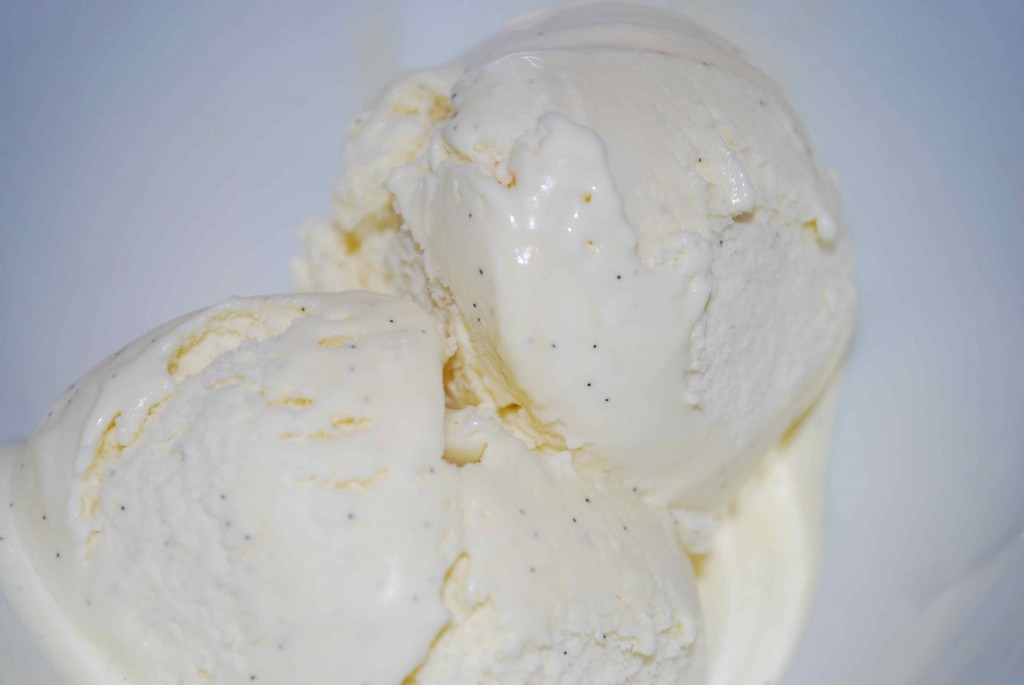
I don’t quite remember what triggered this thought in my head, but after much debate I finally figured out the perfect dessert that Greg would especially enjoy. Ice cream sandwiches made with oatmeal chocolate chip cookies (Greg’s favorite) and homemade vanilla bean ice cream. I had some vanilla beans in the closet that I have been meaning to use and we hadn’t put our ice cream machine to much use since we got it as a wedding gift.

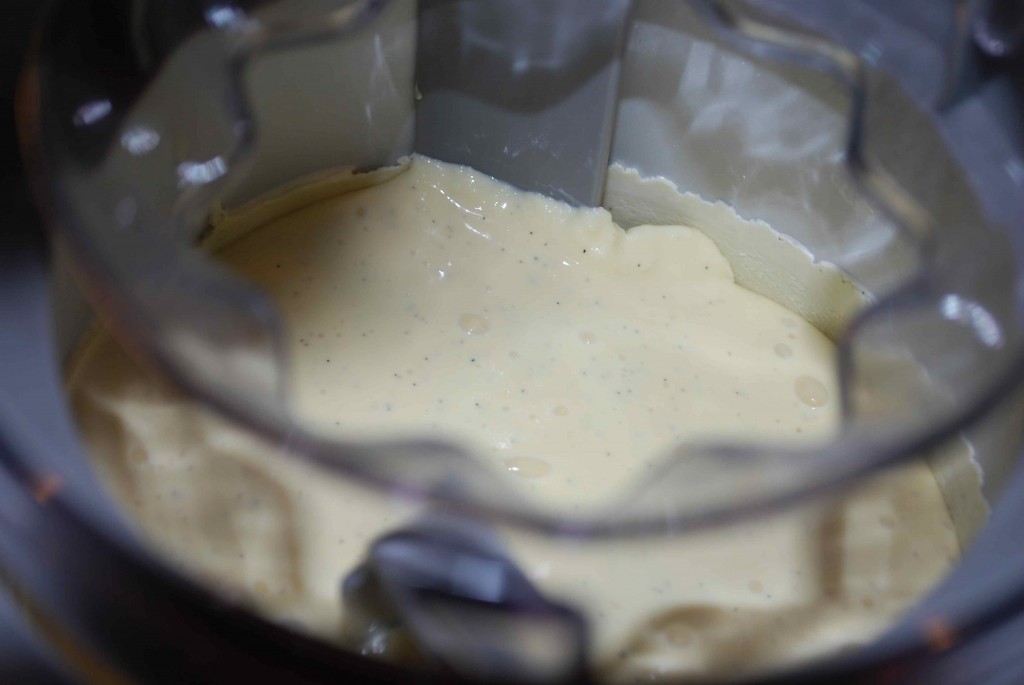
After realizing I couldn’t go wrong with this choice, I went to scrounge up some recipes. The cookie recipe I found on Cooking Light and adapted it. Honestly, I think they were the best homemade oatmeal chocolate chip cookies we have ever had. That is a major score since they are also lower in calories than most. I also came across an incredible vanilla bean ice cream recipe in the blog, Amber’s Delectable Delights, where she credits The Perfect Scoop by David Lebovitz. It was amazing and better than any store bought vanilla ice cream. By the way, I highly recommend a visit to Amber’s blog because she has tons of great recipes.

So we put these two great recipes together and had some yummy ice cream sandwiches. They were a bit messy when you bit into them, but they were worth the mess.

Unfortunately I never got a picture of the actual sandwiches, but I was able to snap some of the individual ingredients.

dsc_0036

dsc_0038

Oatmeal-Chocolate Chip Cookies

adapted from cookinglight.com
1 ¼ cups all-purpose flour (about 5 ½ ounces)
1 cup regular oats
¾ tsp. baking powder
½ tsp. baking soda
½ tsp. salt
¾ cup granulated sugar
½ cup packed brown sugar
1/3 cup butter, softened
1 ½ tsp. vanilla extract
1 large egg
½ cup semi-sweet minichips (next time I will probably add a few more)

Preheat oven to 350 degrees.

Lightly spoon flour into dry measuring cups; level with a knife.  Combine flour and next 4 ingredients (through salt), stirring with a whisk; set aside.

Place sugars and butter in a large bowl; beat with a mixer at medium speed until well blended.  Add vanilla and egg; beat until blended.  Gradually add flour mixture, beating at low speed just until combined.  Stir in the minichips.

Drop dough by tablespoons 2 inches apart onto baking sheets lined with parchment paper.  Bake at 350 degrees for 12 minutes or until edges of cookies are lightly browned.  Cool on pans 2 minutes.  Remove cookies from pans; cool on wire racks.

Yields: 3 dozen

dsc_0034

dsc_0009

Vanilla Ice Cream

courtesy of Amber’s Delectable Delights
1 cup whole milk
¾ cup sugar
2 cups heavy cream, divided
pinch of salt
1 vanilla bean, split in half lengthwise
6 large egg yolks
¾ tsp. vanilla extract

Warm the milk, sugar, 1 cup of cream, and salt in a medium saucepan. Scrape the seeds from the vanilla bean into the warm milk and add the bean as well. Cover, remove from the heat, and let steep at room temperature for 30 minutes.

Pour the remaining 1-cup cream into a large bowl and set a mesh strainer on top. In a separate medium bowl, whisk together the egg yolks. Slowly pour the warm mixture into the egg yolks, whisking constantly, then scrape the warmed egg yolks back into the saucepan.

Stir the mixture constantly over medium heat with a heatproof spatula, scraping the bottom as you stir, until the mixture thickens and coats the spatula. Pour the custard through the strainer (into the remaining 1-cup cream) and stir until cool over an ice bath.

Chill the mixture thoroughly in the refrigerator. When ready to churn, remove the vanilla bean, and then freeze the mixture in your ice cream maker according to the manufacturers instructions.

Low-Cal. Chocolate Goodness

Who isn’t looking for a decadent dessert they don’t have to feel guilty about eating?? With the sweet tooth I posses along with being a chocoholic, this is a mission in life for me. :o) Especially since I gain weight just looking at food!

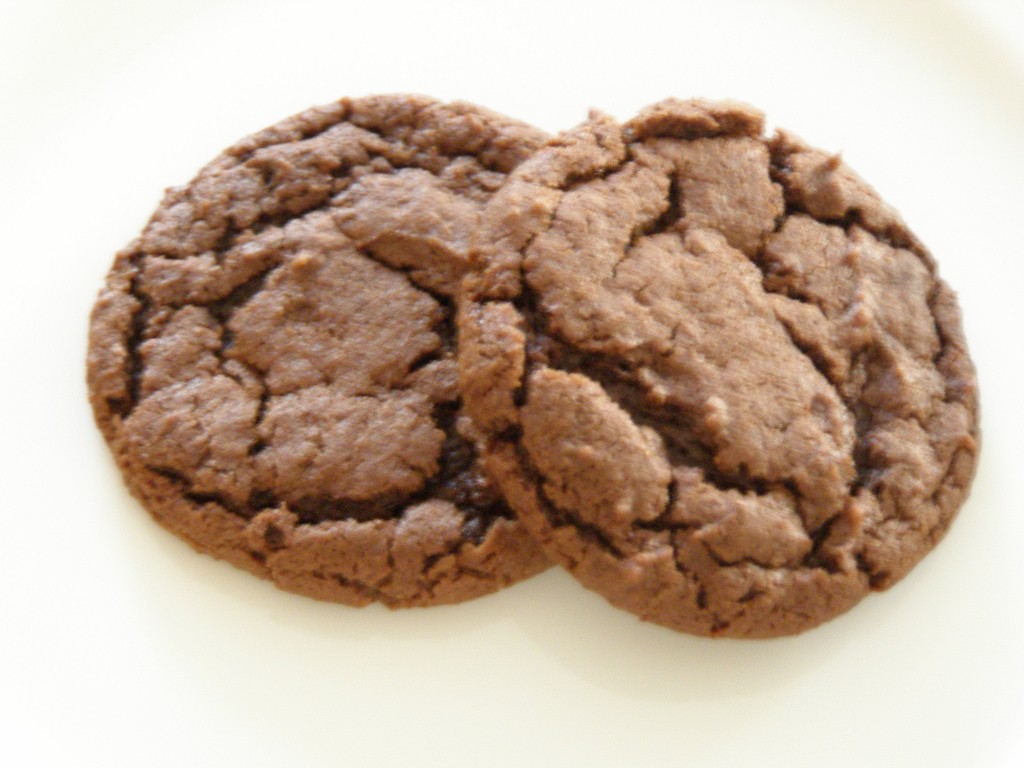
I was so happy to find a chocolate cookie that would feed my sweet tooth, but not leave me avoiding the scale afterwards. Did I mention that this cookie tastes great too?! It is actually more decadent than most full-fat cookies I have eaten. Think cookie meets brownie. Honestly, I really don’t think any further explanation is needed. One bite and you will be sold, I promise!

p10100791

Cocoa Fudge Cookies

courtesy of cookinglight.com
1 cup all-purpose flour
1/4 tsp. baking soda
1/8 tsp. salt
5 tbs. butter
7 tbs. unsweetened cocoa
2/3 cup granulated sugar
1/3 cup packed brown sugar
1/3 cup plain low-fat yogurt (I used vanilla)
1 tsp. vanilla extract
cooking spray

Preheat oven to 350 degrees.

Lightly spoon flour into a dry measuring cup; level with a knife. Combine flour, baking soda, and salt; set aside. Melt butter in a large saucepan over medium heat. Remove from heat; stir in cocoa powder and sugars (mixture will resemble course sand). Add yogurt and vanilla, stirring to combine. Add flour mixture, stirring until moist. Drop by level tablespoons 2 inches apart onto baking sheets coated with cooking spray.

Bake at 350 degrees for 8 to 10 minutes or until almost set. Cool on pans 2 to 3 minutes or until firm. Remove cookies from pans; cool on wire racks.

Yields about 2 dozen cookies.

Nutella, enough said!

I would like to start out by saying that I never felt that I was a deprived child (food wise) until my husband introduced me to Nutella. Yes, I had never tasted or even knew about Nutella until I was about 20 years old and in college. I did have my share of Fluffer Nutter sandwiches as a child though, so I guess I wasn’t too deprived. : p The ironic part of this situation is that my husband was actually the yummy food deprived child, but yet knew of the fabulous Nutella. Yeah, he was the kid who went to birthday parties and then got sick afterwards because he gorged himself on so much junk food (since he wasn’t allowed to have any at home).

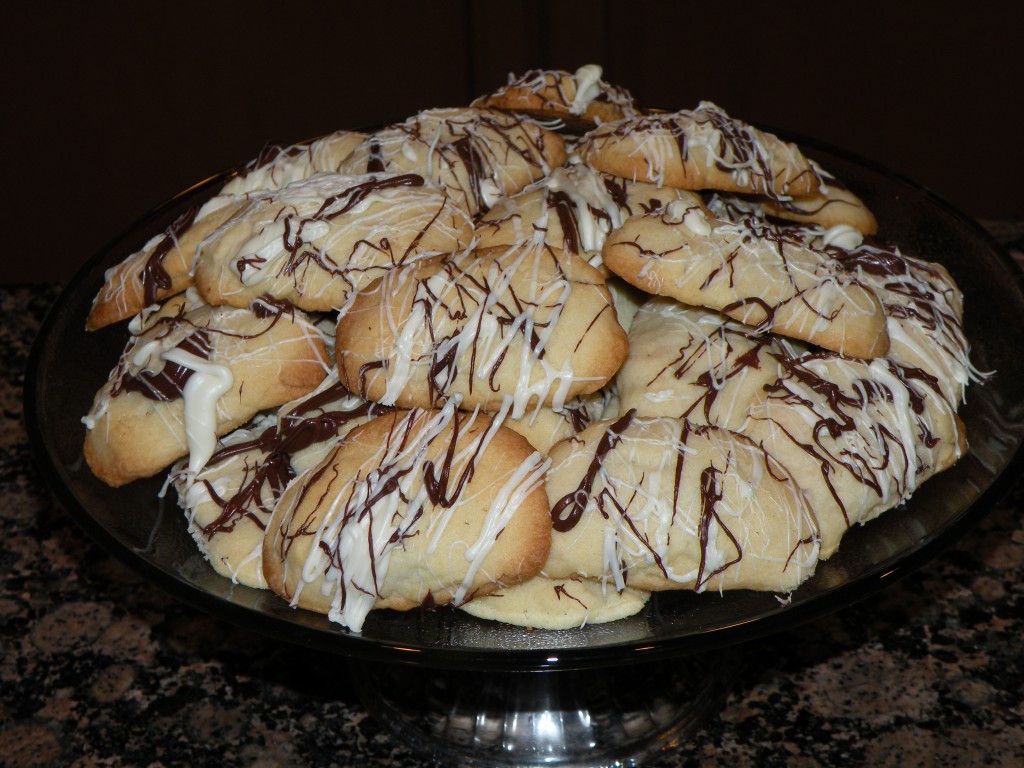
Okay, so where was I going with this whole Nutella discussion? Well, I was going to a Dolphins football game with some family and I wanted to make cookies to bring along for tailgating. On my quest for a new cookie recipe I came across Culinary Concoctions by Peabody. While browsing through her wonderful site I found a cookie recipe that called for the cookies to be stuffed with Nutella. I mean could you really ask for anything more than a Nutella stuffed cookie…I DON’T THINK SO!! Of course I had to make them.

The outcome was delicious! It is also a great recipe if you are looking for something homemade but don’t have a ton of time because you can always use store bought sugar cookie dough for the base.

dscn0010

Nutella Ravioli Cookies

courtesy of Culinary Concoctions by Peabody
18 oz. of fresh sugar cookie dough (I used Peabody’s Sugar Cookie recipe)
OR
18 oz. of store bought cookie dough
1/2 cup Nutella
3 tbs. white chocolate chips
3 tbs. chocolate chips

Preheat oven to 350 degrees.

Roll out cookie dough to about 1/4 of an inch thickness. Using a cookie cutter or glass dipped in flour, cut out rounds ( I used a glass and it worked perfectly). Using a piping bag or a plastic bag with the end snipped off, pipe about a 1/2 tsp. of Nutella into the center of each round. Fold rounds over to create a half moon shape and seal off edge. Place on an ungreased cookie sheet and bake for about 9-10 minutes. Move to racks and cool completely.

When cookies are completely cooled, melt the white chocolate and chocolate chips separately in the microwave for 1 minute. Using a fork, drizzle both chocolates over the top of the cookies. Then enjoy!

Puffs of Sweetness

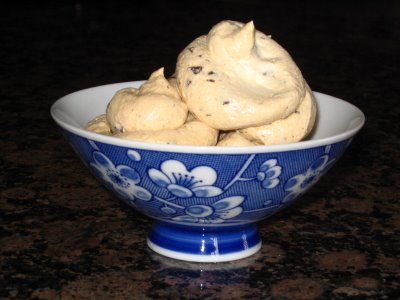
Well they may be puffs of sweetness if someone else makes them! Sadly I don’t think I am cut out to make meringues. My husband and I have been trying to get back into shape and back into the routine of eating healthy. I saw Ellie Krieger make these Chocolate-Almond Meringues on her show the other day and thought they would be a perfect (low fat) sweet treat for us. I made a first attempt at them last week and they completely flopped. I cooked them for 40 minutes at 250 degrees as the recipe instructed. Once they cooled they became super sticky and soggy. Yuck!

I didn’t want to let them defeat me so I asked the girls on the WC Nest board about their experience with meringues and I referred to a few other recipes. I decided to try the route of heating the oven and then turning it off when I put the meringues in and leaving them in for a few hours. When I took them out I could tell they weren’t done so I put them in the oven at 250 for another 30 minutes and then let them stand in the oven for quite a while again after I turned it off. When I first took them out they were PERFECT!! I was so happy and thought I finally had a success. Well, to my disappointment they weren’t as perfect the next day. :o( They aren’t as soggy as the first time but they aren’t crispy like they should be either. I think I am going to give the meringue making up now. I have posted the recipe below in case anyone else would like to take a crack at it. Please let me know if you have any better success!

puffs1

puffs2

Chocolate-Almond Meringues

courtesy of Ellie Krieger
3 egg whites
1/4 tsp. cream of tartar
1/3 cup superfine (caster) sugar*
3/4 tsp. almond extract
2 oz. semi-sweet chocolate (chopped)

Preheat oven to 250 degrees F. Line a baking sheet with parchment paper and set aside (I actually had to use two baking sheets). Place egg whites and cream of tartar in a clean, dry bowl of a stand mixer and beat until foamy (I used my hand mixer). Add sugar and almond extract, beat until meringues hold soft peaks, about 3 minutes. Fold in chocolate gently until just incorporated. Using a pastry bag or a sealable plastic bag with the corner snipped off, pipe meringue by the tablespoon onto cookie sheets. Bake for 40 minutes, then remove from oven and let cool completely before removing from parchment paper. Transfer to an airtight container.

*You can make your own caster sugar by pulsing granulated sugar in a food processor for 30-40 seconds.

Is it a brownie or a cookie? Who Cares!

Recently we found out that my husband, Greg, would be getting a promotion and we would be relocating from Tampa to Miami. Well, he had their poor office coordinator scanning the calls from the moving companies he was getting estimates from. Greg told her he would make it up to her by buying her snacks from the vending machine the rest of the week. Men!! When he told me this I quickly volunteered to make her a homemade treat instead. Not really knowing what she liked, except for chocolate, I began going through my recipes. I came across Double Chocolate Brownie Cookies in my Martha Stewart Baking Handbook. I had already made one successful cookie from her book so why not try another.

I went through the whole process of following the recipe exactly. After getting all of my ingredients combined I had a nice semi-thick batter. The only problem was….the recipe said to take spoonfuls and roll them into balls. If I took what I had and did that I would have had a big blob of batter in my hand and there was no way it was going to roll into a ball. I went back and re-read the recipe to be SURE that I did everything correctly and that it didn’t say to let the batter stand or refrigerate. I did everything right and there was nothing that said to do anything more with the batter after it was all combined. Hmmmm….now what?

I decided to try and refrigerate it for a little while. It helped a bit but not much. I let it sit on the counter for a little while and it also helped a bit but there was still no way it was going to be rolled into balls. Well, what did I have to lose at this point? I decided to just plop the batter down into little mounds on the cookie sheet and see what happened.

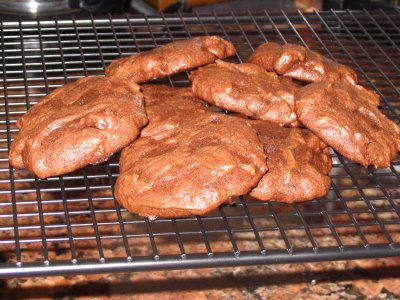
I was very pleased to see that they turned out fine. They were delicious (very decadent) and had that nice soft consistency of a brownie, YUM! In the end I had a success and everyone at Greg’s work loved them! They wanted me to make more over the weekend for Monday, lol.

chocolate-cookies

Double Chocolate Brownie Cookies

courtesy of Martha Stewart’s Baking Handbook
9 oz. semi-sweet chocolate, chopped into 1/4 inch chunks
3 oz. unsweetened chocolate, coarsely chopped
6 tbs. unsalted butter
1 cup sugar
3 large eggs
1/2 tsp. pure vanilla extract
1 cup sifted all-purpose flour
1/4 tsp. salt
3/4 cup (about 3 oz.) chopped walnuts (optional) – I chose to omit these

Preheat your oven to 375 degrees. Line two large baking sheets with parchment paper and then set aside. In a heatproof bowl set over (but not touching) simmering water, melt 5 ounces of the semisweet chocolate, all of the unsweetened chocolate and the butter. Stir until smooth. Set mixture aside to cool for about 5 minutes.

In the bowl of an electric mixer fitted with the paddle attachment, beat the chocolate mixture and sugar on medium speed until well combined, about 3 minutes, scraping down the sides of the bowl as needed. Add the eggs and mix until completely combined. Beat in the vanilla. Add the flour and salt, and beat until just incorporated. Stir in the remaining 4 ounces of semi-sweet chocolate and the nuts, if using.

Shape 2 tablespoons of dough at a time into 1 1/2 inch balls and place about 1 1/2 inches apart on the prepared baking sheets. Bake, rotating sheets halfway through, until edges are set and centers are still a bit soft, 9 to 11 minutes. Transfer parchment and cookies to a wire rack to cool completely.

Note: I used a hand mixer which may be why the consistency didn’t turn out the way it should have.

Cookie with a Zing

We were having a Memorial Day potluck at work and I wanted a great dessert. After a winter season of heavy, rich desserts I really wanted something light and fruity. I also wanted something that wasn’t too time consuming or labor intensive since I would have to prepare it when I got home from work.
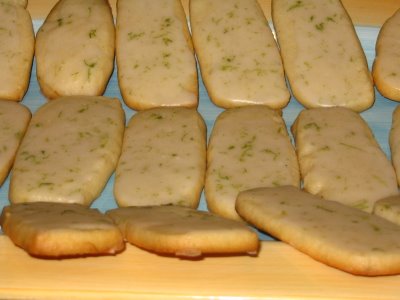
During this same time I had just purchased a new baking cookbook, Martha Stewart’s Baking Handbook. While flipping through it I found just the recipe I was looking for, Lime-Glazed Cookies. Sweet, tart and oh so good.

Lime-Glazed Cookies

– makes about 3 dozen
Martha Stewart’s Baking Handbook

lime