Sweets from the heart.

As I mentioned in my previous post, we made a special Valentine’s dinner in this year. It was fabulous and we enjoyed every minute of cooking and eating it. Along with the side dishes, I was also in charge of the dessert. Of course I wanted to make something special that we wouldn’t have everyday. Sometimes the dessert decision can be a bit of a challenge since Greg and I have different tastes. I love pretty much any kind of dessert, especially cakes and things that are incredibly indulgent. Greg on the other hand, he would be happiest with a cookie, brownie or bowl of ice cream. So, what was I to do??

Well, my original thought was to make individual chocolate lava cakes, as that is one of my all time favorite desserts. The more I thought about it though, I realized that this was not something Greg would enjoy as much. Valentines Day dessert had to be something we would both enjoy equally.

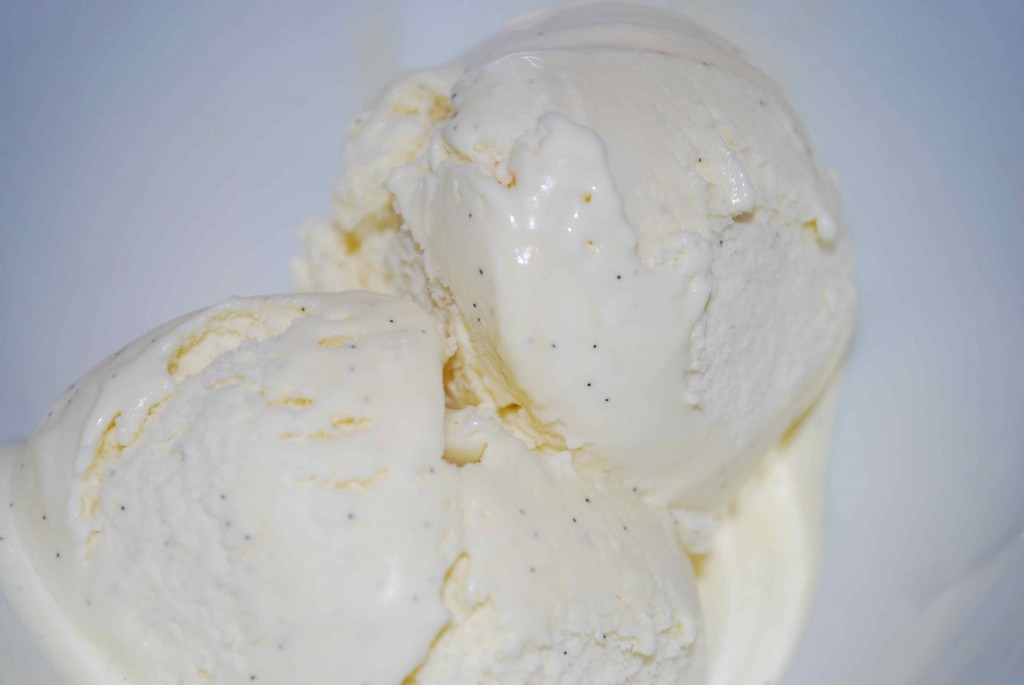
I don’t quite remember what triggered this thought in my head, but after much debate I finally figured out the perfect dessert that Greg would especially enjoy. Ice cream sandwiches made with oatmeal chocolate chip cookies (Greg’s favorite) and homemade vanilla bean ice cream. I had some vanilla beans in the closet that I have been meaning to use and we hadn’t put our ice cream machine to much use since we got it as a wedding gift.

After realizing I couldn’t go wrong with this choice, I went to scrounge up some recipes. The cookie recipe I found on Cooking Light and adapted it. Honestly, I think they were the best homemade oatmeal chocolate chip cookies we have ever had. That is a major score since they are also lower in calories than most. I also came across an incredible vanilla bean ice cream recipe in the blog, Amber’s Delectable Delights, where she credits The Perfect Scoop by David Lebovitz. It was amazing and better than any store bought vanilla ice cream. By the way, I highly recommend a visit to Amber’s blog because she has tons of great recipes.

So we put these two great recipes together and had some yummy ice cream sandwiches. They were a bit messy when you bit into them, but they were worth the mess.

Unfortunately I never got a picture of the actual sandwiches, but I was able to snap some of the individual ingredients.
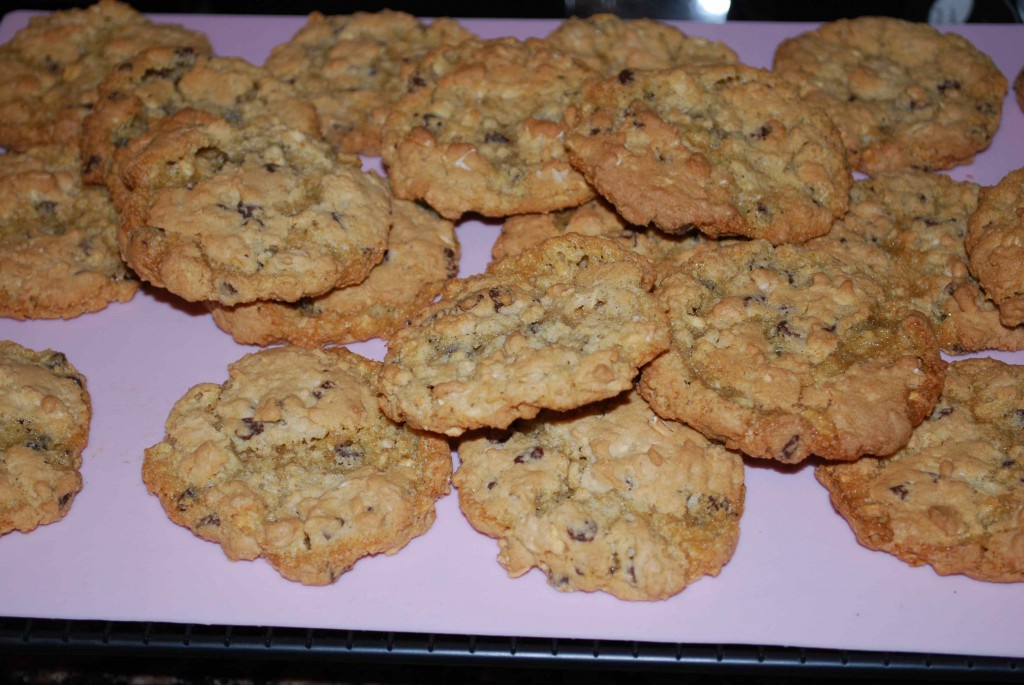
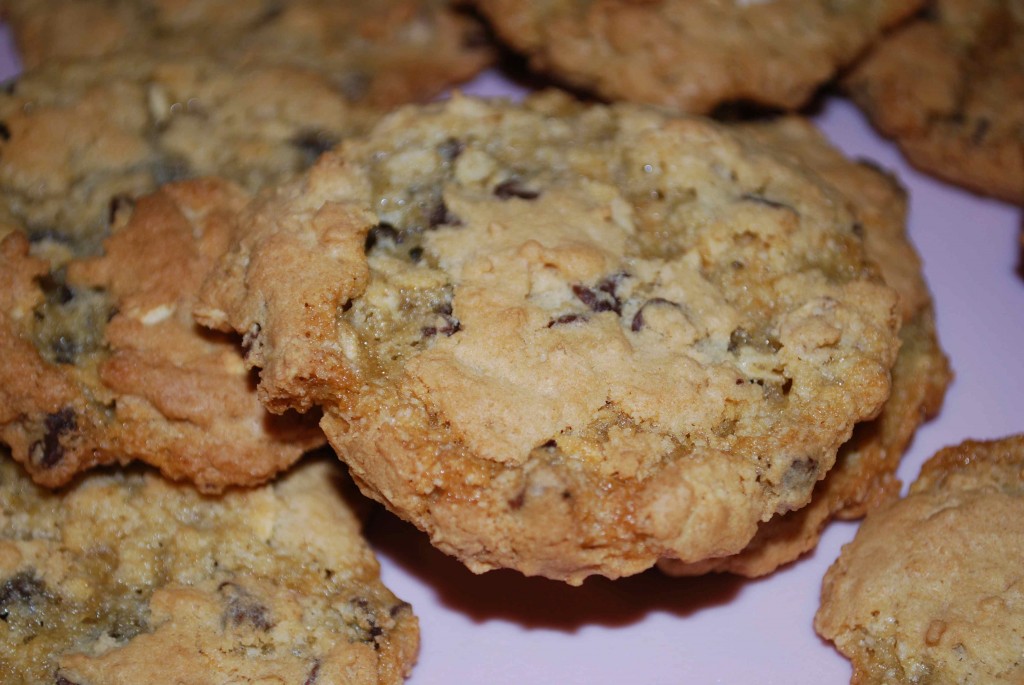
dsc_0036

dsc_0038

Oatmeal-Chocolate Chip Cookies

adapted from cookinglight.com
1 ¼ cups all-purpose flour (about 5 ½ ounces)
1 cup regular oats
¾ tsp. baking powder
½ tsp. baking soda
½ tsp. salt
¾ cup granulated sugar
½ cup packed brown sugar
1/3 cup butter, softened
1 ½ tsp. vanilla extract
1 large egg
½ cup semi-sweet minichips (next time I will probably add a few more)

Preheat oven to 350 degrees.

Lightly spoon flour into dry measuring cups; level with a knife.  Combine flour and next 4 ingredients (through salt), stirring with a whisk; set aside.

Place sugars and butter in a large bowl; beat with a mixer at medium speed until well blended.  Add vanilla and egg; beat until blended.  Gradually add flour mixture, beating at low speed just until combined.  Stir in the minichips.

Drop dough by tablespoons 2 inches apart onto baking sheets lined with parchment paper.  Bake at 350 degrees for 12 minutes or until edges of cookies are lightly browned.  Cool on pans 2 minutes.  Remove cookies from pans; cool on wire racks.

Yields: 3 dozen
dsc_0034

dsc_0009

Vanilla Ice Cream

courtesy of Amber’s Delectable Delights
1 cup whole milk
¾ cup sugar
2 cups heavy cream, divided
pinch of salt
1 vanilla bean, split in half lengthwise
6 large egg yolks
¾ tsp. vanilla extract

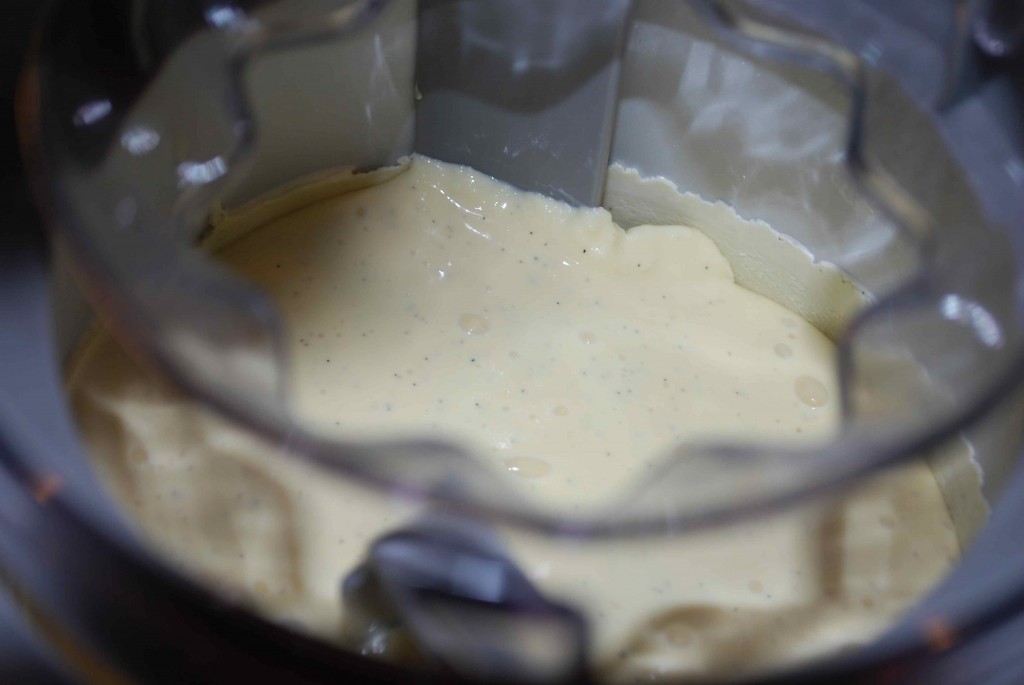
Warm the milk, sugar, 1 cup of cream, and salt in a medium saucepan. Scrape the seeds from the vanilla bean into the warm milk and add the bean as well. Cover, remove from the heat, and let steep at room temperature for 30 minutes.

Pour the remaining 1-cup cream into a large bowl and set a mesh strainer on top. In a separate medium bowl, whisk together the egg yolks. Slowly pour the warm mixture into the egg yolks, whisking constantly, then scrape the warmed egg yolks back into the saucepan.

Stir the mixture constantly over medium heat with a heatproof spatula, scraping the bottom as you stir, until the mixture thickens and coats the spatula. Pour the custard through the strainer (into the remaining 1-cup cream) and stir until cool over an ice bath.

Chill the mixture thoroughly in the refrigerator. When ready to churn, remove the vanilla bean, and then freeze the mixture in your ice cream maker according to the manufacturers instructions.
Low-Cal. Chocolate Goodness

Who isn’t looking for a decadent dessert they don’t have to feel guilty about eating?? With the sweet tooth I posses along with being a chocoholic, this is a mission in life for me. :o) Especially since I gain weight just looking at food!

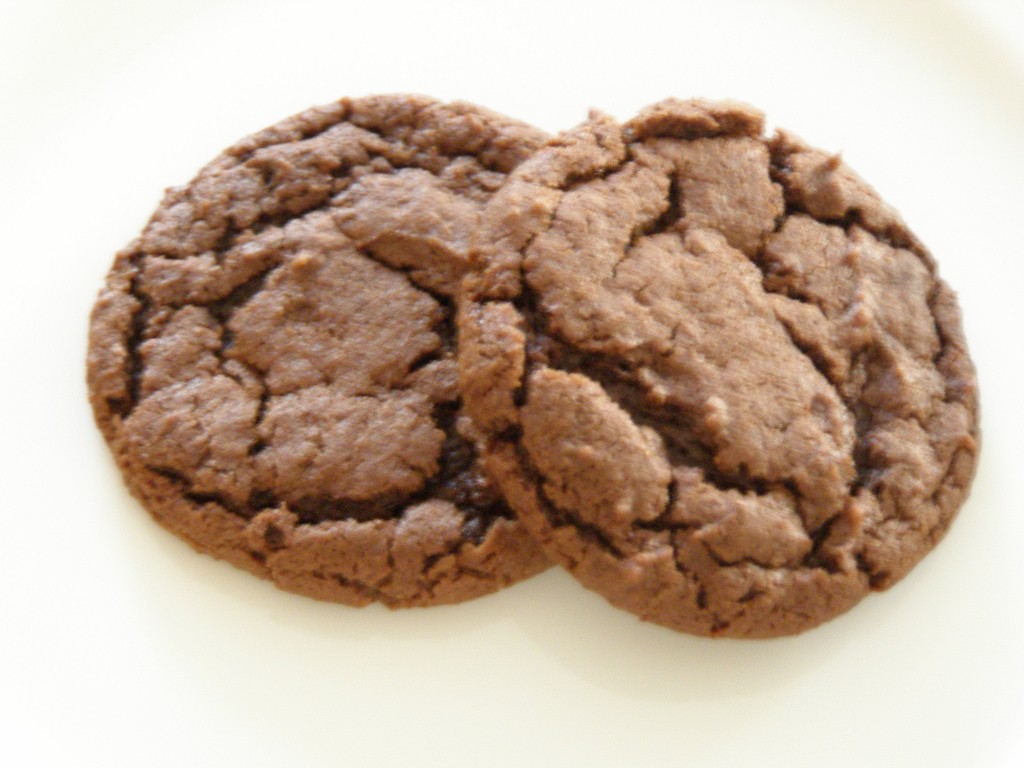
I was so happy to find a chocolate cookie that would feed my sweet tooth, but not leave me avoiding the scale afterwards. Did I mention that this cookie tastes great too?! It is actually more decadent than most full-fat cookies I have eaten. Think cookie meets brownie. Honestly, I really don’t think any further explanation is needed. One bite and you will be sold, I promise!

p10100791

Cocoa Fudge Cookies

courtesy of cookinglight.com
1 cup all-purpose flour
1/4 tsp. baking soda
1/8 tsp. salt
5 tbs. butter
7 tbs. unsweetened cocoa
2/3 cup granulated sugar
1/3 cup packed brown sugar
1/3 cup plain low-fat yogurt (I used vanilla)
1 tsp. vanilla extract
cooking spray

Preheat oven to 350 degrees.

Lightly spoon flour into a dry measuring cup; level with a knife. Combine flour, baking soda, and salt; set aside. Melt butter in a large saucepan over medium heat. Remove from heat; stir in cocoa powder and sugars (mixture will resemble course sand). Add yogurt and vanilla, stirring to combine. Add flour mixture, stirring until moist. Drop by level tablespoons 2 inches apart onto baking sheets coated with cooking spray.

Bake at 350 degrees for 8 to 10 minutes or until almost set. Cool on pans 2 to 3 minutes or until firm. Remove cookies from pans; cool on wire racks.

Yields about 2 dozen cookies.

Chicken and Dumpling Yumminess

I want to begin by saying that the October issue of Cooking Light was a real winner. There were tons of great recipes!

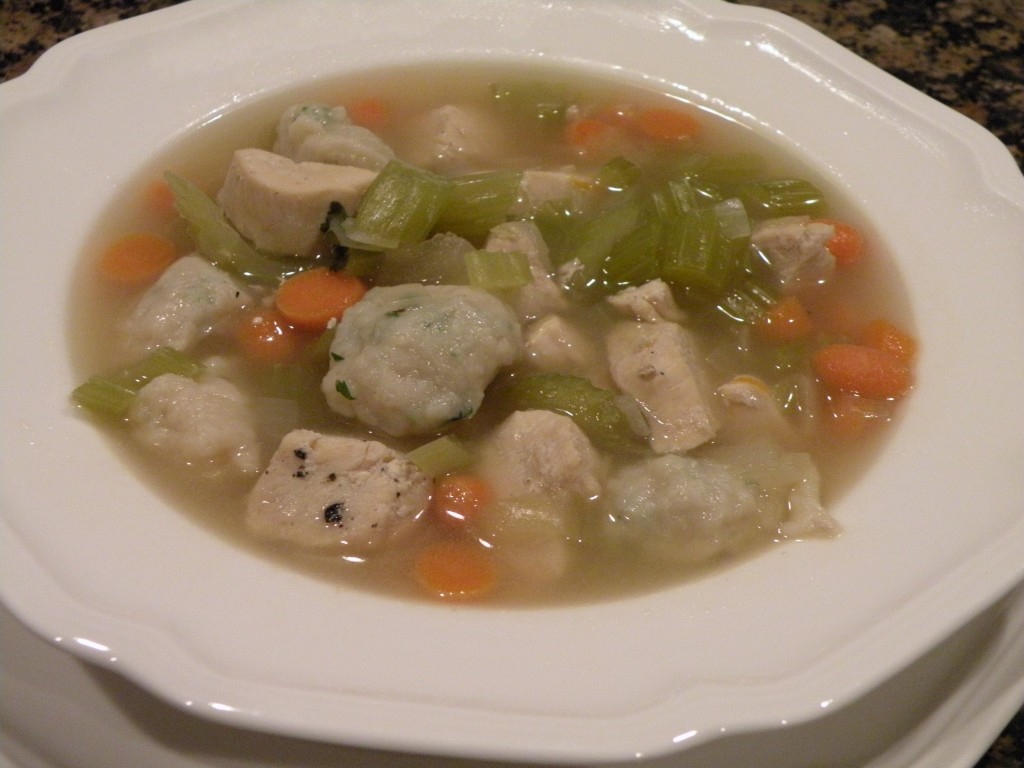
On that note, while browsing through my magazine, I found a recipe for Herbed Chicken and Dumplings. The dish was very easy to make and tasted great. Greg and I both loved it and and were completely satisfied from it. It doesn’t seem like a lot when you cook it, but it is actually very filling. I highly recommend this dish to anyone (up north) suffering with the winter blues.

dscn0064

Herbed Chicken and Dumplings

courtesy of Cooking Light, October 2008
cooking spray
8 ounces skinless, boneless chicken thighs, cut into bite sized pieces (I used chicken breast)
3/4 cup (1/4 in) diagonally cut celery
1/2 cup (1/4 in) diagonally cut carrot
1/2 cup chopped onion
1/8 tsp. dried thyme
3 parsley sprigs
1 bay leaf
3 cups fat-free, less-sodium chicken broth
2.25 ounces all-purpose flour (about 1/2 cup)
1 tbs. chopped fresh parsley
1/4 tsp. baking powder
1/4 tsp. salt
1/4 cup 1% low-fat milk (I used skim)

Heat a large saucepan over medium-high heat. Coast pan with cooking spray. Add chicken to pan; cook 4 minutes, browning all sides. Remove chicken from pan; keep warm. Add celery and next 5 ingredients (through bay leaf) to pan; saute 5 minutes or until onion is tender. Return chicken to pan; cook 1 minute. Add broth to pan; bring mixture to a boil. Cover, reduce heat, and simmer 30 minutes.

Weigh or lightly spoon flour into a dry measuring cup; level with knife. Combine flour, chopped parsley, baking powder, and salt in a medium bowl. Add milk, stirring just until moist. Spoon by heaping teaspoonfuls into broth mixture; cover and simmer 10 minutes or until dumplings are done. Discard parsley sprigs and bay leaf.

Yields 2 servings. Serving Size: 2 cups

Fresh Twist on Pork Chops

Growing up I was never a big fan of pork chops. I would eat them but they weren’t high on my list of favorites. Luckily, as I have gotten older and found my love of cooking I have discovered some ways to cook pork chops and really enjoy them. I mean how much chicken can someone really eat?!

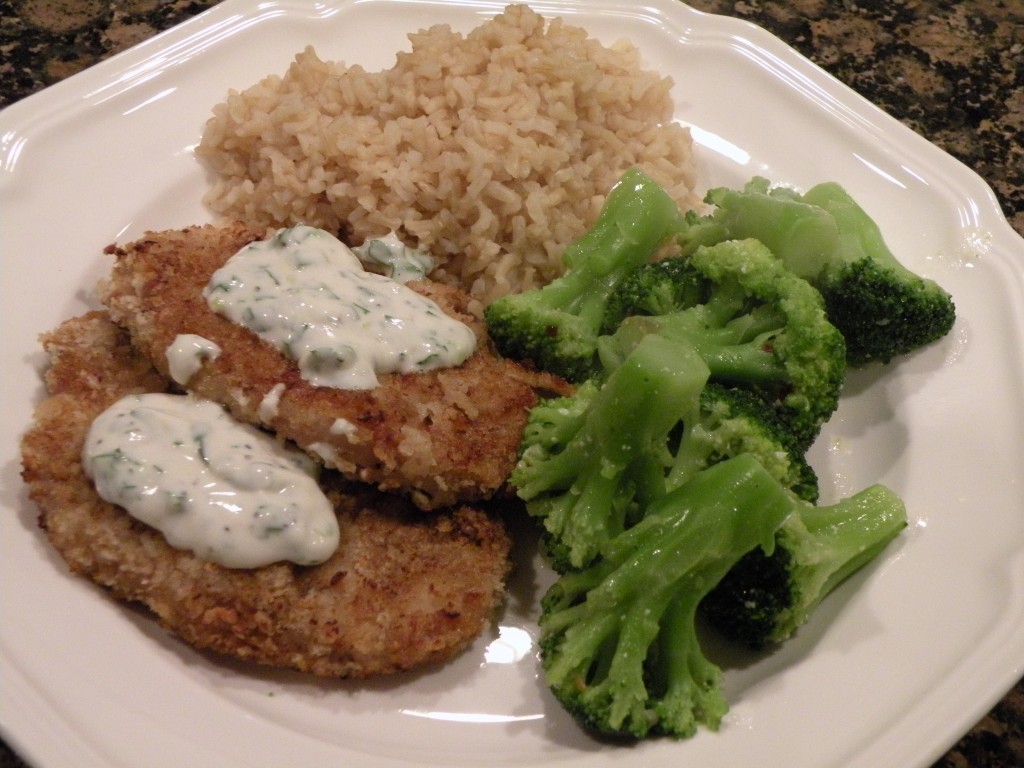
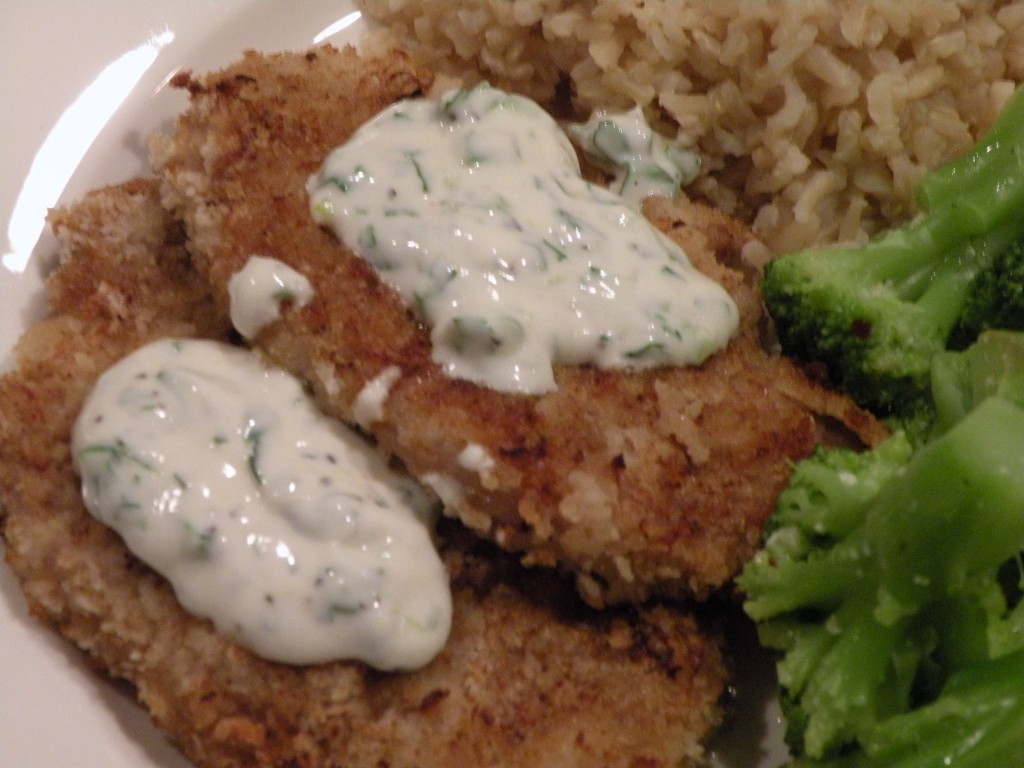
I was excited when I found this great sounding recipe for Panko-Crusted Pork Chops with Creamy Herb Dressing. It just gives a fresh twist on your everyday pork chop dish. I also love that it is low in calories because with the crispiness of the coating and the creamy dressing, it doesn’t feel like you’re eating healthy. It’s a comforting meal that you don’t have to feel guilty about. It is also a pretty neutral dish, so it is easy to change up the side dishes that you serve with it each time.

dscn00702

dscn0075

Panko-Crusted Pork Chops with Creamy Herb Dressing

courtesy of Cooking Light, October 2008
2 tsp. all purpose flour
1/4 tsp. salt
1/4 tsp. onion powder
1/4 tsp. ground cumin
1/4 tsp. chili powder
1/8 tsp. crushed red pepper
1 tsp. low sodium soy sauce
1 large egg white
1/3 cup panko (Japanese bread crumbs)
2 (4-ounce) boneless center-cut loin pork chops (about 1/2 inch thick)
1 tsp. olive oil
cooking spray

Dressing
1 tbs. chopped green onion
1 tbs. chopped fresh flat-leaf parsley
2 tbs. fat-free sour cream
1 tbs. fat-free milk
1 tbs. reduced-fat mayonnaise
1 tsp. cider vinegar
1/4 tsp. garlic powder

To prepare pork, preheat oven to 450 degree.

Combine first 6 ingredients in a shallow dish. combine soy sauce and egg white in a medium bowl, stirring with a whisk. Place panko in a shallow dish.

Dredge pork in flour mixture; dip in egg mixture. Dredge in panko. Heat oil in a large nonstick skillet over medium-high heat. Add pork to pan; cook 1 minute on each side. Place pork on a baking sheet coated with cooking spray. Bake at 450 degrees for 6 minutes or until done.

To prepare dressing, combine onions and the remaining ingredients. Serve dressing with pork.

Yields 2 servings. Serving Size: 1 pork chop and about 2 tbs. dressing.

Amazing Brussels Sprouts!

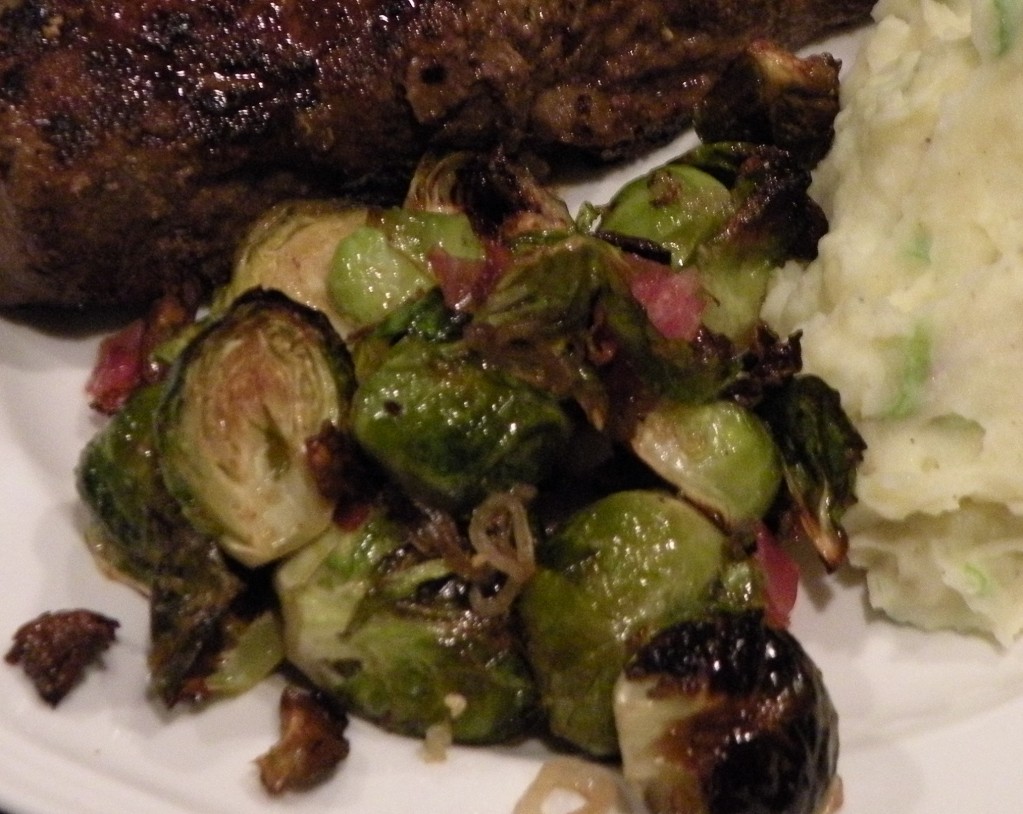
I have never been a fan of Brussels sprouts. I tried and tried to like them since they are a favorite of Greg’s, but I just couldn’t acquire a taste for them. At least I couldn’t until I came across this recipe. I not only converted myself to loving these Brussels sprouts, but I also converted my mother, who absolutely hated them in the past. I have made them two or three times and can’t get tired of them.

If you are looking for a great veggie side dish, look no further. These Caramelized Shallots and Brussels Sprouts with Pancetta will wow you and your guests.

dscn0006_2

Caramelized Shallots and Brussels Sprouts with Pancetta

adapted from Cooking Light, October 2008
1 1/2 pounds Brussels sprouts, halved (I prefer to use fresh)
cooking spray
1 tbs. olive oil
2/3 cups thinly sliced shallots
1/2 tsp. freshly ground pepper
1/4 tsp. salt
1 ounce finely chopped prosciutto
4 tsp. brown sugar
2 tsp. white wine vinegar

Preheat oven to 400 degrees.

Arrange Brussels sprouts on a cookie sheet coated with cooking spray. Drizzle with oil and toss to coat. Bake at 400 degrees for 15 minutes. Add shallots, pepper, salt, and prosciutto to pan; toss well. Bake at 400 degrees for 10 minutes. Add sugar and white wine vinegar; toss to coat. Bake an additional 10 minutes or until caramelized.

Hearty and healthy for a cool winters night.

While it’s nice to have the traditional meat, starch and vegetable dinner on a plate, I am always looking for one pot dishes. I feel like after a long day of work, a one pot dish is so simple for a weeknight dinner. Not only do you not have to concentrate on three different pots and pans on the stove while you are trying to unwind, but you also have a lot less dishes to wash at the end of the night.

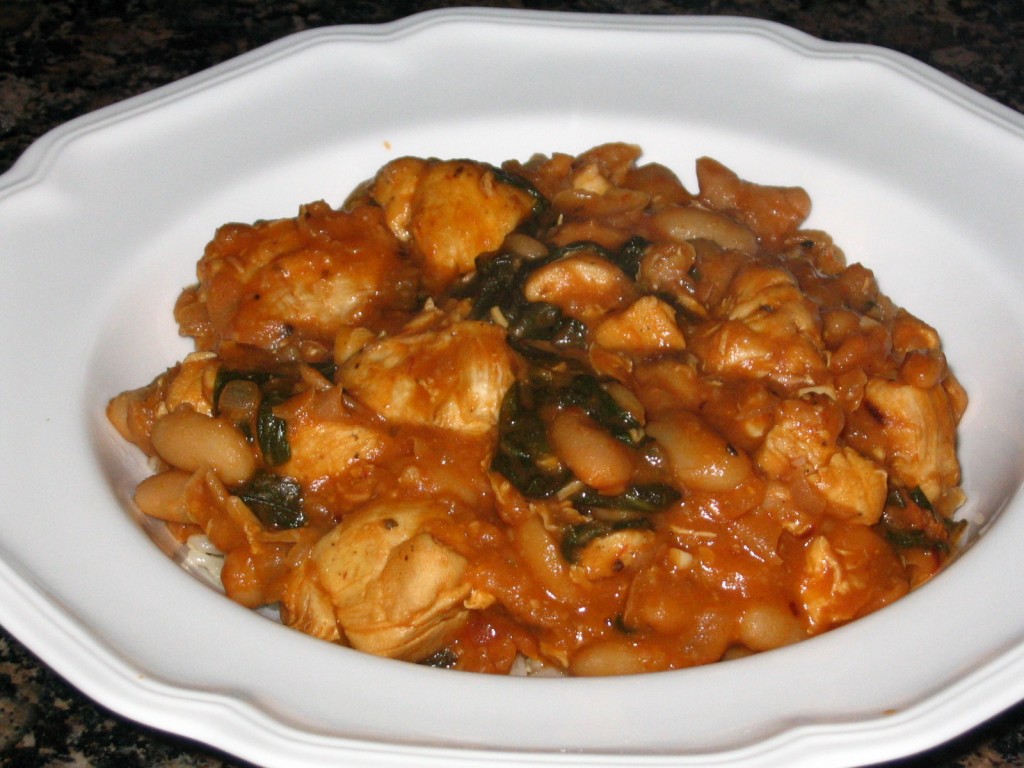
I was delighted when I found not only a great sounding stew dish but a healthy stew dish at Erin’s Eats. My husband is not a fan of a traditional stew because he really doesn’t like gravy, so I love the fact that this stew has more of a light sauce rather than a gravy. It’s light but hearty.

This is also a recipe that you can very simply alter to fit your taste.

img_0493

Chicken Stew with White Beans and Spinach

adapted from Erin’s Eats
2-3 slices of bacon, chopped (I used turkey bacon)
2 chicken breasts, cut into bite size pieces (I used boneless skinless)
1 small onion, diced
2 cloves garlic, minced
2 tbs. tomato paste
1/2 cup dry white wine
1 cup chicken broth
1 bay leaf
1 tsp. oregano
1 can cannellini, or your favorite white beans, drained
3 cups fresh spinach
salt and pepper, to taste

In a large saute pan with lid, cook bacon until it is crispy. Remove with a slotted spoon and set aside. You want about 1 tbs. of fat/oil remaining in the pan. If you used pork bacon then you may need to remove some excess fat and if you used turkey bacon you may have to actually add a bit of olive oil to the pan to compensate.

Sprinkle the chicken with salt and pepper and sear it in the pan, browning both sides. Remove from pan.

Add the onions and cook until tender. Stir in the garlic and once the garlic becomes fragrant, stir in tomato paste. Cook approximately 1 minute.

Add wine to the pan to deglaze. Cook for about 2 minutes, scraping up the brown bits. Add the chicken broth, bay leaf, oregano, salt and pepper to taste, and bring to a boil. Add the chicken back to the pan. Cover, reduce heat and simmer for 15 minutes.

Meanwhile, mash about 1/3 of the can of beans with a fork or back of a wooden spoon–not into a paste, but just breaking up some of the beans (this will make the texture of the final product a bit thicker). After the chicken has simmered for 15 minutes, add the whole beans and the mashed beans into the pan. Cover, simmering an additional 15 minutes.

Add the bacon back in and the spinach. Cook just until spinach is wilted, about 2 minutes.

Hearty, Healthy and Colorful

I found this recipe while flipping through the October 2008 edition of Cooking Light.  It sounded almost too decadent to be considered a “light” recipe…what more could you ask for?  I decided to try it out while my mom came to stay with us for a weekend.  Of course it is a risotto so it was a bit time consuming, but in the end it was worth the time spent.  It sounded decadent and it was decadent, but without the guilt of the high calories of course.  I also usually adapt recipes to mine or my husbands liking, but this one was great just the way it was.

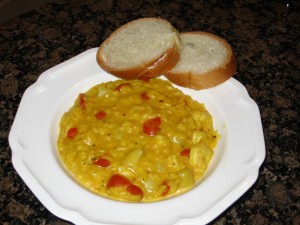
If you aren’t in a hurry and you are looking for a recipe that looks like it was a lot harder to make than it actually was, then I would definitely recommend this seafood risotto.  It also doesn’t hurt that it is very colorful and pleasing to the eye.

img_0548

Seafood Risotto

courtesy of cooking light
2 cups fat-free, less sodium chicken broth
1 (8 oz) bottle of clam juice
2 tsp. butter
1/4 cup chopped shallots
1/2 cup uncooked Arborio rice
1/8 tsp. saffron threads, crushed
1 tbs. fresh lemon juice
1/2 cup grape tomatoes, halved
4 ounces medium shrimp, peeled and deveined
4 ounces bay scallops
2 tbs. whipping cream
chopped fresh parsley

Bring broth and clam juice to a simmer in a medium sauce pan (do not boil).  Keep warm over low-heat.

Melt butter in a large saucepan over medium heat.  Add shallots to pan; cook 2 minutes or until tender, stirring frequently.  Add rice and saffron to pan; cook 30 seconds, stirring constantly.  Add lemon juice to pan; cook 15 seconds, stirring constantly.  Stir in 1/2 cup hot broth mixture; cook 2 minutes or until liquid is nearly absorbed, stirring constantly.  Add remaining broth mixture, 1/2 cup at a time, stirring constantly until each portion is absorbed before adding the next (about 18 minutes total).

Stir in tomatoes; cook for 1 minute.  Stir in shrimp and scallops, cook 4 minutes or until shrimp and scallops are done; stirring occasionally.   Remove from heat; stir in cream.  Sprinkle with parsley, if desired.

Yields 2 servings.

Guilt Free Brownies

There is no denying that Greg and I love sweets. I tend to be more of the dessert person (i.e. cakes, pastries, etc.) while Greg prefers candy and ice cream. He isn’t much of a cake person, but he loves cookies and brownies. So, that brings me to our dilemma….if there are sweets in the house, we will eat them! Unfortunately our waistlines don’t enjoy the treats as much as our taste buds do.

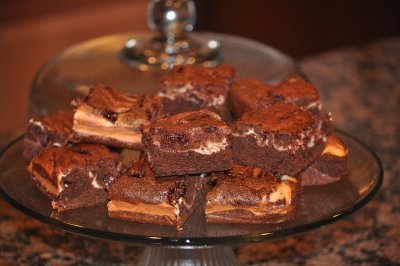
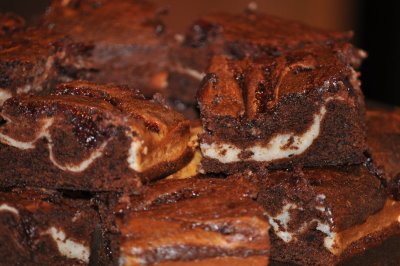
Thankfully there is this wonderful website/magazine called Cooking Light that lets us feed our sweet tooth without increasing our clothing size. I frequent this site quite a bit to find healthy or at least semi-healthy treats. I wanted to make brownies but I wanted something a bit different. When I came across the Raspberry-Cream Cheese Brownies I knew I found a winner. Chocolate and raspberry are a match made in heaven and then you add cream cheese…..what more could you want?

These were definitely a winner and there is no doubt I will make them again. The best part….they are delicious and I don’t even have to feel guilty while indulging.

brownies11

brownie21

Raspberry-Cream Cheese Brownies

courtesy of cookinglight.com
Filling:
1/3 cup sugar
1/3 cup (3 oz.) 1/3 less fat cream cheese, softened
2 tsp. all-purpose flour
1/2 tsp. vanilla extract
1 large egg white

Brownies:
Cooking Spray or Parchment Paper
3/4 cup all-purpose flour
1/4 tsp. baking powder
1/4 tsp. baking soda
1/8 tsp. salt
1 cup sugar
2/3 cup unsweetened cocoa
1/4 cup of butter or stick margarine, melted
1 tbs. water
1 tsp. vanilla extract
1 large egg
2 large egg whites
3 tbs. raspberry preserves

Preheat oven to 350 degrees.

To prepare the filling, mix the first 5 ingredients at medium speed of a mixer until well blended, then set aside.

To prepare the brownies, coat the bottom of an 8 inch baking pan with cooking spray (I prefer to line the pan with parchment paper for easy release). Lightly spoon 3/4 cup flour into dry measuring cups, and level with a knife. Combine flour, baking powder, baking soda and salt in a medium bowl. Combine (in another bowl) 1 cup sugar with cocoa, butter, water vanilla extract, egg and egg whites, mixing until smooth. Add the flour mixture to the wet ingredients, stirring just until moist. Spread 2/3 of the mixture into the bottom of the prepared pan. Pour the cream cheese filling over the batter, spreading evenly. Carefully drop the remaining batter and raspberry preserves by spoonfuls over the filling. Swirl together using the tip of a knife to make a marble effect.

Bake at 350 degrees for 40 minutes or until a toothpick inserted in the center comes out almost clean. Cool on a wire rack and then ENJOY!

A California Treat

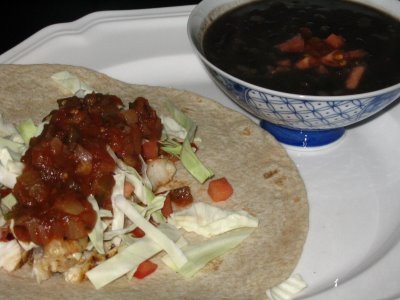
My husband was on a business trip in San Diego recently and fell in love with Wahoo’s fish tacos. He ate there two or three times in the 5 days he was there. Not long after that I was flipping through my Ellie Krieger cookbook (The Things You Crave) and came across a recipe for fish tacos which reminded me of his experience in California. So, we decided to bring a bit of Cali back to Florida and make our own fish tacos. It is always nice to find new ways of incorporating fish into our meals and this was definitely a winner. We agreed on grilled snapper for the tacos with the chipotle cream from Elllie Krieger’s version and a side of black bean soup. I would like to mention that Greg cooked the fish and created the black bean soup. He is a very good cook and contributes to our meals just as much as I do so this won’t be the last time I mention his dishes.

fish-tacos

Fish Tacos

(the amount of ingredients used will easily feed two people)
2 (6 oz) pieces of red snapper (or any fish of your choice)
4 soft taco sized tortillas (we used whole wheat)
salt
pepper
lime juice
chipotle cream (recipe follows)
Toppings of your choice – we used cabbage, diced tomato, diced red onion and salsa. Keep in mind that fish tacos are generally topped very simply.

Season both sides of the fish with salt and fresh ground pepper. Place in a grill pan over medium-high heat until fish is cooked through (flipping once). Remove from pan and top with fresh squeezed lime juice. Cut fish into strips and place in tortilla. Finish off with your preferred toppings.

Chipotle Cream

courtesy of Ellie Krieger, The Food You Crave
1/2 cup plain non-fat yogurt
2 tbs. mayonnaise
2 tbs. chipotle pepper in adobo sauce, chopped

In a small bowl combine all ingredients. Her recipe is complete at this point. I decided to add salt and pepper to taste and blend in our Magic Bullet (or food processor). I felt that this gave it much better flavor and a better texture.
Note: This sauce is fairly spicy so you may adjust the amounts to your liking.

Simple Black Bean Soup

(depending on portion size this will feed 2-3 people)
1/2 medium onion, chopped
1 clove of garlic, minced
1 16 oz. can of black beans
1 1/2 cups of chicken broth
1 bouillon cube
1 tsp. oregano
1 pinch crushed red pepper (or to your taste)
salt
pepper

In a saucepan saute the garlic and onion until translucent. Use a fork to slightly mush some of the beans in their can and then add to the pan. Add the chicken stock and bring to a simmer. Add the bouillon cube, oregano, crushed red pepper and salt & pepper to taste. Let simmer 5-10 minutes, stirring frequently. Garnish any way you like (chopped tomato, chopped red onion, etc.).

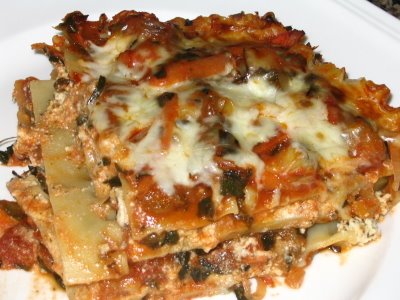
A Healthy Lasagna?

I love to cook Italian food. Lucky for me my husband equally loves to eat Italian food. Unfortunately neither of us has the naturally skinny gene and Italian food isn’t usually the least fattening of things to cook. Once again I turned to Cooking Light as a resource to get my wheels spinning. I found a great recipe that I was able to tweak to fit to our tastes. You can imagine my happiness to be able to create a great tasting, low fat/cal lasagna that we don’t have to feel guilty about eating. Bring on the seconds!

lasagna

Vegetable Lasagna

adapted from Cooking Light
1 teaspoon olive oil
3/4 cup chopped spinach
1 cup chopped zucchini
1/2 cup sliced carrot
1/2 cup chopped red bell pepper (or any color you have on hand)
1/2 cup thinly sliced red onion
26 ounces of your favorite (tomato) pasta sauce
2 tablespoons commercial pesto (feel free to use your own)
1 (15 oz) container part-skim ricotta cheese
cooking spray
6 hot cooked lasagna noodles, cut in half
3/4 cup (3 oz) shredded part-skim mozzarella cheese

Preheat oven to 375 degrees.

Heat the oil in a medium saucepan over medium heat. Add the spinach, zucchini, carrot and bell pepper. Cook for five minutes, stirring frequently. Add pasta sauce and bring to a boil. Reduce heat and simmer for 10 minutes.
Combine the ricotta and pesto in a small bowl. Spread 1/2 cup of the tomato mixture in the bottom of a 8 inch square baking dish coated with cooking spray. Arrange 4 noodle halves over tomato mixture. Top noodles with half of the ricotta mixture and 1 cup tomato mixture. Repeat layers, ending with noodles. Spread remaining tomato mixture over noodles; sprinkle with mozzarella.

Cover and bake at 375 degrees for 30 minutes. Uncover and bake an additional 2o minutes. Let stand for 10 minutes.

Note: I placed baking dish on top of a cookie sheet to prevent spillage in the oven.