A Spring Twist on Cupcakes

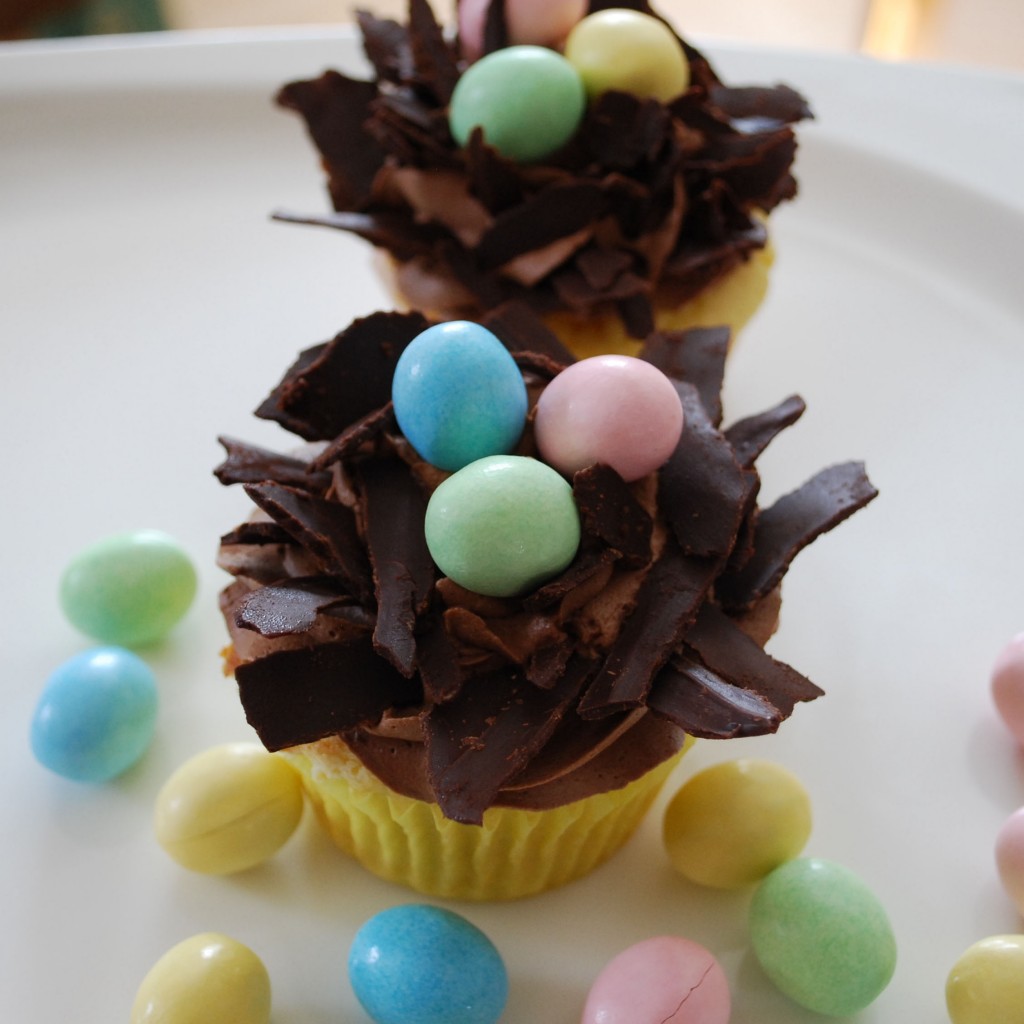
I hope everyone had a very happy Easter, or at least a fabulous weekend. In the spirit of Easter and Spring I wanted to do something fun and festive, especially for the little ones that I knew would be present during the family gathering today. When I saw these little bird’s nest cupcakes I thought they would be the perfect sweet treat. After all, my only instructions were to bring dessert and to make sure there was chocolate involved! So that I did. I decided to rely on my favorite cupcake combination….yellow cake with chocolate frosting. Oh how I love thee!

In the end I not only had a tasty dessert (that included chocolate), but also an eye catching one. These were a crowd pleaser and really weren’t that difficult to make. The worst part was keeping the chocolate “nest” pieces from melting during the decorating process. Then again, who’s going to complain about a little melted chocolate on their fingers??

Bird’s Nest Cupcakes

idea courtesy of Bakers Royale

1. Prepare your preferred cupcake and frosting (see recipes below).
2. Use any egg shaped candy for the “eggs.” I used Hershey’s chocolate eggs.
3. For the nest look, melt some chocolate and spread it to a 1/8 of an inch on parchment. Cool in fridge for 5 minutes. Once removed, starting at one end of the parchment roll it to the other end. Your chocolate will crack in shreds. For 12 cupcakes I used around a half of a bag of mini chocolate chips for melting.
4. Work quickly as the chocolate tends to melt from the warmth of your hands. If it does, return the chocolate to the fridge for a few minutes.

Yellow Cupcakes
courtesy of Joy of Baking

1/2 cup unsalted butter, room temperature
2/3 cup granulated white sugar
3 large eggs
1 teaspoon pure vanilla extract
1 1/2 cups all purpose flour
1 1/2 teaspoons baking powder
1/4 teaspoon salt
1/4 cup milk

Preheat oven to 350 degrees F (177 degrees C) and line 12 muffin cups with paper liners.

In the bowl of your electric mixer, or with a hand mixer, beat the butter and sugar until light and fluffy. Add the eggs, one at a time, beating well after each addition. Beat in the vanilla extract.

In a separate bowl whisk together the flour, baking powder, and salt.

With the mixer on low speed, alternately add the flour mixture and milk, in three additions, beginning and ending with the flour. Scrape down the sides of the bowl as needed.

Evenly fill the muffin cups with the batter and bake for about 18-20 minutes or until nicely browned and a toothpick inserted into a cupcake comes out clean. Remove from oven and place on a wire rack to cool. Once the cupcakes have completely cooled, frost with icing.

Chocolate Buttercream Frosting
adapted from Evan’s Kitchen Ramblings

2 sticks unsalted butter, room temperature
2 cups powdered sugar, sifted
1/2 cup cocoa powder, sifted
1 tablespoon milk

Whisk the butter in a mixing bowl for about 6-8 minutes, until pale and creamy.

Add the powdered sugar, cocoa powder and milk and whisk for another 6 minutes, until fluffy and creamy. Pipe or spread onto cooled cupcakes.
An Update and a Romantic Treat

My blog, how I have missed it so! I feel like I haven’t cooked in forever, and I know I haven’t updated this poor blog in forever. I feel like my kitchen is almost a stranger to me at this point. We’ve even bought a few pieces of the cherished Le Creuset since I updated last, but the sad part is I haven’t even used it yet! Don’t worry, it has been broken in a few times, but unfortunately for me, it’s been by my husband.  I will get there though, eventually.

My absence is for good reason though; I got a job! Not only did I get a job, but I got a fabulous job that I am loving so much. The only downside is that my free time has been non-existent, which means my hobbies have been put on the back burner. The good news is that I have every intention of figuring out how to manage my time to where I can put my all into this fabulous new job and still have time to do the things I love, like cook and blog. So please hang in there with me because I promise there will be more fabulous stuff to come.

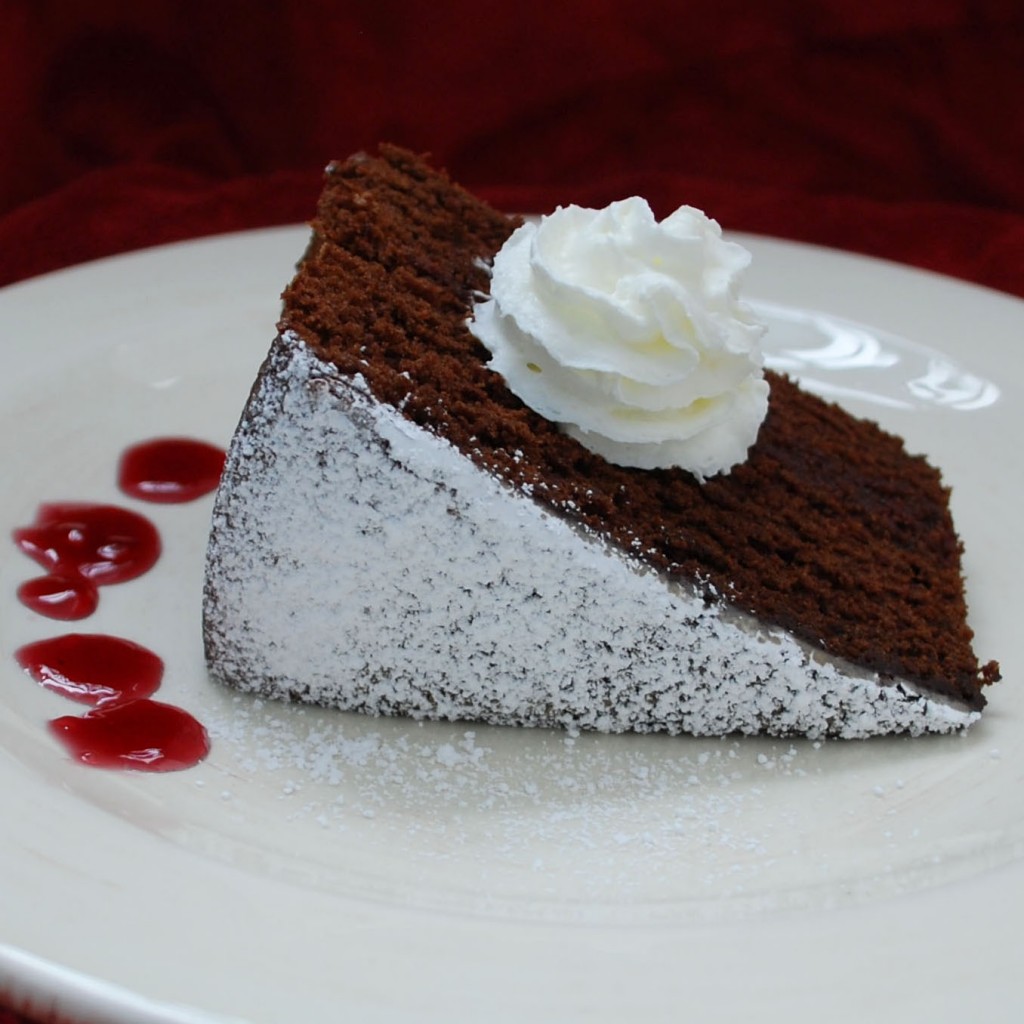
With that all said, it is now time to share with you a recipe that I have been holding on to now since December!  I think this is the perfect time to pass it along though because it would be a great choice for that little romantic holiday we have coming around the corner. It is something that I saw in a Food & Wine magazine and it intrigued me from the first moment I spotted it.  Red wine, chocolate and whipped cream; need I say more?? I think that has romance written all over it! Did I mention that those ingredients resulted in a cake? Yes, a divinely decadent cake. The best part about it is that it is very simple to make, but will wow a crowd (or just that someone special – whichever you choose).

cake 2-crop big

Chocolate Red Wine Cake

Courtesy of Epicurious and Food & Wine

2 cups (250 g/1/2 lb) flour
3/4 cup (100 g/3 1/4 oz) cocoa
1 1/4 teaspoons baking soda
1/2 teaspoon salt
3/4 cup (175 g/6 oz) butter
1 3/4 cup (350 g/15 oz) sugar
2 eggs
1 teaspoon vanilla
1 1/4 cups (300 ml/1/2 pt) well-rounded red wine
confectioners’ sugar (for dusting)

Wine Jelly
1/2 cup (125 g/4 oz) Concord grape jelly
2 to 3 tablespoons red wine

Heat the oven to 350°F (175°C/Gas 4). Butter the 9 inch cake pans, line each pan with a round of parchment paper, and brush again with butter. Sprinkle the pans with flour, discarding the excess.

Sift flour with the cocoa, baking soda, and salt into a bowl; set aside. Cream the butter in an electric mixer, beat in the sugar, and continue beating until the mixture is light and fluffy, 3 to 5 minutes. Add the eggs, one by one, and then the vanilla, and continue beating 1 to 2 minutes. Sift a third of the flour over the butter mixture and fold them together, using a spoon. Fold in a third of the wine. Add the remaining flour and wine alternately in two batches.

Spread batter in the prepared pans and bake in the oven until the cakes start to shrink from the sides of the pan, 30 to 35 minutes; a metal skewer inserted in the center should come out clean. Let the cakes cool 10 minutes in the pans, then turn them out on a rack to cool completely.

Meanwhile make the wine jelly: Melt the jelly with the wine over low heat, stirring gently until combined. Let it cool.

Shortly before serving, sandwich the cake with the cooled jelly. Sprinkle the top with confectioners’ sugar and transfer the cake to a plate to serve. Top with whipped cream and and a little drizzle of wine jelly if you desire!

An Apple a Day…

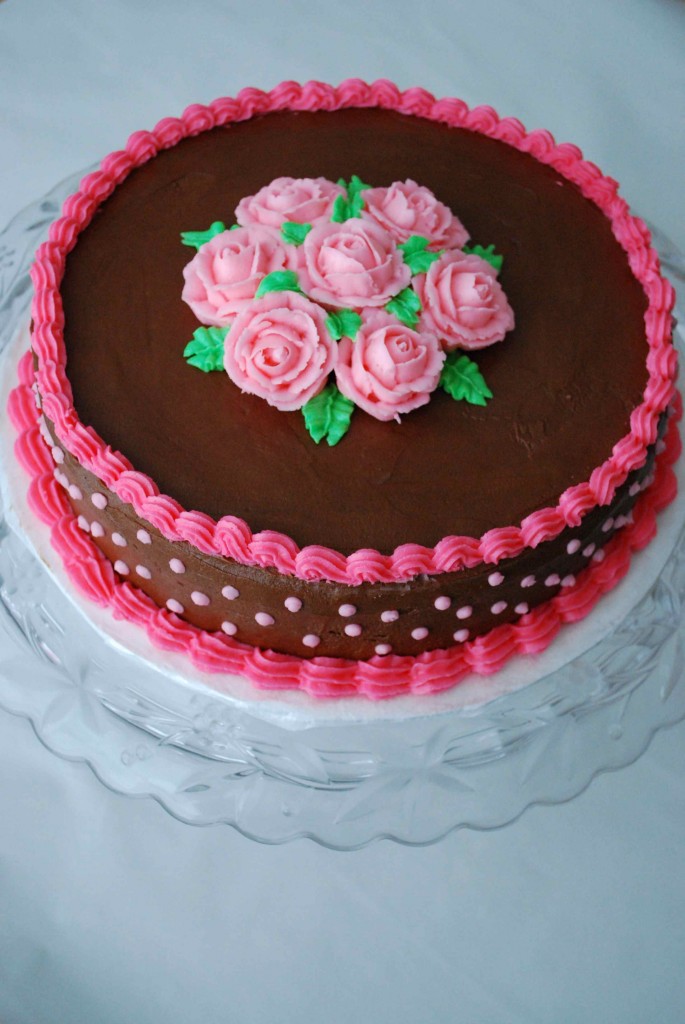
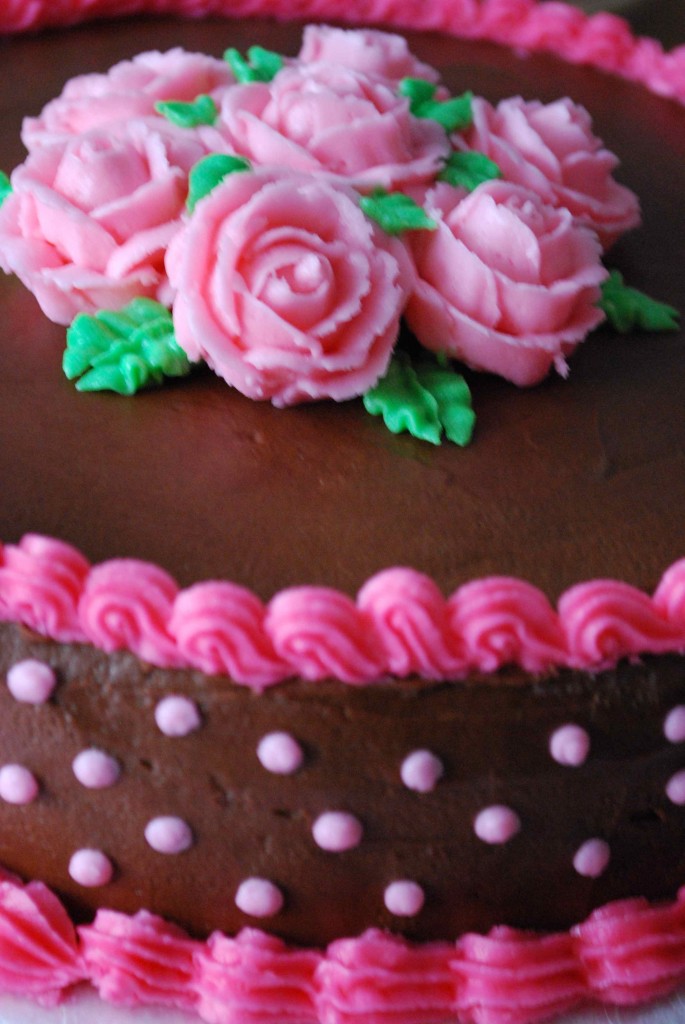
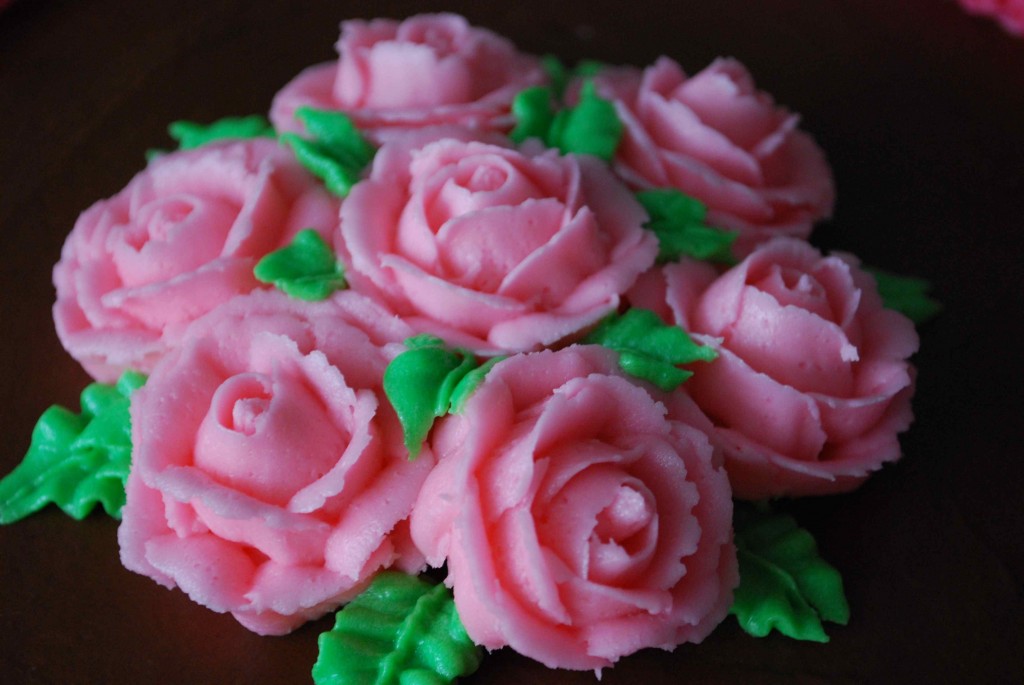
Back in June, I decided to take a Wilton course at my local Michael’s in hopes of learning some nice decorating techniques for cakes. After taking Course 1, I quickly learned that you can’t do much great decorating without using butter cream icing; which works best for decorating purposes when it is made with vegetable shortening (GAG!).  I decided that I wasn’t a big fan. I would much rather decorate a cake with things that actually taste good. I still use some of the techniques that I learned, but I try to avoid using the dreaded butter cream as much as possible. I tend to try and decorate with fruit, chocolate shavings, etc. I also sometimes choose to ice cakes in my preferred icing and then make a small batch of butter cream for the decorating.

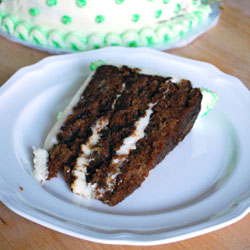
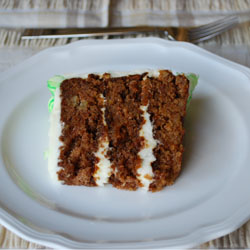
Anyway, since I love to bake and most people (mainly family) know I took that course, I am the first they come to when it is birthday cake time. So, when the Jewish holidays rolled around, my mother-in-law asked if I would mind making a birthday cake for her father instead of making a dessert for one of the holiday dinners. Of course I agreed. So now I needed to find a tasty cake that I thought everyone would love, but would also look like a birthday cake and allow for writing (without having to use the butter cream). It was also getting into the fall season, so I figured I would take that into mind as well.

After doing a bit of searching I finally found a three layer apple cake by Martha Stewart. It would look like a birthday cake, have fall flavors that I was sure most people would enjoy and I would top it with my favorite cream cheese icing that could still be used for some decorating purposes. I think I hit all of my goals! Most importantly avoiding the BC!

The cake was moist and delicious; and everyone raved over how great it tasted. The only downfall I found was that it was a little hard to work with. The outside of the cake is quite sticky and the centers seemed to fall a bit, which makes it a bit difficult to stack without it all sticking to your hands and it requires a bit more frosting in the middle of each layer to compensate for the fallen centers. Overall though, I would make it again because it tasted great and had that homey, rustic feel to it. I think the cream cheese icing paired very nicely with it as well.

CAKE2-CROPPED

cake 2nd 1-cropped

Three-Layer Apple Cake

Courtesy of MarthaStewart.com

Cake
1/2 cup (1 stick) unsalted butter, melted, plus more for pans
2 cups all-purpose flour (spooned and leveled), plus more for pans
2 teaspoons baking soda
1/2 teaspoon baking powder
2 teaspoons ground cinnamon
1/2 teaspoon ground ginger
3/4 teaspoon salt
2 cups packed light-brown sugar
2 large eggs
4 Granny Smith apples, peeled, two coarsely grated and two diced

Icing
Vanilla Cream Cheese icing (from the Banana Bars recipe)

Preheat oven to 350 degrees. Butter three 8-inch-round cake pans (I used 9-inch b/c that is what I had); line bottoms with parchment paper. Butter, then flour paper and sides (tapping out excess); set aside.

In a medium bowl, whisk together flour, baking soda, baking powder, cinnamon, ginger, and salt; set aside. In a large bowl, whisk together butter, sugar, and eggs until well combined; fold in grated and diced apples. Add flour mixture; mix just until combined. Divide batter among prepared pans; smooth tops.

Bake until a toothpick inserted in center of cake comes out clean, 35 to 40 minutes. Cool cakes in pans 20 minutes, then invert onto wire racks; peel off parchment. Invert cakes again, and let cool completely on racks.

Assemble cake to your liking with Vanilla Cream Cheese Icing.  Refrigerate at least 1 hour (or up to 4 days). To serve, bring cake to room temperature; slice with a serrated knife.

Yields: 12 servings

Heavenly Banana Bars

I try and pull inspiration for recipes and cooking techniques from all different sources. I watch my fair share of Food Network, subscribe to a ton of magazines, own quite a few cook books and frequent some cooking boards online. Those are the places that I probably get most of my inspiration from. Although those are all wonderful resources, I am always looking for something new to change things up a bit. I recently started visiting Tastespotting and Food Gawker, and they have become wonderful resources. Not only do you get to look at beautiful food photography, but all of those photos are linked to great recipes and ideas. I love these sites too because there is such a variety of information.

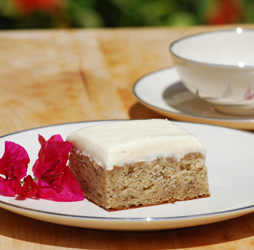
During one of my recent visits I saw a photo of delicious looking cake slices. They looked yummy enough for me to click and see where they led to. The photo took me to an adorable blog called My Baking Addiction, which is put out by Jamie. Not only did I find a fabulous sounding recipe, but I also found a wonderful new site for sweet treats! After reading over the recipe and seeing that I had two sad looking bananas hanging in my kitchen, I knew I had to make this for the Labor Day get together we would be attending.

Oh, and did I mention that this cake is topped with cream cheese icing?? This little recipe was just winning my heart over more and more by the minute. And win my heart over it did! Not only my heart, but the hearts of just about everyone who tried it. My uncle, who never eats desserts, came over and took three pieces on a plate to hide away for himself for later. Thank goodness I made the last minute decision to cut the larger pieces I made in half in order to create more, haha.

I should also mention that this is a very easy, fuss free recipe. How could you go wrong with an amazingly delicious cake that that doesn’t take a whole lot of effort? I suggest you go out and make this as soon as possible!

DSC_0054-cropped

Banana Bars with Vanilla Cream Cheese Icing

adapted from My Baking Addiction, originally seen on allrecipes.com

Cake:
1/2 cup butter, softened
1 1/2 cups white sugar
2 eggs
1 cup plain Greek yogurt (I actually mixed a little plain with a bit of vanilla flavored that I had on hand)
1 teaspoon vanilla extract
2 cups all-purpose flour
1 teaspoon baking soda
1/4 teaspoon salt
1 teaspoon cinnamon
1 cup mashed ripe bananas (about 2 large bananas)

Icing:
2 (8) ounce package cream cheese, softened (I used 1/3 less fat)
1 stick unsalted butter, softened
1 1/2 lbs. confectioners’ sugar ( adjust sugar for desired thickness and sweetness)
2 teaspoons vanilla extract

Preheat oven to 350 degrees F. Grease a 9×13 inch pan.

In a large bowl, cream together the butter and sugar until smooth. Beat in the eggs, one at a time, then stir in the yogurt and vanilla.

Combine the flour, baking soda, salt and cinnamon; stir into the batter. Finally, mix in the mashed banana. Spread evenly into the prepared pan.

Bake for 25-30 minutes in the preheated oven, until a toothpick inserted into the center comes out clean. Allow bars to cool completely before frosting with the cream cheese icing.

In the bowl of your mixer fitted with the paddle attachment, mix cream cheese and butter until smooth. Gradually add in the confectioners’ sugar and mix until smooth and creamy. Stir in vanilla extract. Spread on cooled cake.  Refrigerate until ready to serve.

*This recipe creates a large amount of icing.  You could probably get away with making half of the recipe to ice this cake.  Although, there is nothing wrong with having leftover cream cheese icing hanging out in your refrigerator!

You can have your cake, and your truffle too!

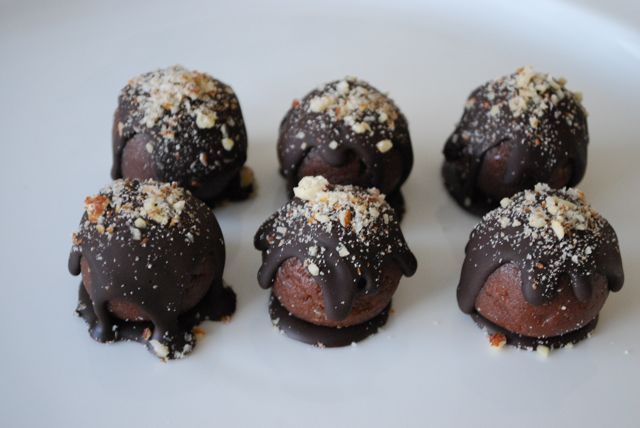
One thing I have learned since I started cooking and baking is that in many cases, the recipes that are the most impressive in looks are sometimes the simplest to make. Although this recipe has been shared on many a food blog and cooking board, I almost don’t want to out it to my family and friends because of the simplicity. These little guys can be made so many different ways, and are so pleasing to the eye, but they couldn’t be any easier to make.

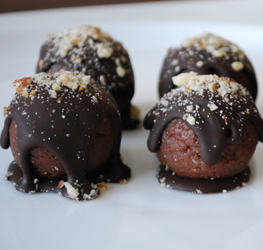
I originally found this recipe on Katie’s blog, Good Things Catered. By the way, she is a domestic goddess and you should check out her blog if you haven’t already. She made them into these cute little flower pops that she actually used as centerpieces. Since I was making these as part of a gift, I wanted to go in a different direction with them. I decided to go for more of a truffle look. In my experience of making these, I have also found that they can be difficult in the dipping process. Instead of dipping this batch, I decided to use wax paper, place a dollop of chocolate on the paper, place the cake ball down on the circle of chocolate and then, using a spoon, pouring the chocolate over the top of the ball. After placing them in the refrigerator to cool and harden, you can peel the truffles right off of the wax paper. The result, a pretty little truffle with an interesting look.

These are so tasty and you can make them to please just about anyone’s palette. So, I send you off now to be creative and create your own little masterpiece of a truffle. Of course feel free to use the recipe verbatim too!

Truffles

truffles 2

Chocolate Almond Cake Truffles

adapted from Good Things Catered, originally from Bakerella

1 box of yellow cake mix (or any recipe or flavor you choose)
1 can of chocolate frosting (or flavor of your choice)
1/2 tsp. almond extract
1 bag of dark chocolate morsels
crushed almonds for sprinkling on top

Prepare a 9×13 baking pan and bake your cake according to directions and let cool completely.

Slightly crumble your baked and cooled cake into a large mixer bowl, add the frosting and almond extract, stir to combine completely.

Take small amounts of cake mixture and roll into 1-inch balls, placing onto a parchment or wax paper lined baking sheet.

When all cake balls are rolled, place baking sheet into fridge overnight (this will form a crust around the edges and make the cake mixture much easier to work with)

In a double boiler, heat the chocolate morsels until they are completely melted and smooth.

Line a backing sheet with parchment or wax paper. For each truffle place a small dollop of the melted chocolate on the paper, place the cake ball on top of the chocolate and then spoon more chocolate over the top of the ball so it drizzles down the sides. Sprinkle crushed almonds over the top. Continue this process with each cake ball.

When finished, place the pan in the refrigerator until the the chocolate is completely cooled and set. You can then remove them from the paper and serve.

I’m Back!

I have once again fallen off of the blog train. I love to cook and I love sharing the recipes I find and my experiences, but for some reason I can’t get into a routine of actually posting about them. I take the pictures and write down recipe changes, but then I procrastinate and get insanely behind on my posts. My poor blog is over a year old and I feel like it is extremely lacking in content. My wonderful husband has also spent a lot of time helping me create a blog that I really love and tweaking every little problem out of it. So this lack of posting is something that I really want to work on. I know that being out of work for the past 8 months has really had me focusing on a lot of other things, but I need to remember what I am passionate about and not let my job frustrations get in the way. I need to use this as a way to focus on other things. I am setting myself a goal to try and post at least once a week, if not more. I always find so much inspiration from other food blogs, so I want to be sure to contribute back too.

If any of you notice me slacking again, feel free to post or email me and tell me to get my butt back in gear!

Okay, so I am not going to just leave you with that. I mean that would be a pretty boring post. I have to at least leave you with a picture or two. Back at the beginning of the summer I decided to take a Wilton cake decorating class. I took course 1 and had a good time with it. I am not sure if I will take any more because I honestly prefer to make cakes that taste delicious rather than always having to slather them in a thick coating of butter cream. It was fun though and I learned some great techniques. So, with that I will leave you with a photo of my final cake from course 1. Oh, and in case you wondering, it was no special cake in terms of a recipe. I don’t even remember what I used because it was made more for decorating purposes rather than for eating purposes.  Stay tuned though b/c I do have a delicious cake recipe that I will be adding soon!

cake 3

cake

cake 2

A little late, but worth it!

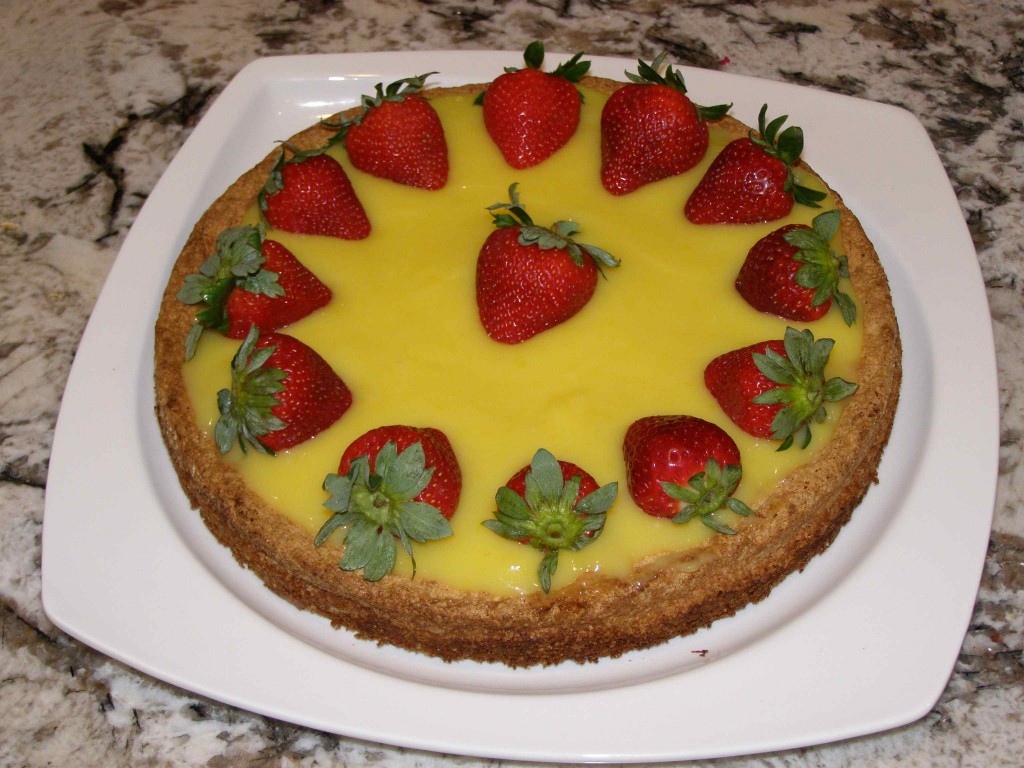
Passover has come and gone once again, but at least this year I was able to leave a lasting impression with dessert! I know this is a bit late, but better late then never….especially with this dessert! Passover desserts can be tricky and can become a bit redundant because there tends to be a few standbys that most people turn to. On top of that, no one really likes to bake in Greg’s family so I challenge myself to always make a wonderful dessert to bring, especially for Passover. The past couple of years I have just thrown together simple things last minute, but this year I really wanted to find a great recipe. All I can say is that Cooking Light has come through for me once again. I had been eying this beautiful lemon curd cake for a while and decided to finally make it sine it was Passover friendly.

This cake was AMAZING!! Everyone raved over it. Halfway through serving it Greg’s cousin started rationing the pieces and then horded the remaining bits for herself and practically licked the plate clean. It not only looked pretty but it was lemony and refreshing with a touch of cake. I will definitely make this recipe again and it will not be stored away for just Passover, as the matzo cake meal can easily be switched out with whole-wheat flour. It is perfect for any spring or summer gathering.

lemon-cake

Lemon-Almond Cake with Lemon Curd Filling

Courtesy of Cooking Light
Cooking spray
2 tsp. matzo cake meal (I ground up matzo meal)
4 large egg yolks
1 cup sugar
1/4 cup matzo cake meal
1 1/2 tsp. water
1/2 tsp. grated lemon rind
1 tsp. fresh lemon juice
1/4 tsp. salt
1/4 cup blanched almonds, ground
4 large egg whites
1 cup Lemon Curd (recipe follows)
2 cups fresh raspberries (I garnished with fresh strawberries)

Preheat oven to 350°.

Coat a 9-inch spring-form pan with cooking spray. Dust pan with 2 teaspoons matzo cake meal.
Place the egg yolks in a large bowl, and beat with a mixer at high speed for 2 minutes. Gradually add 1 cup sugar, beating until thick and pale (about 1 minute). Add 1/4 cup matzo cake meal, 1 1/2 teaspoons water, 1/2 teaspoon grated lemon rind, fresh lemon juice, and 1/4 teaspoon salt; beat just until blended. Fold in the almonds.

Place egg whites in a large bowl. Using clean, dry beaters, beat egg whites with a mixer at high speed until stiff peaks form. Gently stir one-fourth of egg whites into egg yolk mixture; gently fold in remaining egg whites. Spoon batter into prepared pan.

Bake at 350° for 35 minutes or until golden brown and set. Cool for 10 minutes in pan on a wire rack. Run a knife around edge of cake. Remove cake from pan. Cool completely on a wire rack. (Cake will sink in center as it cools.) Spread 1 cup Lemon Curd in center of cake, and top with raspberries (or whatever berries you prefer). Cut cake into wedges using a serrated knife. Serve immediately.

Lemon Curd

1/2 cup sugar
3 large eggs
2 tablespoons grated lemon rind
3/4 cup fresh lemon juice
2 tablespoons unsalted butter

Place sugar and eggs in a medium bowl; beat with a mixer at medium speed until blended. Gradually beat in rind and juice. Spoon mixture into a heavy-duty saucepan over medium heat. Add butter to pan; cook 5 minutes or until thick, stirring constantly (do not boil). Spoon mixture into a bowl. Cover surface with plastic wrap. Chill thoroughly.

Yields: 8 servings

Nutrition Facts 
Serving size: 1/8 of cake
Calories: 238
Total Fat: 6.6 g
Cholesterol: 149 mg
Sodium: 123 mg
Carbohydrates: 41.4 g
Dietary Fiber: 2.7 g
Protein: 5.9 g

Lemony Sunshine

Back in January we had Greg’s mom and grandparent’s over to celebrate his mom’s birthday as well as mine. The thing is, my mother-in-law and I share the same birthday, January 7th (Greg and my sister also share the same birthday-Oct. 12th). I know, it is strange. Anyway, since Greg took me out to dinner on my birthday, we wanted to do something for his mom the following weekend.

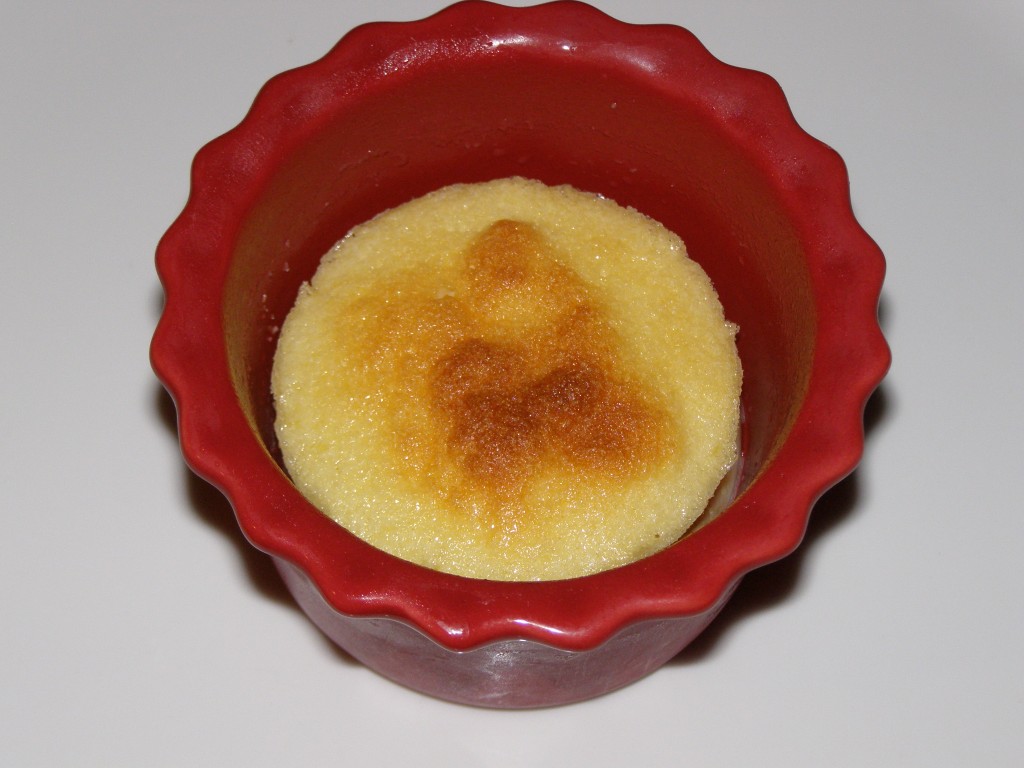
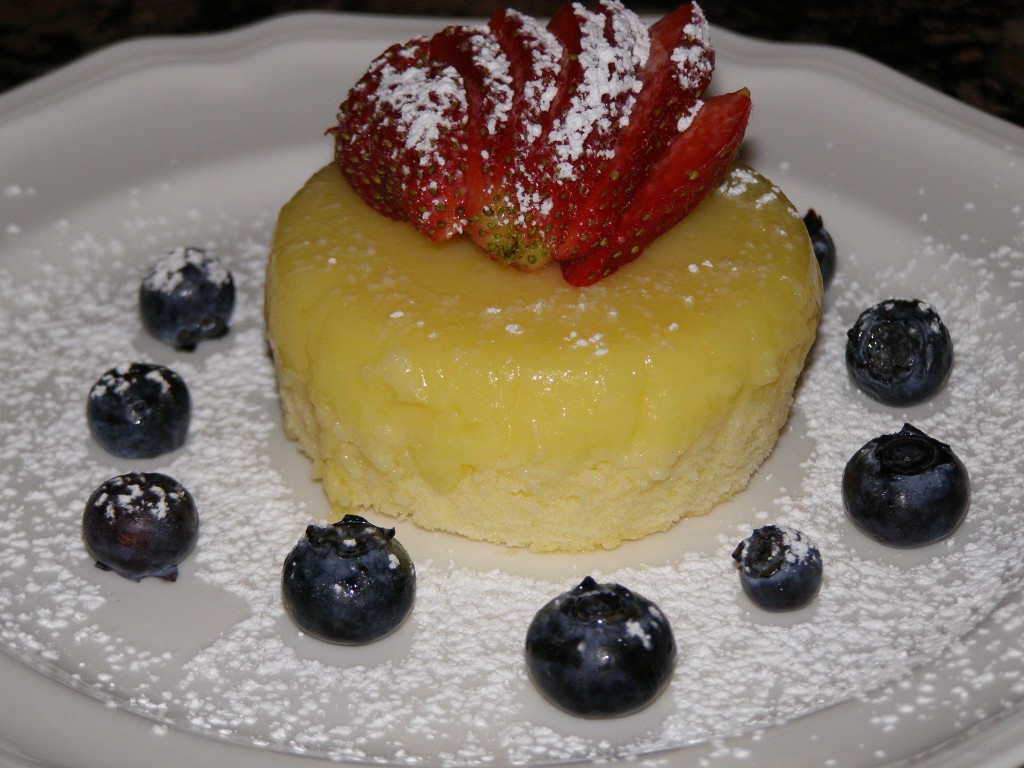
To our happiness, this “family” dinner with his side was also a success. Of course my main concern was the dessert. With the holidays just coming to a close, I was really tired of all the heavy desserts and was looking for something lighter, almost summery. When I found a Tyler Florence recipe for Lemon Pudding Cake with Fresh Mixed Berries, I knew that would be perfect. I also thought it would be fun to have individual servings of dessert, which this recipe was designed for, so it worked out great.

This recipe is so light and refreshing. I will definitely be making it again as spring and summer approach. It is a fairly easy dessert to put together but it really has the “wow” factor. It looks like you spent a lot more time than you actually did, but that can be your little secret. ;o)

p1010014

p1010019

Lemon Pudding Cake with Fresh Mixed Berries

courtesy of Tyler Florence and Food Network
1 tbs. unsalted butter
2/3 cup superfine sugar
2 eggs, seperated
2/3 cup reduced fat buttermilk
2 tbs. lemon juice
1 tbs. lemon zest
1/4 cup all-purpose flour
1/4 tsp. salt

Garnish:
Feel free to switch out the berries with whatever kind you choose. I used strawberries and blueberries.
1 cup fresh raspberries
1 cup fresh blueberries
1 cup fresh blackberries
2 tbs. confectioners’ sugar

Preheat oven to 325 degrees. Butter and lightly sugar 4 ramekins (about 1-cup size).

In a mixer, add egg yolks, buttermilk, lemon juice and lemon zest and beat until well combined. Reduce the speed to low and sift in flour, sugar and salt. Continue to mix until combined. Beat egg whites until you get stiff peaks then combine the 2 mixtures by gently folding them together, a little at a time. Divide evenly amongst ramekins then bake in a water bath – set ramekins in a roasting tray and fill with water halfway up the sides of the ramekins.

Bake for 60 minutes until the top springs back when gently pressed and the cakes have a nice golden brown color. Allow to cool slightly, then carefully invert onto a plate. Serve with fresh berries and dust with powdered sugar.

Yields 4 servings.

Cookies n’ Cream Cake

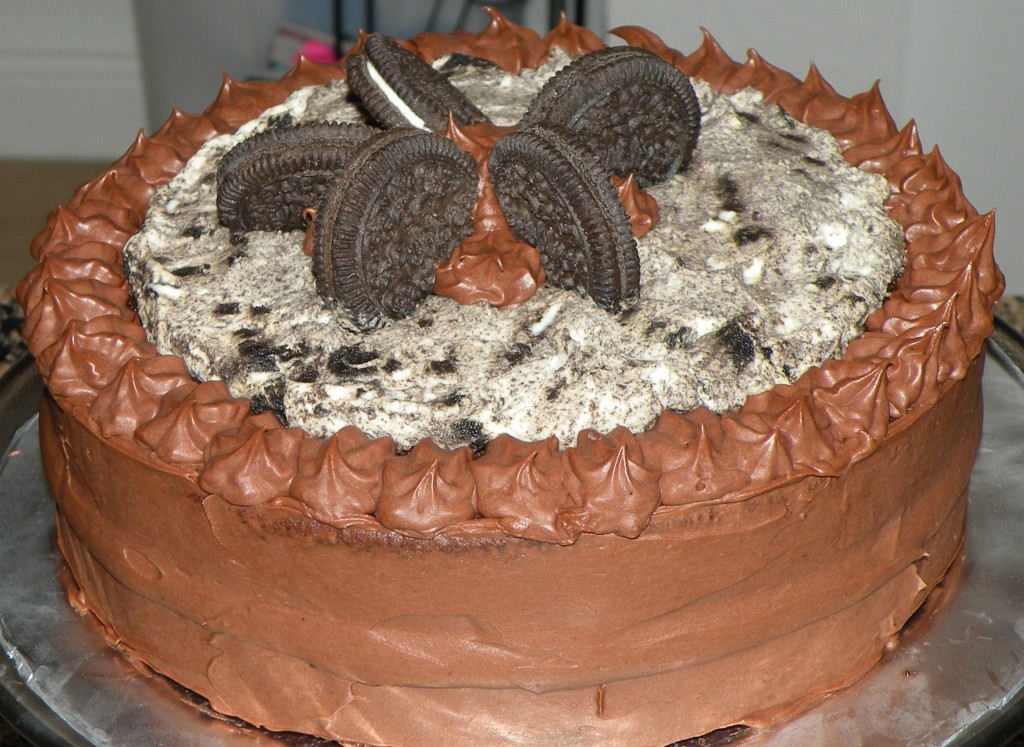
As I mentioned in my last entry, we hosted a birthday dinner for my dad. I really wanted to make it special since not only was it his birthday, but it was the first time I had that side of my family over for a real dinner. I love to bake, so that is usually my favorite part of a meal. I was so excited about making him a cake.

I had seen a few posts on the What’s Cooking board for a Cookies n’ Cream Cake. When I originally saw it I bookmarked it because I didn’t really have a reason to bake a cake at the time. When I decided to host the birthday dinner I knew that the Cookies n’ Cream cake would be THE cake.

Greg admitted after the fact that he never thought I could pull it off. HA, I guess I showed him! He was very impressed, not to mention the reaction I got out of my family. Everyone loved it!

dscn0079

Cookies n’ Cream Cake

courtesy of Just2Good, cake and frosting originally from Hershey’s.
Cake:
2 cups sugar
1 3/4 cups all-purpose flour
3/4 cup cocoa powder
1 1/2 tsp. baking powder
1 1/2 tsp. baking soda
1 tsp. salt
2 eggs
1 cup milk
1/2 cup vegetable oil
2 tsp. vanilla extract
1 cup boiling water

Filling:
1 1/4 cups heavy cream
1/8 cup confectioners’ sugar
1/4 tsp. vanilla extract
10 chocolate sandwich cookies, chopped

Frosting:
1/2 cup unsalted butter
2/3 cup cocoa powder
3 cups confectioners’ sugar
1/3 cup milk
1 tsp. vanilla extract

Preheat oven to 350 degrees and grease two 9 inch round baking pans.

In a large bowl, stir together sugar, flour, cocoa, baking powder, baking soda, and salt. Add eggs, milk, oil, and vanilla. Beat on medium speed for 2 minutes. Stir in boiling water (batter will be very thin). Pour batter into round baking pans.

Bake 30-35 minutes, or until a toothpick inserted comes out clean. Cool for 10 minutes before removing from pans. Once removed place on baking racks until completely cooled.

To make the filling, combine cream, confectioners’ sugar, and vanilla in the bowl of a stand mixer fitted with the whisk attachment. Beat on low until sugar is incorporated, then beat on high until stiff peaks form (do not over beat). Gently fold in chopped cookie pieces.

To make the frosting, melt butter in a medium bowl. Stir in cocoa. Alternately add confectioners’ sugar and milk, beating to spreading consistency. If needed, add additional amount of milk. Stir in vanilla.

To assemble the cake, place one layer of cake on a cardboard circle. Pipe a border of frosting along th rim of the cake. Spread a thick layer of cookies n’ cream filling inside the circle. Top with the other layer of cake. Frost the side of the cake with the frosting. Pipe a decorative border of chocolate frosting along the border of the cake. Fill the inside of the decorative border with a thick layer of cookies n’ cream filling. Garnish with cookies and frosting as desired.

Jelly Roll

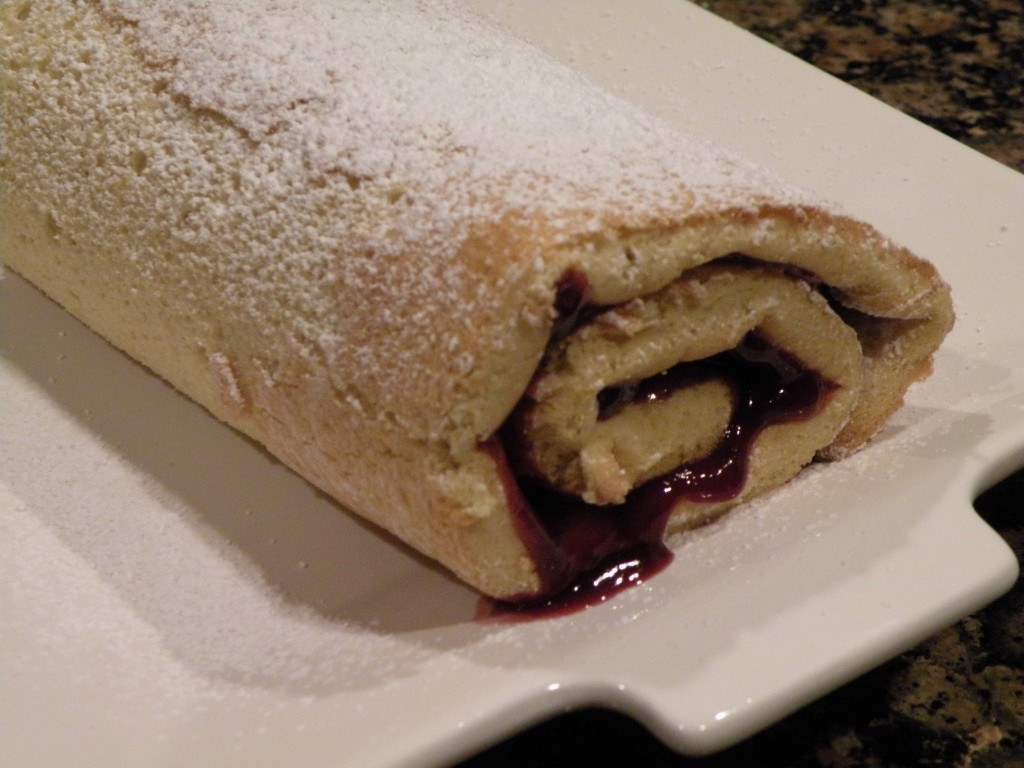
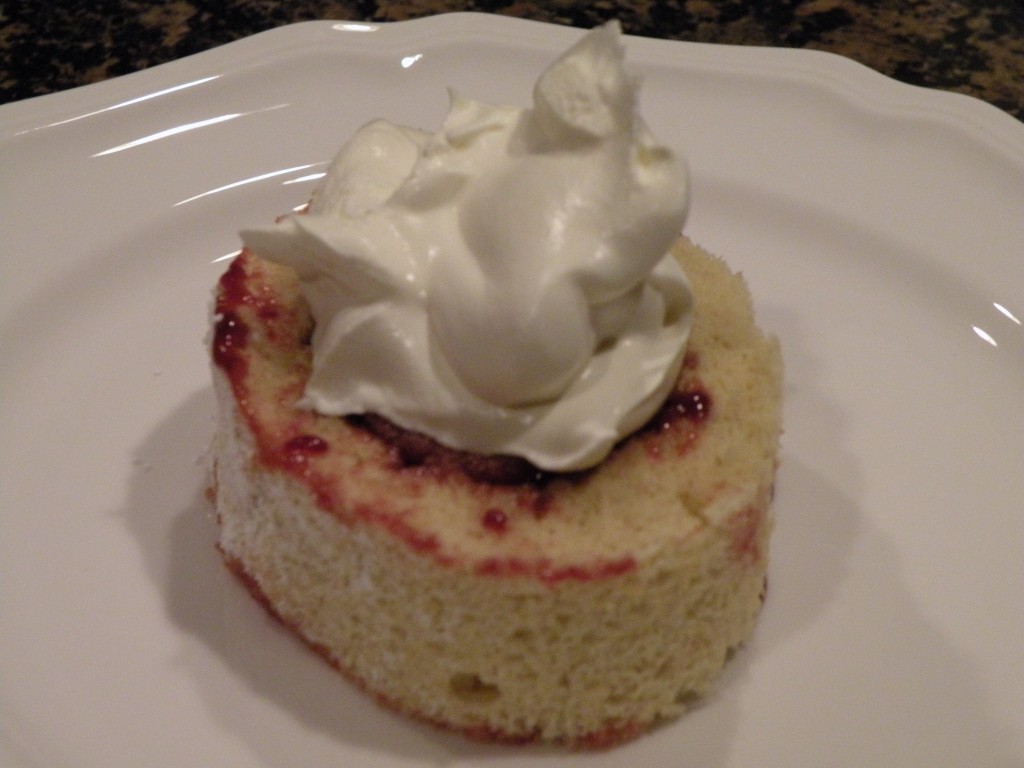
While my mom and stapdad were visiting over Thanksgiving weekend, there was a lot of cooking going on! I was determined to make a Pumpkin Roll since my mom and I love pumpkin and I saw it so many times on the What’s Cooking board. I made that for Thanksgiving day and to my happiness, it was a success. The thing is, my stepdad and Greg do not like pumpkin; I know what a shame. My stepdad had mentioned how he loved jelly rolls. So one evening I decided to find a jelly roll recipe and make him a dessert he would eat.

My stepdad is a southern boy so when I came across a recipe by Paula Dean, I knew I couldn’t go wrong. I just happened to have all of the ingredients, so I threw it together. It was quite delicious and everyone loved it.

dscn0051

dscn0053

Old South Jelly Roll Cake

courtesy of Paul Dean and Food Network
4 eggs, separated
3/4 cup sugar
1 tbs. vanilla
3/4 cup cake flour, sifted
3/4 tsp. baking powder
1/4 tsp. salt
1 cup jam or jelly, stirred well
whipped cream (for topping)
confectioners’ sugar (for dusting)

Preheat oven to 400 degrees.

In a small bowl beat egg whites until stiff but not dry and set aside. In another bowl, beat the egg yolks until light. Gradually add the sugar and vanilla, and mix well. Sift together the flour, baking powder, and salt. Add the sifted flour mixture to the egg yolk mixture. Fold the egg whites into the egg mixture and pour the batter into a 15 x 10 x 1 inch jelly roll pan lined with parchment paper. Bake for 8 to 10 minutes or until cake is golden brown.

Loosen edges of cake, invert cake onto a towel dusted with confectioners’ sugar. Gently peel parchment paper off cake. Trim 1/4 inch of hard crust off each long side of the jelly roll cake. Begin with the narrow side and roll the cake and towel up together. Cool cake on rack, seam side down, for 10 to 15 minutes.

Once cake has cooled, gently unroll and spread cake with jam or jelly and re-roll (without the towel). Sprinkle with confectioners’ sugar or cover with whipped cream.

Yields 8 to 10 servings.