A Holiday Worthy Appetizer

According to the looks of my Google Reader, it is definitely the holiday season, and there is no doubt that everyone has sweet treats on their mind. I have seen so many incredible recipes for cookies, cakes, bars and candy. I am pretty sure I have enough recipes saved to last me for a few holiday seasons to come, and I would like to thank you fabulous cooks/bakers out there for sharing them.

With that said, we can’t possibly live off of sweet treats alone for the next month. Although many of you may beg to differ, I think even my large sweet tooth will need a break here and there.

With the holidays comes entertaining, and with entertaining usually comes a need for appetizers. I know when I entertain I like to make as much as possible from scratch.  There is just something about people enjoying something that you created. Although, I have learned from experience that if you want to enjoy yourself, you have to pick and choose your battles. For some reason though, it always seems like the great sounding appetizers are also time consuming, and are best prepared right before serving. Obviously the last thing you want to be doing when your guests arrive is slaving in the kitchen with those appetizers. Well my friends, I have found an appetizer that is not only a cinch to make, but will make your taste buds forget all about those sweet treats we have come to love this time of year.

The fabulous Ina Garten has come through once again. When I saw her make a roasted tomato caprese salad, there was no doubt in my mind that I would have to try it. Oh, and try it I did! Twice actually! I made it for my husband as part of his birthday dinner, and we fell in love with it. After raving about it to my dad, he insisted that I make it for him as well. So, when my dad’s birthday rolled around last week, I was sure to put it on the menu for his birthday dinner as well. He loved it, my stepmom loved it, and my husband and I loved it all over again.

It is a must try recipe! It is simple, doesn’t call for a lot of ingredients, and (although it takes a while to cook) it doesn’t take much prep time at all. What more can you ask for? I promise, it will be a hit!
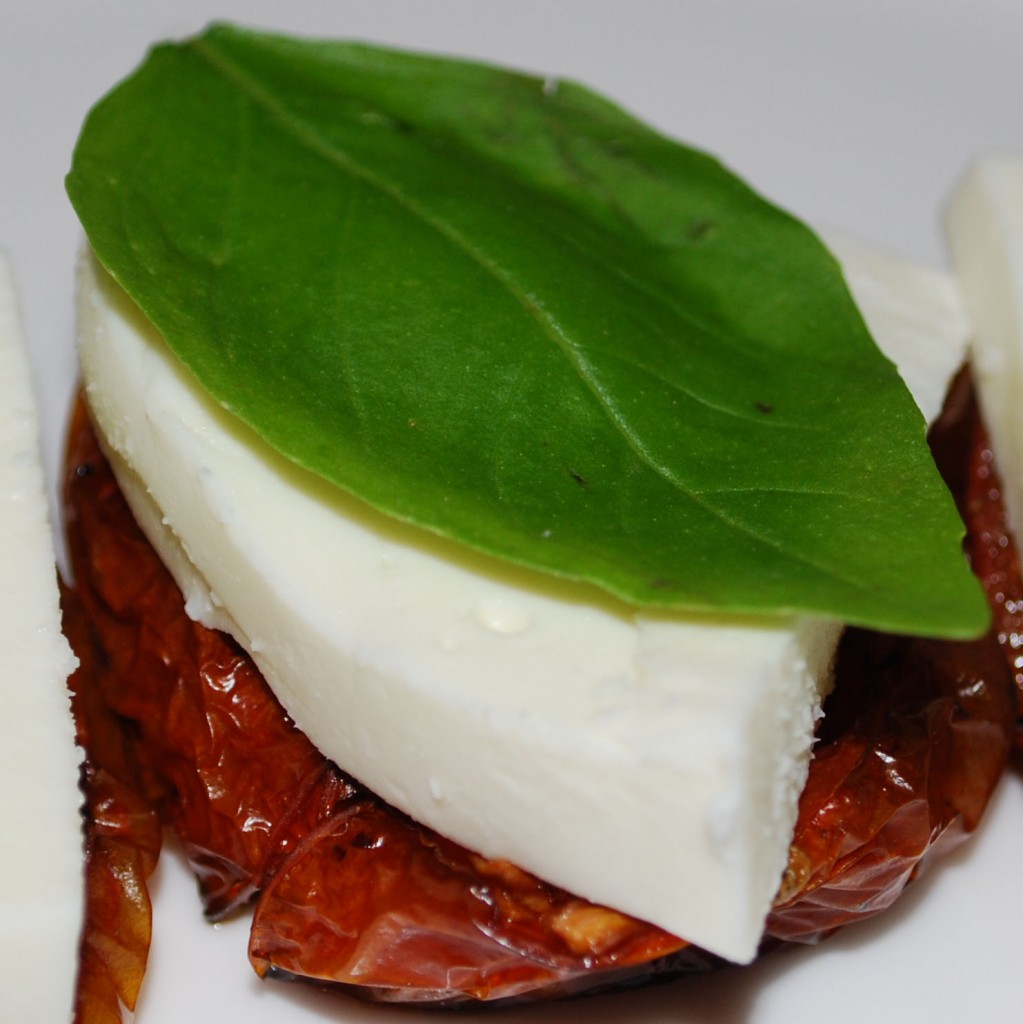
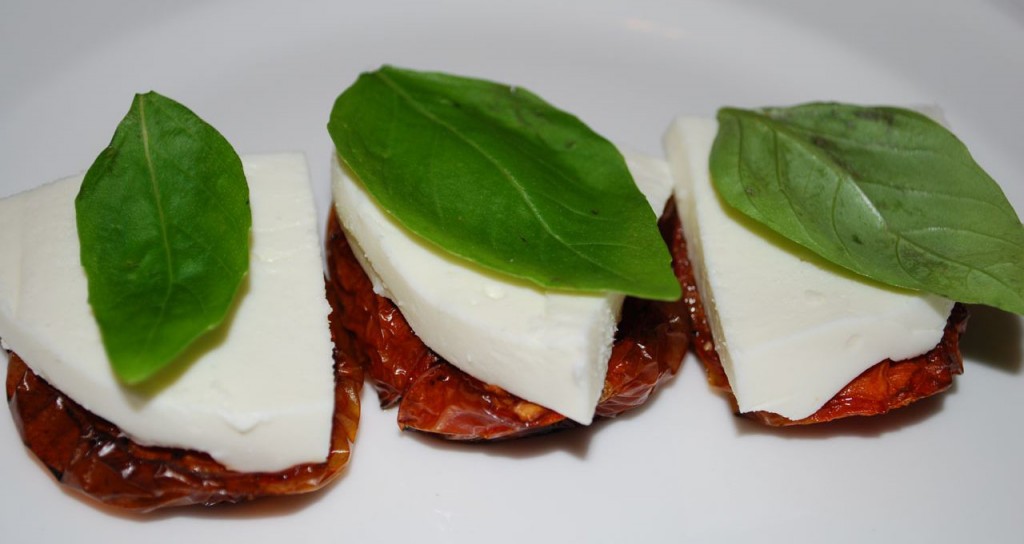
tomatoes 3-1

tomatoes big

Roasted Tomato Caprese Salad

courtesy of Food Network and Barefoot Contessa

12 plum tomatoes, halved lengthwise, seeds (not cores) removed
1/4 cup good olive oil, plus more for drizzling
1 1/2 tablespoons balsamic vinegar
2 large garlic cloves, minced
2 teaspoons sugar
Kosher salt and freshly ground black pepper
16 ounces fresh salted mozzarella
12 fresh basil leaves, julienned (or left whole)

Preheat the oven to 275 degrees F.

Arrange the tomatoes on a sheet pan, cut sides up, in a single layer. Drizzle with 1/4 cup of olive oil and the balsamic vinegar. Sprinkle with the garlic, sugar, 1 1/2 teaspoons salt, and 1/2 teaspoon pepper. Roast for 2 hours until the tomatoes are concentrated and begin to caramelize. Allow the tomatoes to cool to room temperature.

Cut the mozzarella into slices slightly less than 1/2-inch thick. If the slices of mozzarella are larger than the tomatoes, cut the mozzarella slices in half. Layer the tomatoes alternately with the mozzarella on a platter and scatter the basil on top. Sprinkle lightly with salt and pepper and drizzle lightly with olive oil. Serve at room temperature.

Note:  I left the basil whole the first time I made it, but the second time we julienned it.  Personally, I preferred it julienned and found it easier to eat that way.

Yields: approximately 6 servings
Perfect Pesto & More

As you may have noticed, I was absent for about two weeks, up until two days ago. My husband and I were actually in Long Island and NYC for a wedding and vacation for a few days and then I had family visiting for a week. So it has been a bit hectic and I apologize for my lack of posting. I promise that I will be sharing some highlights from our NYC trip very soon though. Needless to say, we had some amazing food during our visit.

While wandering around the city we decided to check out the market and shops in Grand Central Terminal. We were very excited to find a Penzey’s, since we don’t have one in South Florida and have always ordered online. We were also intrigued by this little oil and vinegar shop we came across, Oliviers & Co or O & Co. I let my husband take a peak while I ran to a different store to pick something up for my mom. When I returned he seemed quite excited about what he had found in the shop. The lady pretty much let him taste every oil and vinegar in the shop, even the bottles that were priced well over $100. They also had a great selection of imported pastas. So now the question was, what do we buy? So I tasted a few and we finally made some decisions.

Our final choices included:
Gaec Salvator Extra Virgin Olive Oil – France
Basil Extra Virgin Olive Oil
Fig Vinegar – Provence
Purple Basil Vinegar – South Asia
Penne with Wheat Germ
Straccetti with Wheat Germ

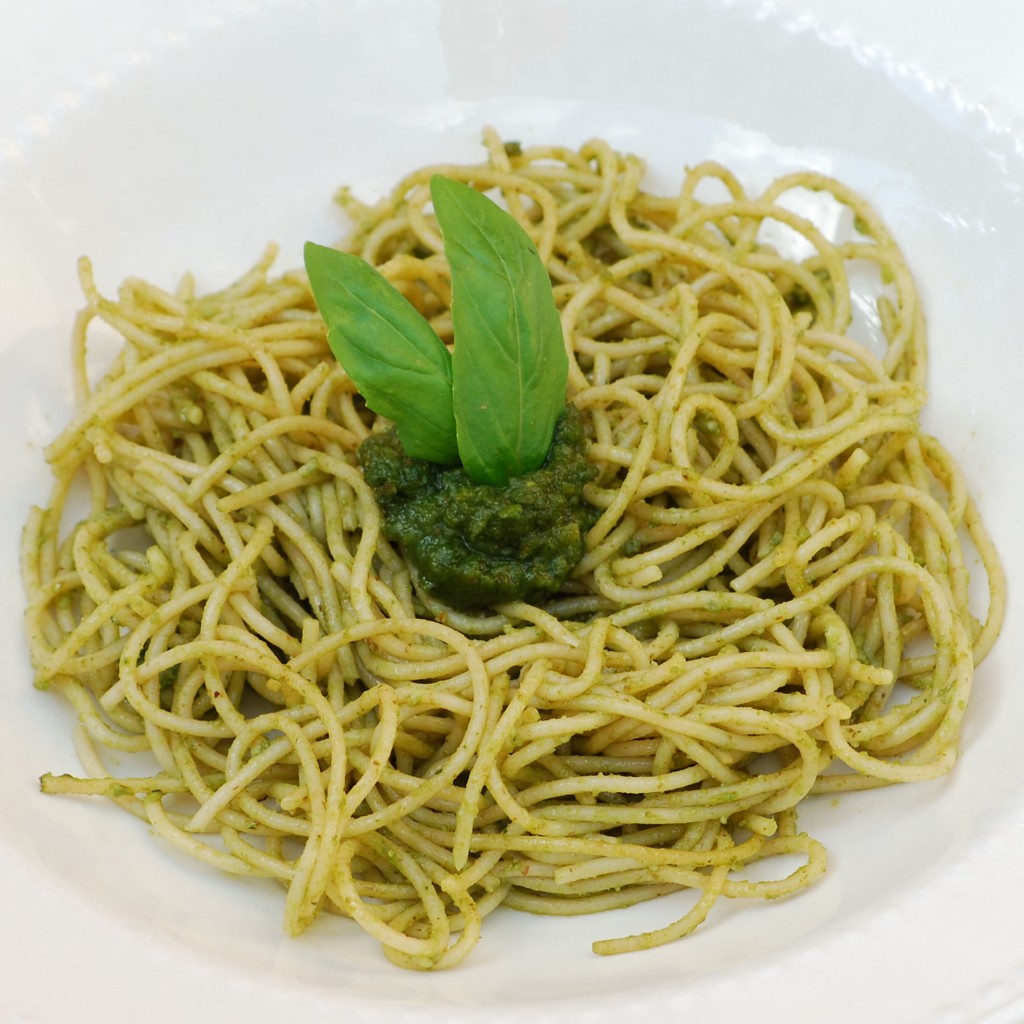
We were so excited to return from our trip and find our products were shipped right behind us and arrived a couple of days later. My husband’s birthday was quickly approaching and he loves pasta, so I knew this would be a great opportunity to try out some of our new goods. I decided to do a pasta tasting for his birthday dinner. One of the dishes would have to be pesto, because I felt that would be a great way to showcase our new Gaec Salvator. I started searching for a great, simple recipe. Of course I turned to Cook’s Illustrated and was happy to find a classic version in my The New Best Recipe book. I figured I couldn’t go wrong with that.

The outcome? A perfectly simple pesto that was made even better with our incredible EVOO.

Stay tuned for more recipes to come using our delicious new additions!

Pesto 2

Classic Pesto

courtesy of Cook’s Illustrated,
The New Best Recipe

1/4 cup almonds (pine nuts or walnuts are fine too)
3 medium garlic cloves, unpeeled
2 cups packed fresh basil leaves
2 tablespoons fresh parsley leaves (optional-I did not use)
7 tablespoons extra virgin olive oil
Salt
1/4 cup freshly grated Parmesan cheese

Toast the nuts in a small, heavy skillet over medium heat, stirring frequently, until just golden and fragrant, 4-5 minutes. Transfer the nuts to a plate.

Add the unpeeled garlic to the empty skillet. Toast, shaking pan occasionally, until fragrant and the color of the cloves deepens slightly, about 7 minutes. Let the garlic cool, then peel and chop.

Combine the basil and parsley (if using) in a heavy-duty zipper-lock plastic bag. Pound the bag with the flat side of a meat pounder or rolling pin until all the leaves are bruised.

Place the nuts, garlic, pounded herb(s), oil, and 1/2 tsp. salt in a food processor. Process until smooth, stopping as necessary to scrape down the sides of the workbowl. Transfer the mixture to a small bowl, stir in the Parmesan cheese, and adjust the salt to taste.

The surface of the pesto can be covered with a sheet of plastic wrap or a thin film of oil and refrigerated for up to 3 days.

Yields: about 3/4 cup

The lighter side of Rollatini

My husband and I love Italian food. As a matter of fact, my husband would eat Italian every night if you would let him. So I struggle at times to figure out how to satisfy our Italian cravings while still keeping it on the healthful side. Instead of being heavy on pasta I try to think of lighter ways to incorporate the flavors of Italian cooking. That way we can have the comfort of the food, but without the guilt.

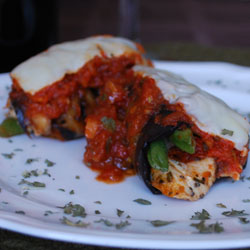
After spending some time catching up on the past two months worth of cooking magazines that I hadn’t gotten around to, I had a spark of inspiration. I’ll be honest, I am still a bit green when it comes to designing my own recipes. I get a tad anxious in the kitchen when I don’t have the safety net of a tried and true recipe. I am learning to experiment though and I am getting more comfortable with it each time. My biggest motivation to do this is the fact that I want to make more healthful dishes, but I don’t want them to be bland and I want to base them off of the more indulgent flavors we love so much. So I took a stab at it and below is what I got. A tasteful and healthful combination of eggplant, chicken, green beans, sun-dried tomatoes and homemade San Marzano marinara (I’ll get that recipe to you soon); along with the flavors of Italian spices and a bit of indulgence with Italian cheese.

rollatini-cropped

Eggplant and Chicken Rollatini

1 medium eggplant
extra virgin olive oil
salt and pepper
2 boneless skinless chicken breasts
garlic powder
Italian seasoning
about 25 fresh green beans
2 cloves of garlic, minced
pinch of crushed red pepper flakes
2 tablespoons water
5 sun-dried tomato halves, chopped (dry or packed in oil)
2 cups of your favorite marinara sauce
12 thin slices of mozzarella cheese

Slice the eggplant thin, cutting length-wise (you should get about 12 slices). Soak the eggplant in cold water for 20-30 minutes. Remove from water and pat dry.

If you are using dry sun-dried tomatoes, place the halves in hot water and let soak until ready for use (about 20 minutes).

Preheat your oven to 350 degrees F, and heat your grill to medium-high heat.

Using an oil sprayer, spray each piece of eggplant on both sides, as well as season with salt and pepper. Set aside. Take chicken breasts and season both sides with salt, pepper, garlic powder and Italian seasoning. Place chicken on grill and cook about 6 minutes on each side. In the meantime, place the eggplant on the grill as well and cook about 3-minutes on each side.

Heat a small pan, sprayed with olive oil, over medium-low heat. Add the green beans, garlic, salt & pepper, and crushed red pepper. Saute (continuing on medium-low) about 5 minutes. Add 2 tablespoons water, cover and increase heat to medium-high; let steam for an additional 2-3 minutes. When tender, remove from heat.

Assembly:

Cut each chicken breast into thin slices. Take a piece of eggplant and lay it flat, place two chicken slices on the bottom end, top with two green beans. Then place a couple of pieces of sun-dried tomato over the chicken and green beans. Carefully roll the ingredients into the eggplant and place in a 9×13 inch casserole dish. Continue assembling and lining in the dish until all of the eggplant, chicken and green beans are used.

Spoon the marina sauce over the rolled eggplant. Place a slice of mozzarella over the top of each roll. Place in the oven and bake 20-30 minutes, or until heated through.

*I served this with a small side of whole wheat pasta tossed with garlic and a bit of extra virgin olive oil.

Servings: about 3

Oh So Good Pasta Ponza

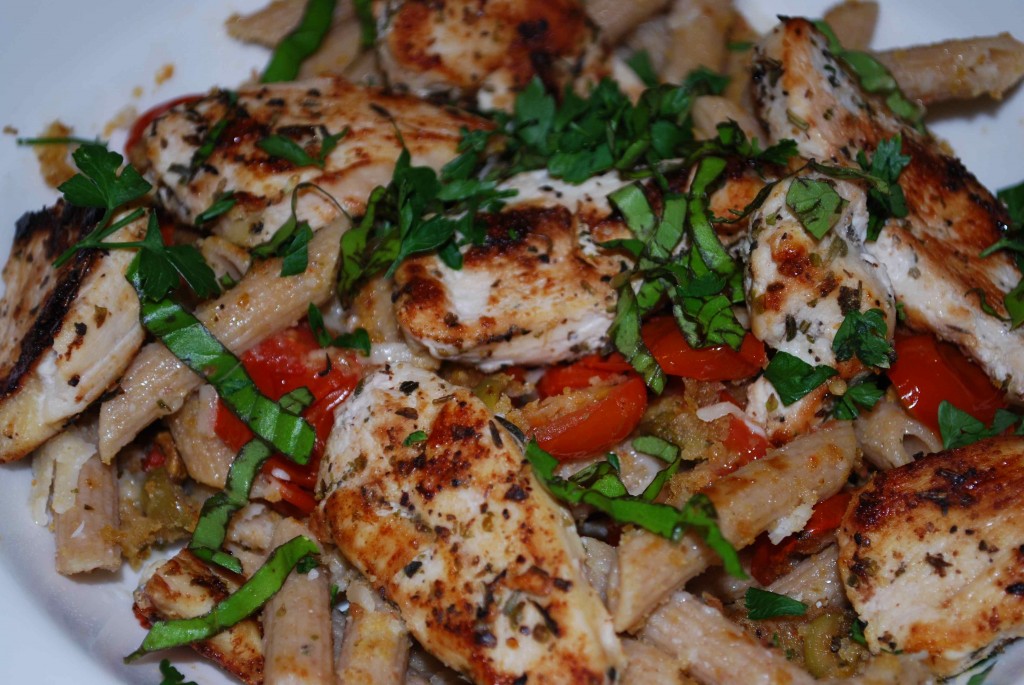
Have you ever come across a recipe or saw one being made on TV and decided that you had to make that for dinner that same night? This was exactly what went through my mind while watching an episode of Everyday Italian. While Giada was cooking away on my television, I was trying to keep myself from drooling. Normally this dish would have had to go on the back burner for a while because although Greg loves Italian food, I didn’t really think it would be something he would like. Well, wasn’t I lucky, because Greg just so happened to have to work at Dolphin Stadium that night which meant I was on my own for dinner. Pasta Ponza it was!

I was short some of the ingredients so I had to make a few substitutions, but the dish was still amazing! I am sure it would be even better following the exact recipe, but I was quite pleased with my version as well.

The dish is just so rich but yet light at the same time and is one of those things that just comforts you. I actually made it for myself again the next time Greg worked a game. He saw a picture of it on my computer (waiting to be blogged about) and he was like, “What is that?!” I told him and he seemed pretty disappointed that I made it while he was working. Go figure! I told him that I didn’t think he would like it and promised him I would make it again while he was home. Well, I haven’t made it for him yet, but it will definitely be in the repertoire again in the near future.

Pasta

Pasta Ponza

Adapted from Giada De Laurentiis

Butter for greasing
2 cups (12 ounces) red cherry or grape tomatoes, halved
2 cups (12 ounces) yellow cherry or grape tomatoes, halved (I only used red)
1/4 cup capers, rinsed and drained (I didn’t have any on hand so I diced up Spanish olives)
1 tbs. extra-virgin olive oil, plus extra for drizzling
1/2 tsp. kosher salt, plus extra for seasoning
1/4 tsp. freshly ground black pepper, plus extra for seasoning
1/2 cup Italian-style seasoned breadcrumbs
1 pound ziti or other short tube-shaped pasta
1 1/4 cups (2 1/2 ounces) Pecorino Romano cheese, grated (I substituted Parmigiano Reggiano)
1/4 cup chopped fresh flat-leaf parsley (I used fresh basil)

*I also added some grilled chicken on top for a more balanced meal.

Place an oven rack in the center of the oven. Preheat the oven to 375 degrees F. Butter an 8 by 8-inch glass baking dish. Set aside.

Place the tomatoes, capers (or olives), 1 tablespoon olive oil, 1/2 teaspoon salt, and 1/4 teaspoon pepper in the prepared baking dish. Toss to coat. Sprinkle the breadcrumbs over the tomato mixture. Drizzle the top with olive oil and bake for 30 to 35 minutes until the top is golden. Cool for 5 minutes.

Bring a large pot of salted water to a boil over high heat. Add the pasta and cook until tender but still firm to the bite, stirring occasionally, about 8 to 10 minutes. Drain and reserve about 1 cup of the pasta water.

Place the pasta in a large serving bowl. Spoon the tomato mixture onto the pasta. Add the cheese and toss well. Thin out the sauce with a little pasta water, if needed. Season with salt and pepper, to taste. Sprinkle with the chopped parsley (or basil) and serve immediately.

Yields 4-6 servings

Summery Soup

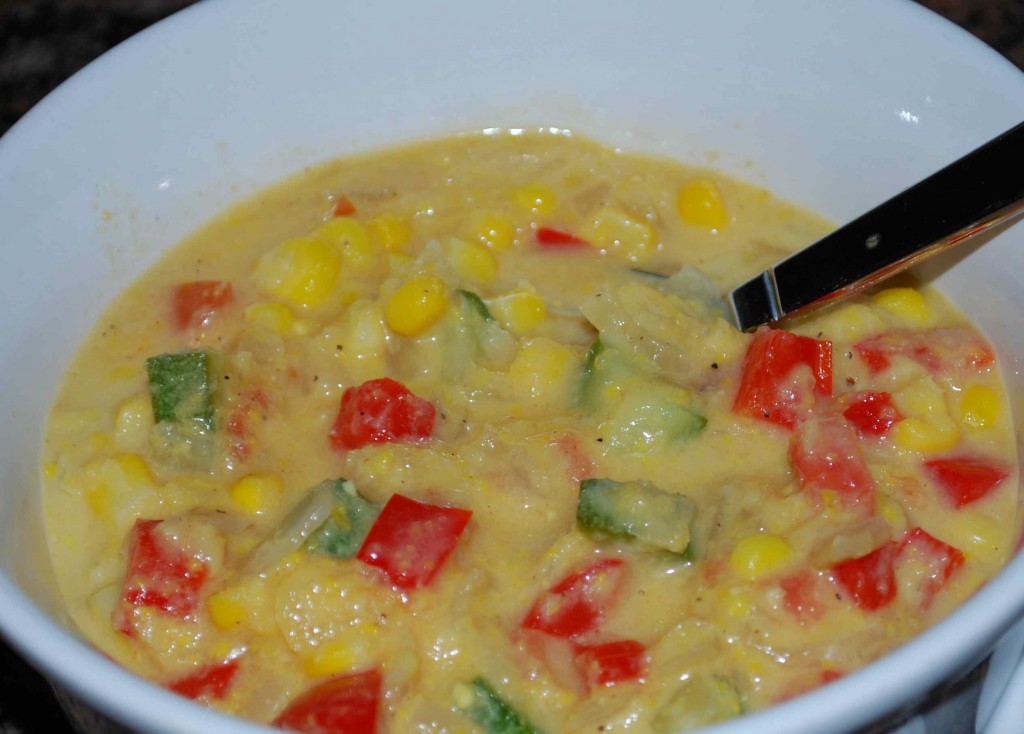
When it comes to dinner, sometimes I’m just not in the mood for meat, veggies and a starch; I want something different. So, while thumbing through my Ellie Krieger cookbook I came across a recipe for Summer Corn and Vegetable Soup and knew that would be a great change-up. It called for lots of my favorite vegetables and it was more of a chowder style so I knew it would be hearty.

I whipped a batch up one night and served it with a half of a sandwich. It was so filling! I couldn’t even finish my bowl. Greg was even satisfied by this “lighter” meal. It is jam packed with fresh and easy to find ingredients and is a cinch to make. What more could you ask for?

corn-chowder

Summer Corn and Vegetable Soup

Courtesy of The Food You Crave by Ellie Krieger

4 cups fresh corn kernels or two 10 oz. packages frozen corn, thawed
2 cups non-fat milk
1 tbs. olive oil
1 large onion, diced (about 2 cups)
1 medium red bell pepper, seeded and diced (about 1 cup)
1 small zucchini (about ½ lb.), diced
2 cups low-sodium chicken or vegetable broth
2 plum tomatoes, seeded and diced
¾ tsp. salt
Freshly ground black pepper to taste
½ cup fresh basil leaves, cut into ribbons

Put 2 cups of the corn and the milk into a blender or food processor and process until smooth. Set aside.

Heat the oil in a large soup pot over medium-high heat. Add the onion, bell pepper, and zucchini and cook, stirring, until the vegetables are tender, about 5 minutes. Add the remaining 2 cups corn and the broth and bring to a boil. Add the pureed corn and the tomatoes and cook until warmed through but not boiling. Add the salt and season with pepper. Serve garnished with the basil ribbons.

Yields: 6 servings

Nutrition Facts (according to book)
Serving size: 1 ½ cups
Calories: 180
Total Fat: 5 g
Cholesterol: 5 mg
Sodium: 365 mg
Carbohydrates: 32 g
Dietary Fiber: 4 g
Protein: 9.5 g

Pollo Arrosto al Balsamico

I decided to take my laptop and make a trip over to Borders the other day since ours has a nice outdoor patio that overlooks the waterway. I figured it would be some nice scenery while I searched for jobs and worked on my blog. When I go to Borders I always check out their clearance section for cookbooks because you can score some great finds for really cheap at times. Well sure enough I found a lovely book by William-Sonoma called Savoring Italy. It was a large book and had beautiful photography of Italy all through it. It also gave a lot of background into Italian ingredients and cooking. Of course I found this intriguing since I am obsessed with Italy and Italian cooking. I figured it would be a lovely coffee table book even if the recipes weren’t that great. After flipping through it for a few minutes I soon discovered that it also had some amazing looking recipes. How in the world could I turn this book down, especially on clearance for $6.95! Needless to say, I have a new cookbook and the cookbook has a new home. :o)

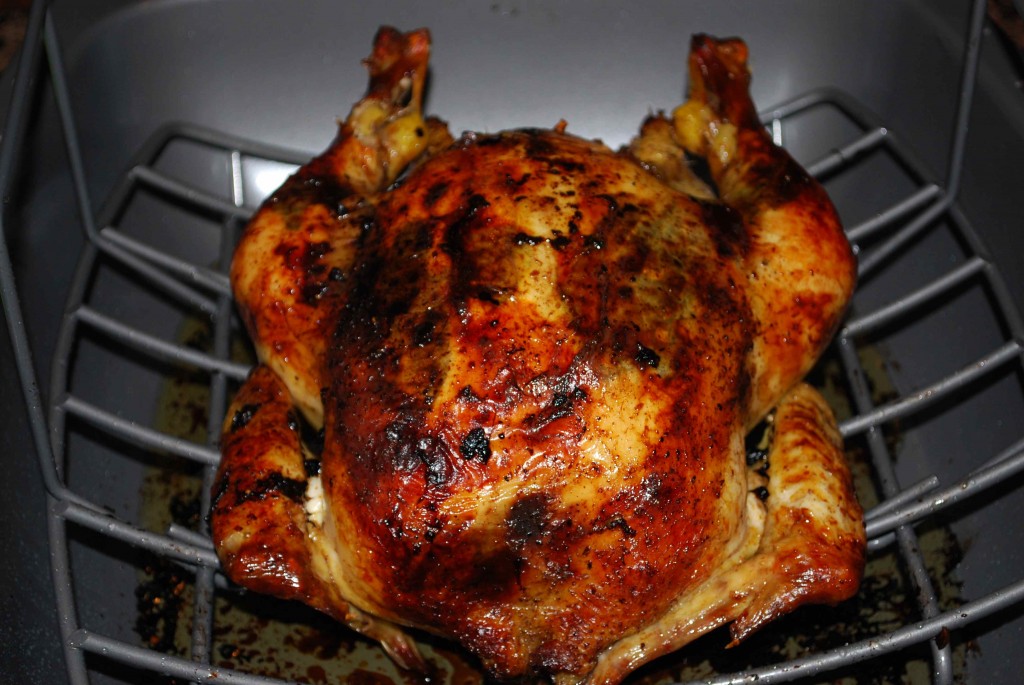
I definitely wanted to use a recipe from the book this week, so when I found the Pollo Arrosto al Balsamico or Roast Chicken with Balsamic Vinegar and Sage, I thought that would be a great weeknight meal. It was fairly easy to make, although we had a little discrepancy with the cook time. In the end, the chicken was moist, flavorful and oh so delicious! I served it with a nice side salad and cheese polenta. Greg and I thoroughly enjoyed it and I look forward to using the leftovers this week.

dsc_0042

~I know the roasting pan looks so elegant. It was getting late, I will have to take a better photo next time.

Roast Chicken with Balsamic Vinegar and Sage

courtesy of William-Sonoma Savoring Italy
1 large roasting chicken (about 5 pounds)
12 fresh sage leaves
2 large cloves of garlic, chopped (I used about 4 large cloves)
2 tbs. olive oil
2 tbs. balsamic vinegar
½ tsp. sugar
salt and freshly ground pepper to taste

Preheat oven to 350 degrees

Rinse the chicken and pat dry. Tuck the chicken wings behind the back. Using your fingers, gently loosen the skin on the breast and legs, being careful not to tear the skin. Insert a few of the sage leaves and some of the garlic under the skin, distributing them evenly. Pat the skin firmly back in place. Tuck the remaining sage leaves and garlic into the cavity.

In a small bowl, whisk together the olive oil, vinegar, sugar, salt, and pepper. Rub some of the mixture over the chicken and pour the remainder inside the cavity. Cross the drumsticks and, using kitchen string, tie the legs together. Place the chicken, breast side up, on a rack in a roasting pan.

Roast the chicken, basting occasionally with the pan drippings, until an instant read thermometer inserted into the thickest part of the thigh away from the bone registers 175 degrees or the juices run clear when a thigh is pierced, about 1 ½ hours.

Transfer the chicken to a carving board. Cover loosely with aluminum foil and keep warm.

Pour the pan juices through a fine-mesh sieve into a small saucepan. Skim off the fat. Reheat to serving temperature, if necessary.

Carve the chicken and arrange on a platter. Pour the juices over the chicken and serve immediately.

Note: Our electric thermometer read a little over 175 degrees, but when we first cut into the chicken to carve it, it was still a bit undercooked. You may want to test more than once for accuracy.

Green Pizza

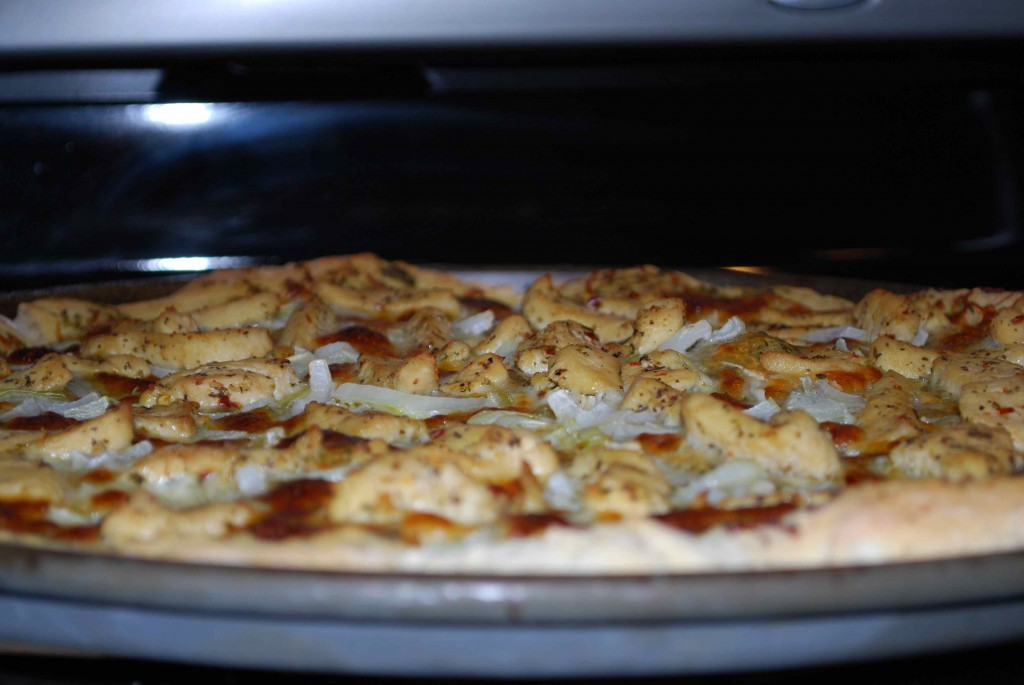
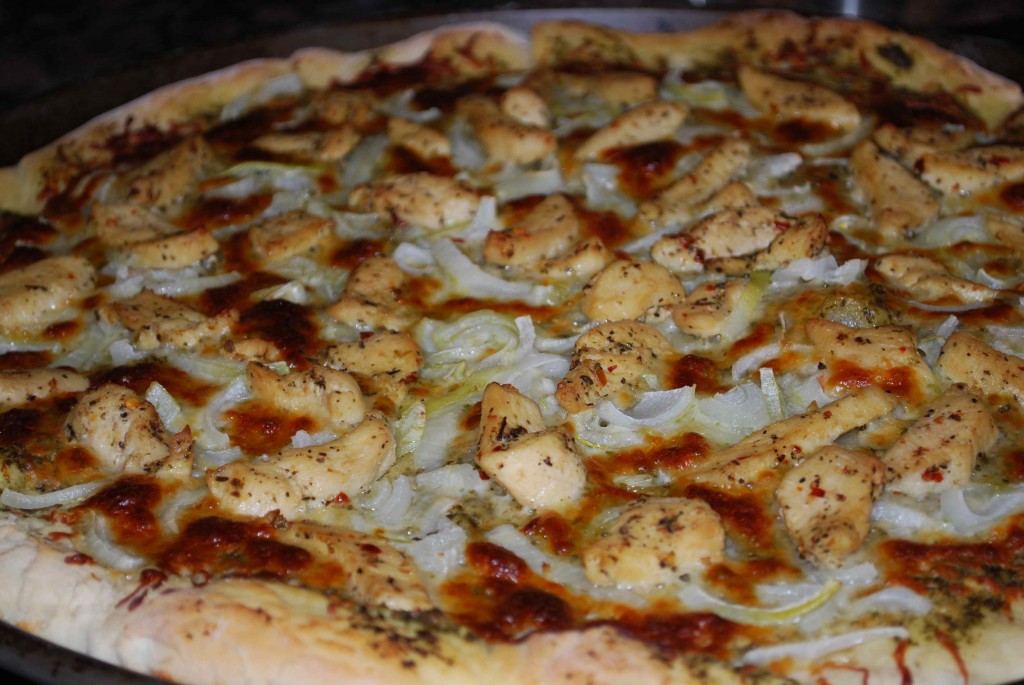
Greg and I love pizza, but we have had a very hard time finding a good pizza place in our area. While wanting to use some things from around the house and having a craving for pizza, I decided to make one homemade. We could have it exactly the way we wanted and we could enjoy it fresh out of the oven.

Not really feeling like the typical tomato sauce and cheese pizza I rummaged through the refrigerator and pantry and came across some pesto, which I thought would be a great replacement for the tomato sauce. I also found onion and chicken, which are two of our favorite pizza toppings anyway. I knew I had flour and yeast, so the dough wouldn’t be a problem either, so I got to work.

The outcome was delicious! It wasn’t too heavy but it was very filling and the flavors were light and tasty.

dsc_0022

dsc_0023

Chicken and Pesto Pizza

pizza dough (I used this Emeril recipe)
store bought pesto
½ cup fresh Parmigiano-Reggiano cheese, grated
1 ¾ cups grated mozzarella cheese
1 small onion, thinly sliced
1 boneless skinless chicken breast, sliced and cooked

Prepare your pizza dough and roll it out onto a prepared pizza pan or stone.

Spread your desired amount of pesto on top of the dough, being sure to leave the edges clean for the crust. Add the grated Parmigianino Reggiano cheese, mozzarella cheese, onion and chicken.

Place in a 425 degree oven for about 18-20 minutes.

Yields: (1) 16 inch pizza

When in Rome.

I love recipes that can be made with things that are generally kept stocked in the kitchen. These are always great go to dishes that don’t require a last minute run to the grocery store. These are also dishes that have ingredients that can be subbed in and out if you are missing something or have something in the refrigerator that needs to be used up.

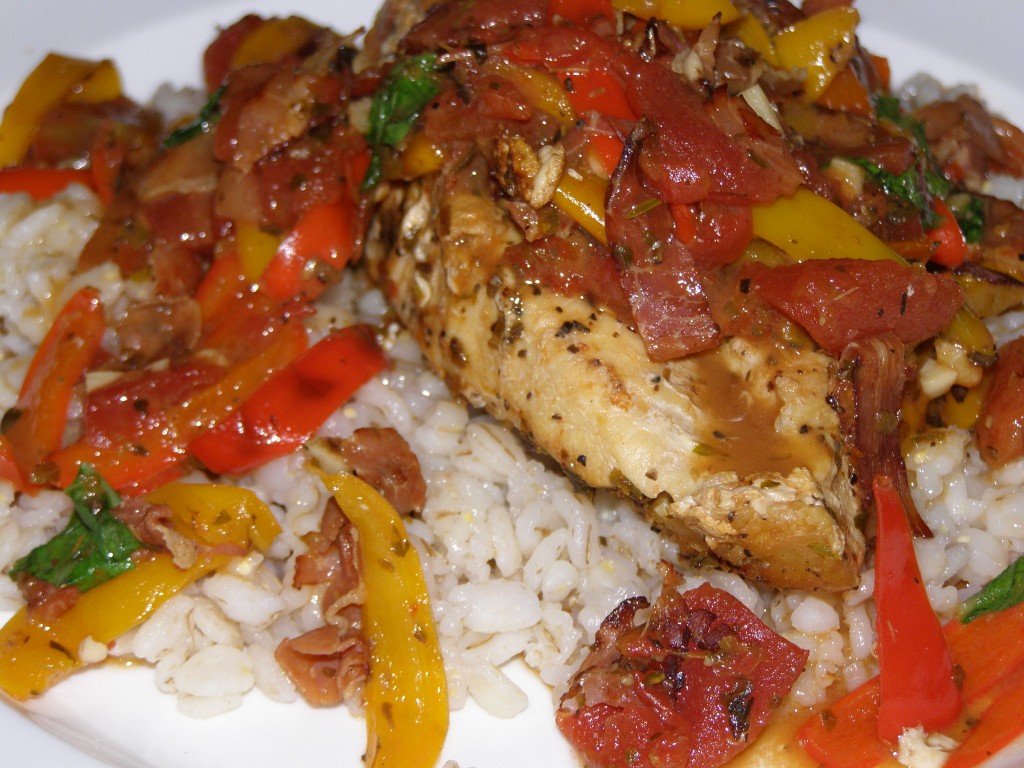
While watching the Food Network the other day, I found one of “those” dishes. It is Giada’s Roman-Style Chicken. The dish is jam packed with a tasty combination of fresh ingredients. This will definitely stay on my list of “go to” meals. It was delicious to say the least!

p1010071

Roman-style Chicken

adapted from Giada De Laurentiis and Food Network
4 skinless chicken breast halves (I used boneless skinless chicken breast)
2 skinless chicken thighs, with bones (I omitted these)
1/2 tsp. salt, plus 1 tsp.
1/2 tsp. freshly ground black pepper, plus 1 tsp.
1/4 cup olive oil
1 red bell pepper, sliced
1 yellow bell pepper, sliced
3 ounces prosciutto, chopped
2 cloves garlic, chopped
1 (15 oz.) can diced tomatoes
1/2 cup white wine
1 tbs. fresh thyme leaves (I used dried)
1 tsp. fresh oregano leaves (I used dried)
1/2 cup chicken stock
1/4 cup chopped fresh flat-leaf parsley

Season the chicken with 1/2 tsp. salt and 1/2 tsp. pepper. In a heavy, large skillet, heat the olive oil over medium heat. When the oil is hot, cook the chicken until browned on both sides. Remove from the pan and set aside.

Keeping the same pan over medium heat, add the peppers, prosciutto and cook until the peppers have browned and the prosciutto is crisp, about 5 minutes. Add the garlic and cook for 1 minute. Add the tomatoes, wine, and herbs. Using a wooden spoon, scrape the browned bits off the bottom of the pan. Return chicken to the pan, add the stock, and bring the mixture to a boil. Reduce the heat and simmer, covered, until the chicken is cooked through, about 20 to 30 minutes.

Add parsley and stir to combine.

Light but Satisfying

I really feel like I should have been born Italian. I just love the culture and food. I mean their ingredients alone are enough to make me drool. Italian food is my absolute favorite thing to cook by far. With that said, of course Giada De Laurentiis is one of my favorite chefs. Her recipes are very inspiring and open doors for you to explore many options.

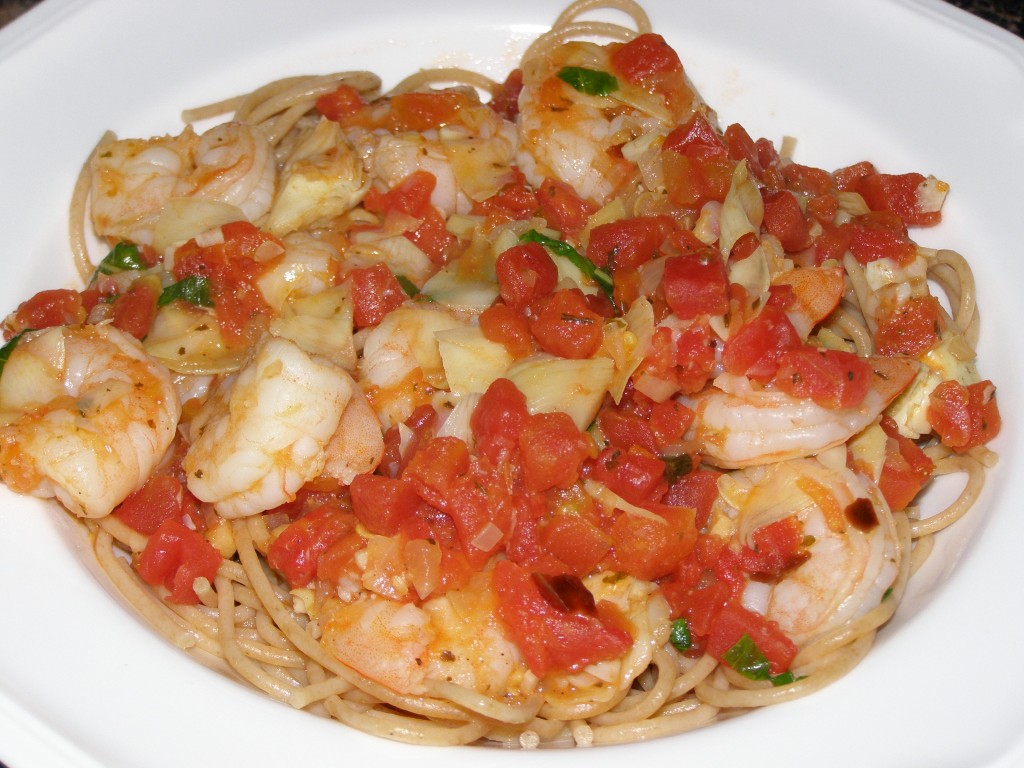
Recently I was looking for a lighter pasta dish. I didn’t want a heavy sauce, just something refreshing. While looking through Giada’s Family Dinners I found a recipe for Fusilli with Shrimp and Arugula. It sounded great, but I wanted to put my own twist on it. In the end it turned out fabulous and is now a favorite of mine and Greg’s. We have also made it without the shrimp as a simple side dish.

p1010065

Spaghetti with Shrimp and Basil

adapted from Giada’s Family Dinners
1/4 cup olive oil
1/4 cup finely chopped shallots (or yellow onion)
1 tbsp. minced garlic
1/4 tsp. crushed red pepper flakes
1 cup dry white wine
1 lb. large shrimp, peel and deveined
1 cup petite diced tomatoes
salt
fresh ground black pepper
12 ounces dried thin spaghetti (or pasta of your choice)
about 6 leaves of fresh basil

Heat the oil in a large skillet over medium heat.  Add the shallots, garlic, and red pepper flakes; saute until translucent, about 2 minutes.  Add the wine.  Simmer until the wine reduces by half, about 5 minutes.  Add the diced tomatoes and stir to combine.  Add the shrimp and cook, stirring, just until they are pink; about 2 minutes.

Meanwhile, bring a large pot of salted water to a boil.  Add the spaghetti and cook, stirring often to prevent the pasta from sticking together, until tender but still firm to the bite; about 8 minutes.  Drain.

Add the spaghetti and the basil (torn into pieces) to the skillet with the shrimp.  Toss to combine.  Season the pasta to taste with salt and pepper.

Yields about 4 servings.

Delish Appetizer!

Rachael Ray, you either love her or you hate her. I just so happen to love her. I will admit that I am not always a fan of her recipes, as they can be a bit out there. I guess I should say that Greg isn’t always a big fan, since he can be somewhat of a picky eater at times. Her combinations can be a bit too much for him. I still love getting ideas from her and I love her magazine. I feel that although I don’t always use her recipes religiously, she inspires me to think outside of the box.

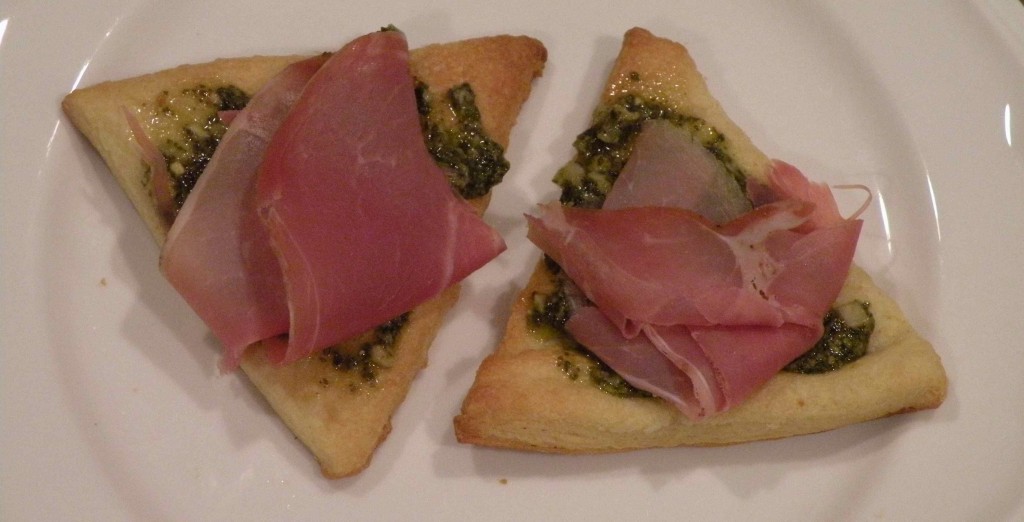
We hosted a birthday dinner for my dad back in December. I had actually never had anyone from my dad’s side of the family, including him and my stepmom, over for dinner before. I know it sounds strange, but this is the first time we have lived close to them since I graduated college back in 2005. So, I really wanted to wow them. I am pleased to say that Greg and I did just that! They didn’t stop talking about that dinner for weeks. I made a few more time consuming appetizers, so I was looking for another one that was simple. While flipping through the December issue of Everyday with Rachael Ray I found a section of little finger sandwiches. This Pesto-Prosciutto Sandwich was one that was mentioned. It sounded like a winner, tasty and simple. That it was!
dscn0094_

Pesto-Prosciutto Sandwiches

courtesy of Everyday with Rachael Ray
Frozen Puff Pastry (I actually used crescent roll dough)
Thinly sliced prosciutto
Store bought pesto

Thaw dough if necessary and then roll out. Cut into the desired shape. Mine were more of a triangle since I used crescent roll dough. Bake in a 400 degree oven until golden brown. Let cool and then split (if necessary). Spread the bottoms with store bought pesto, top with prosciutto slices and cover with pastry tops if desired.  I chose to keep mine open faced.